Dehydrator Tips and Tricks

 Add to favorites
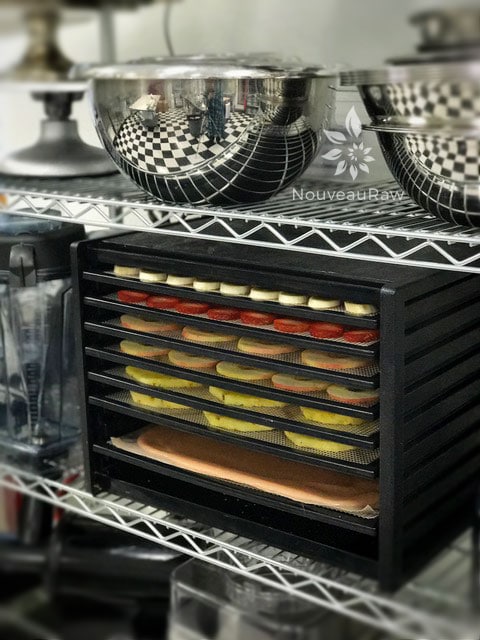
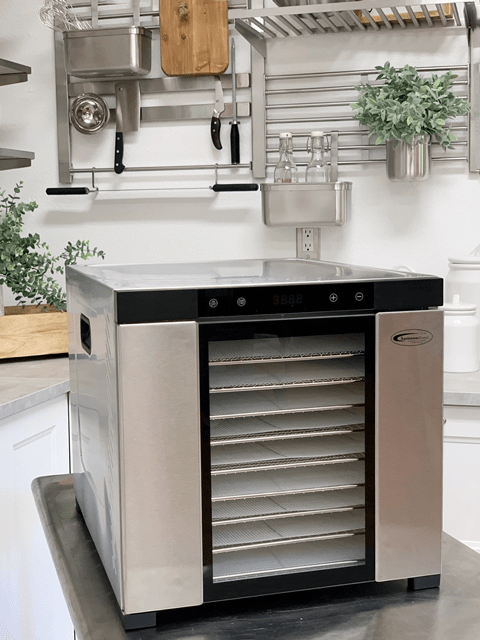
As a raw food chef, I would have to say that owning a dehydrator is vital for this type of cuisine. Mandatory? No, but if you want to take advantage of everything that the raw food world has to offer, then I recommend investing in a dehydrator. I have been using one since 2007, and throughout that time, I have come to learn a few tips and tricks. I thought it was appropriate to share them with you. Throughout the post, I will be sharing random photos showing you how I use a dehydrator and how the end result looks.
I have heard many people state that preparing raw food takes too long, especially if having to dehydrate something. The whole purpose of eating raw, whole foods is for nutrients, and anytime we want to eat high-quality food, we need to make it ourselves so we can ensure the quality of ingredients that we are ingesting. Whether you are eating a raw or cooked diet, making food from scratch is always going to be longer than popping a high-processed box of food into the microwave for two minutes. That’s just logic.
Preparing and cooking food from scratch (whether raw or cooked), requires planning and mindset. Preparation skills are learned. Once learned they soon become habits, the stress diminishes, and joy enters into the process. Mindset is vital.
If you want to be healthy, heal your body from disease, and gain optimal health, it ALL starts with MINDSET. There is no other way to approach it. Quick fixes are destructive in any area of life, so don’t go expecting them in the kitchen.
Learning to be creative with your time in the kitchen will bring in more joy, relieve stress, and you can involve the whole family. A dehydrator is a helpful way of achieving this.
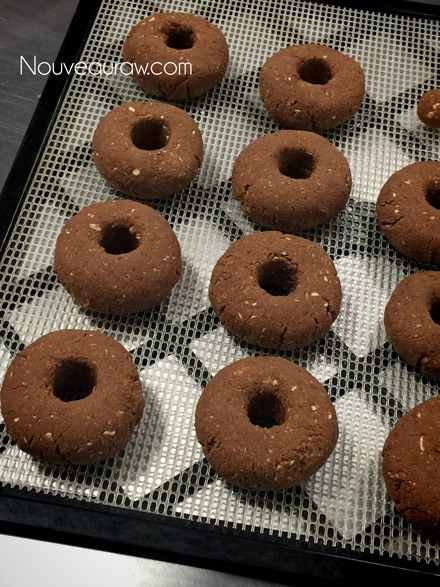
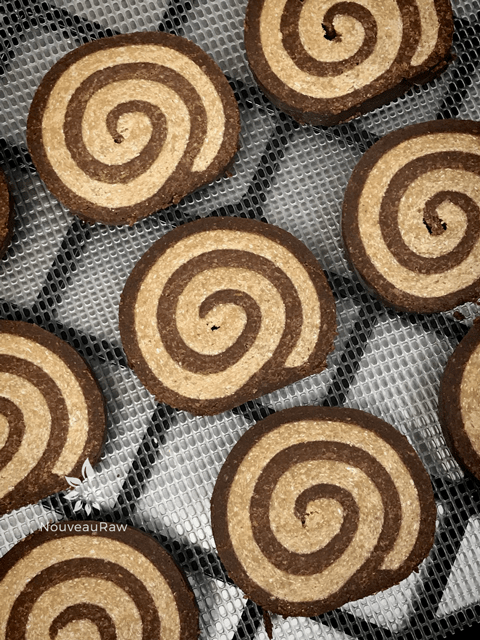
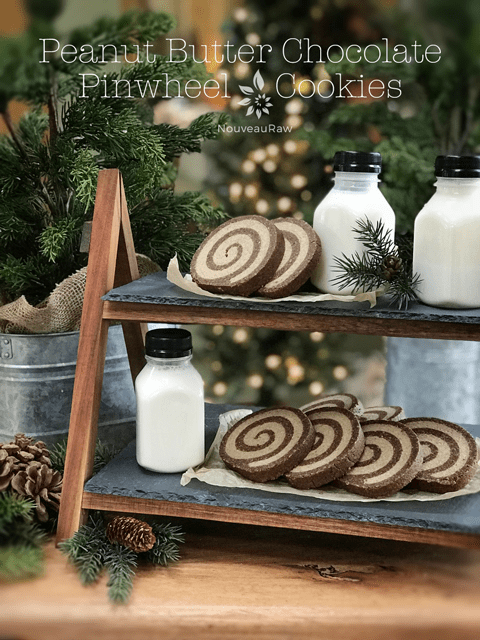
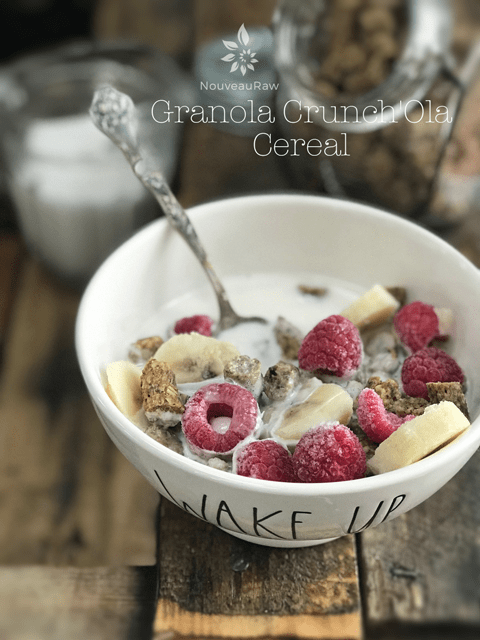
You can make raw cereals, granola, cookies, bars, and breads, all while you are sleeping or at work. You don’t have to worry about burning food, nor do you have to sit around waiting to place baking tray after baking tray into the oven.
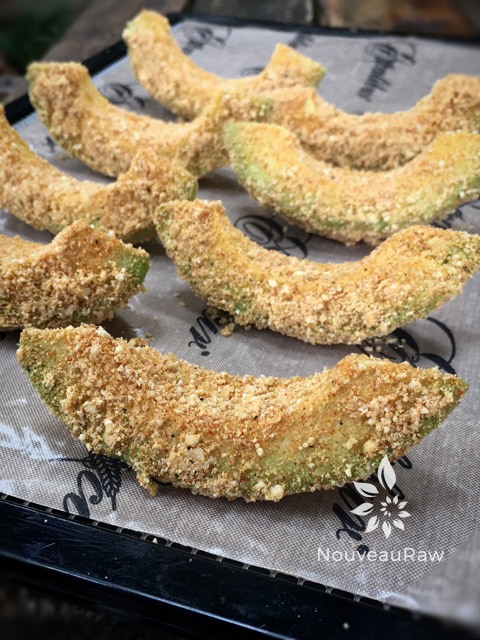
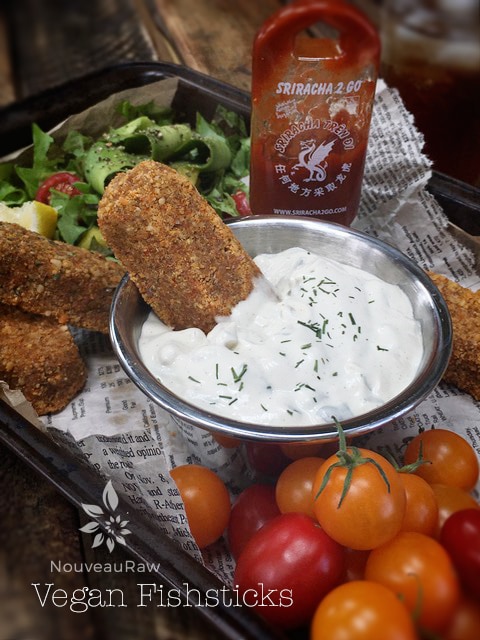
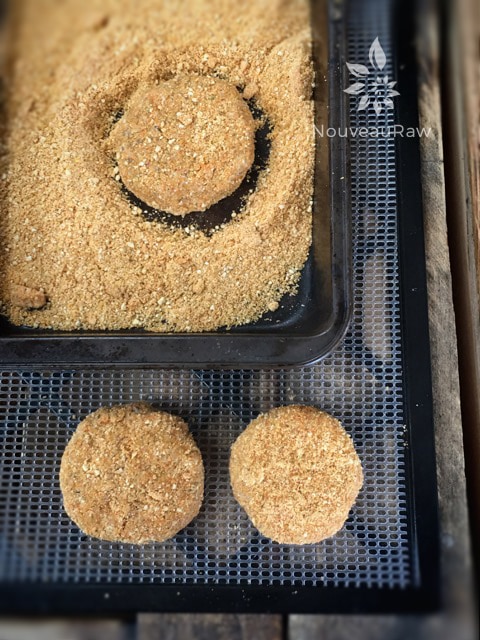
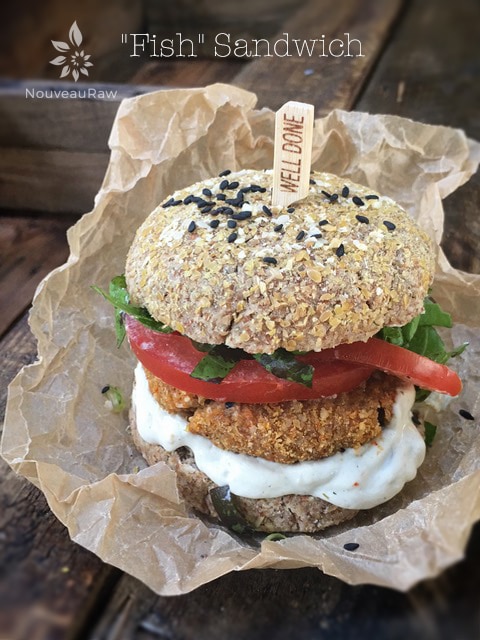
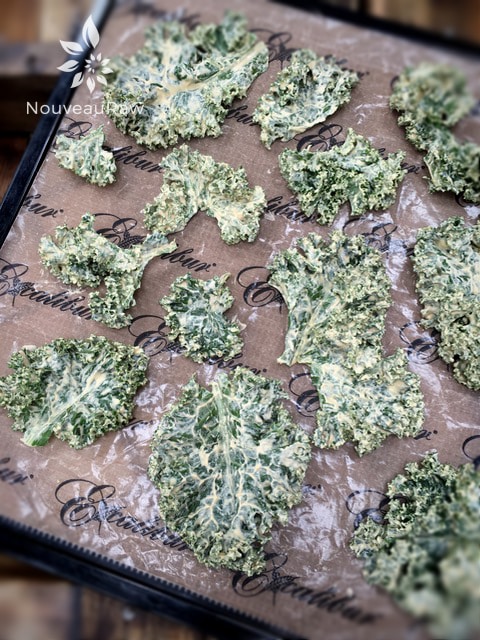
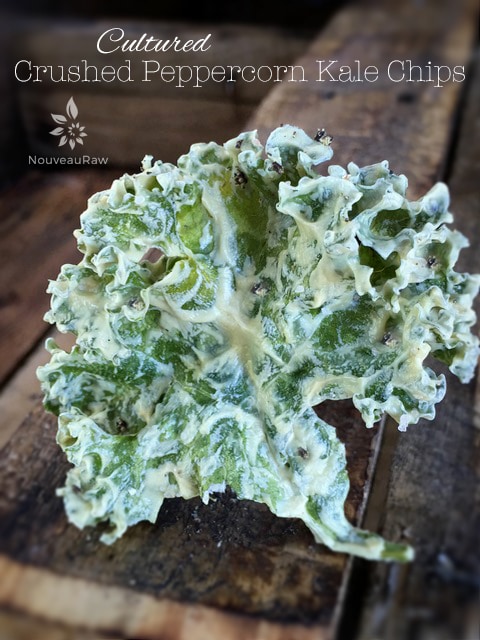
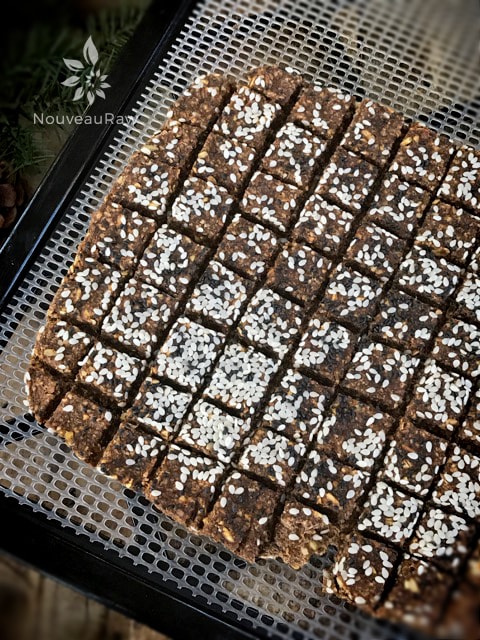
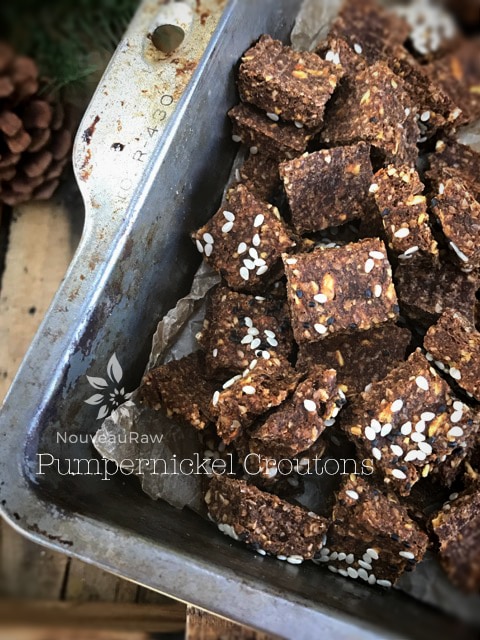
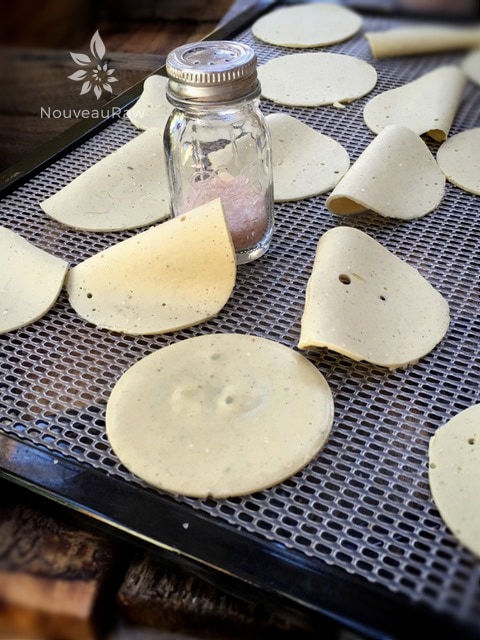
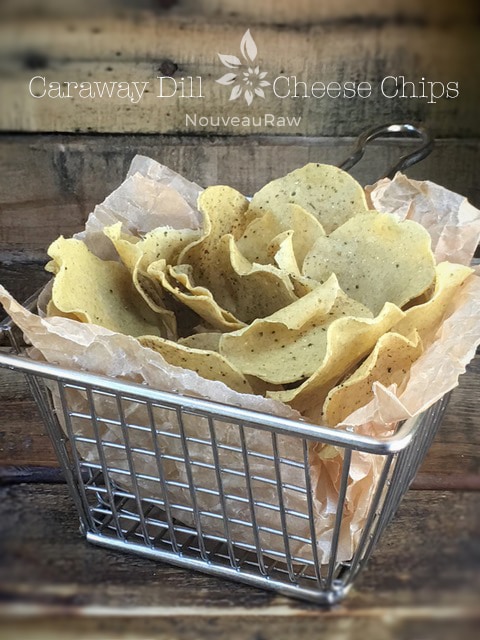
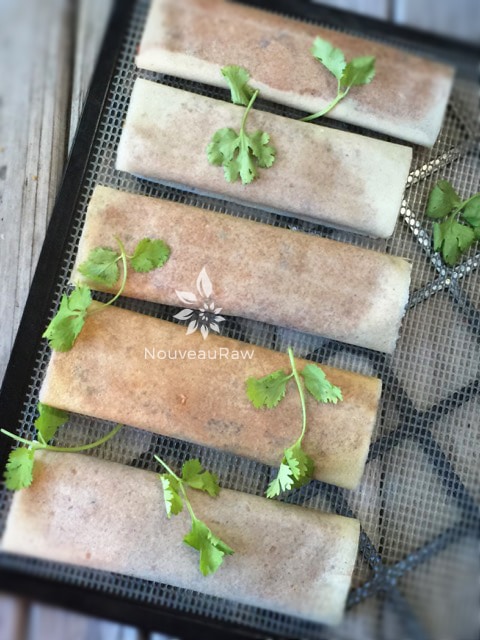
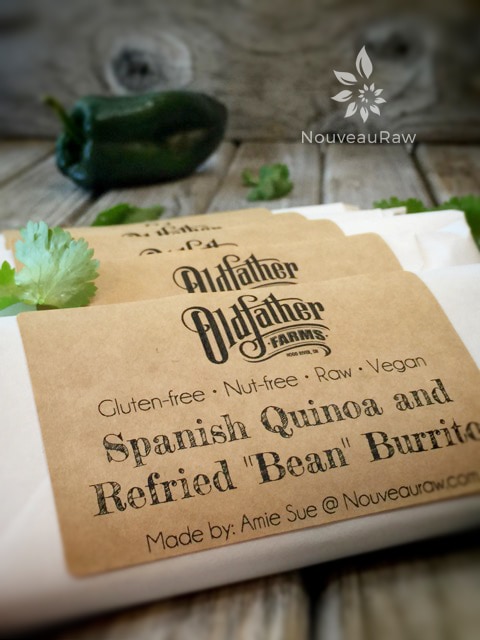
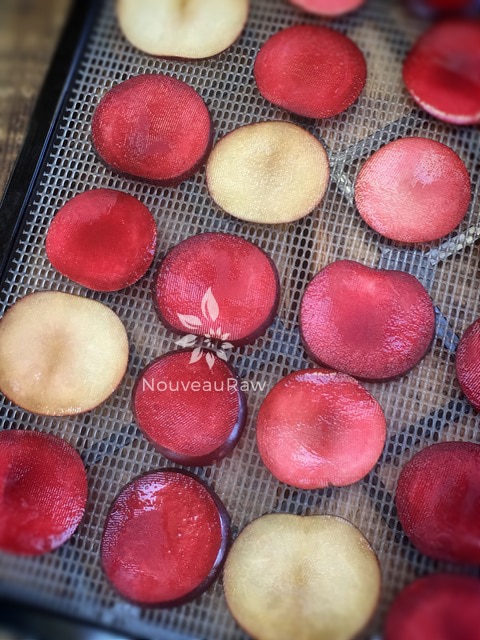
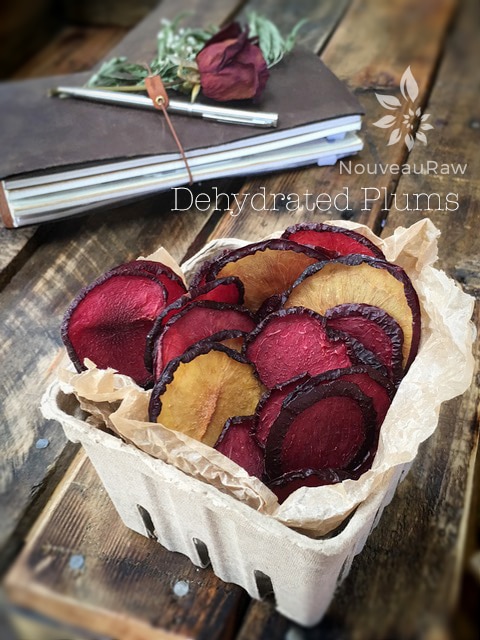
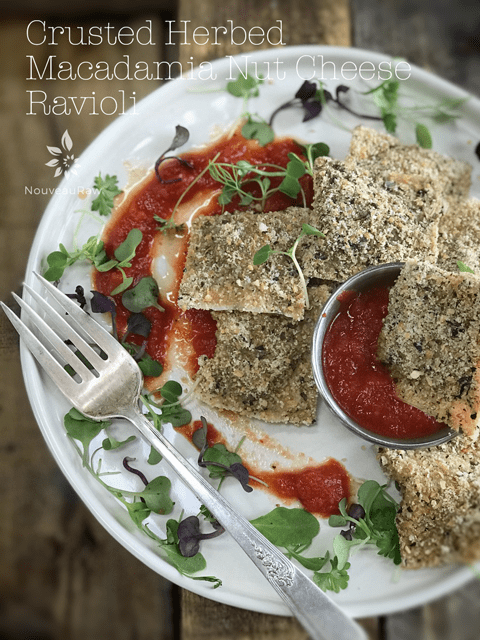
Throughout this posting, I will be sharing just a small fraction of what can be created with a dehydrator. I will show a before photo as it is going into the dehydrator and a final presentation photo. I hope it brings you inspiration!
Why is a Dehydrator worth the Investment?
- A dehydrator is a wonderful way to speed up the marinating process of raw veggies. Toss sliced up vegetables and a marinade sauce together, slip the bowl in the dehydrator, and within a few hours, you will have softened veggies that are warm and have the appearance of being cooked. This process will also intensify the flavors of the ingredients.
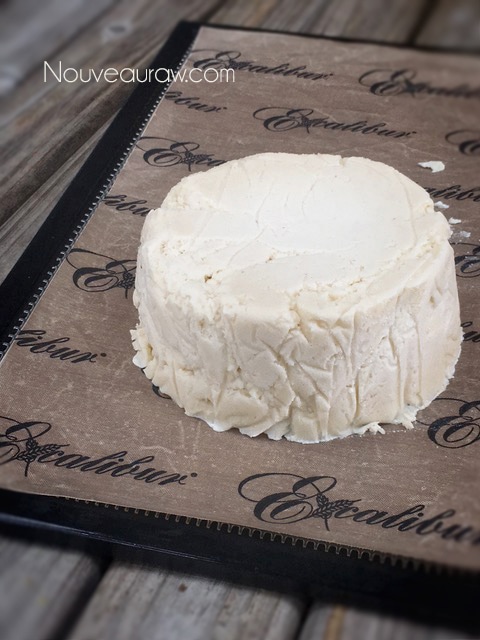
- You can use the dehydrator as an incubator for fermenting coconut, nut, and seed yogurts and cheeses.
- You can melt cacao butter and coconut oil in the dehydrator.
- Use the dehydrator to thicken sauces. Pour the sauce into a shallow glass dish and dehydrate it at 115 degrees (F), creating a reduction.
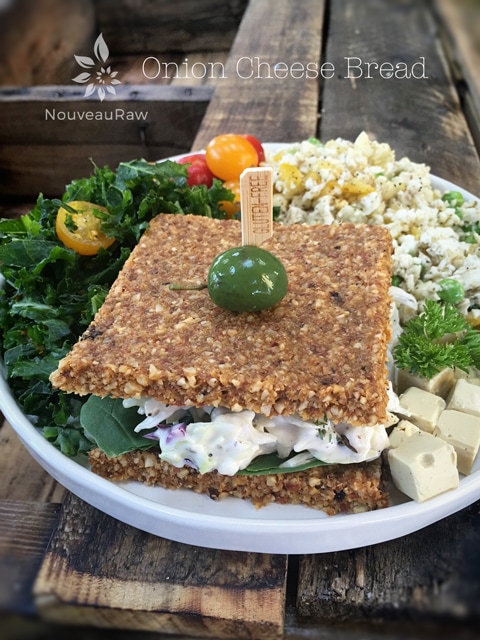
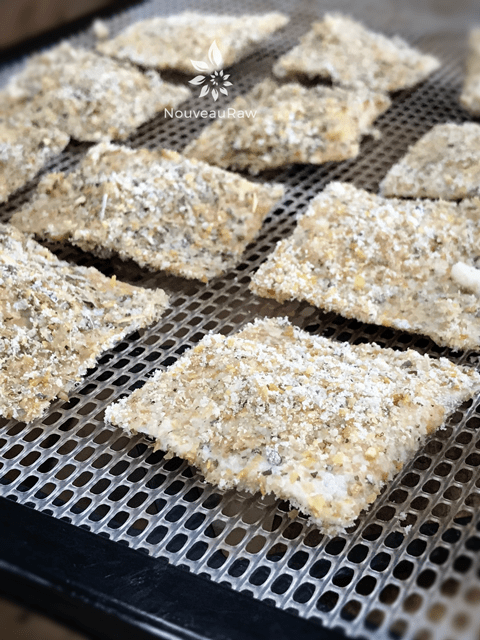
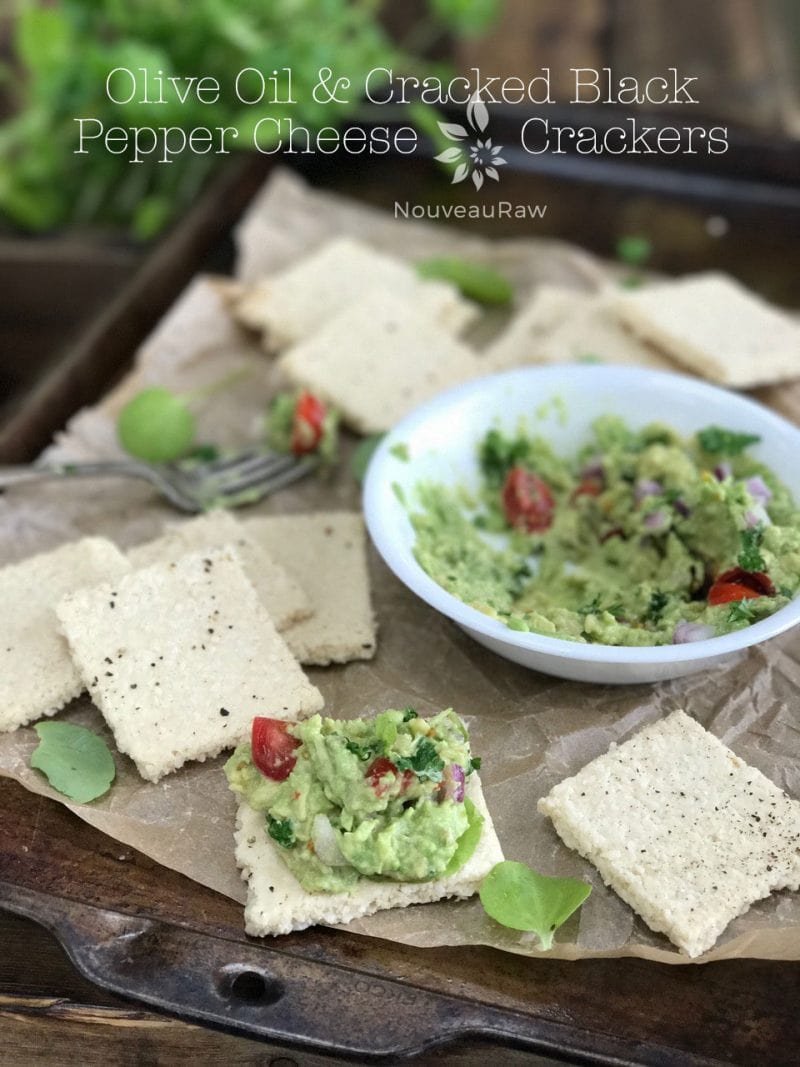
- The dehydrator is terrific for making raw breads!
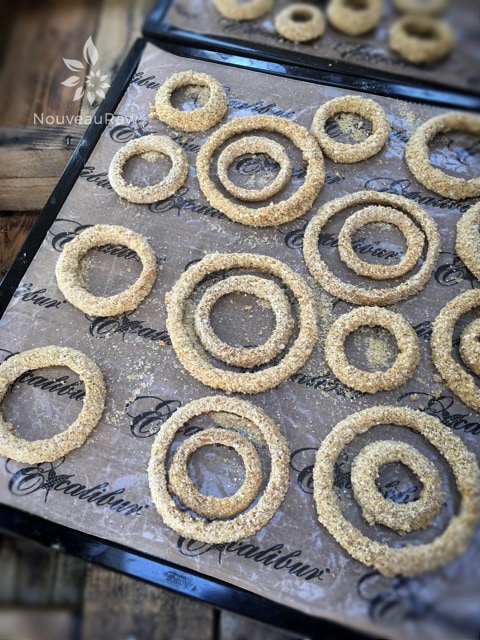
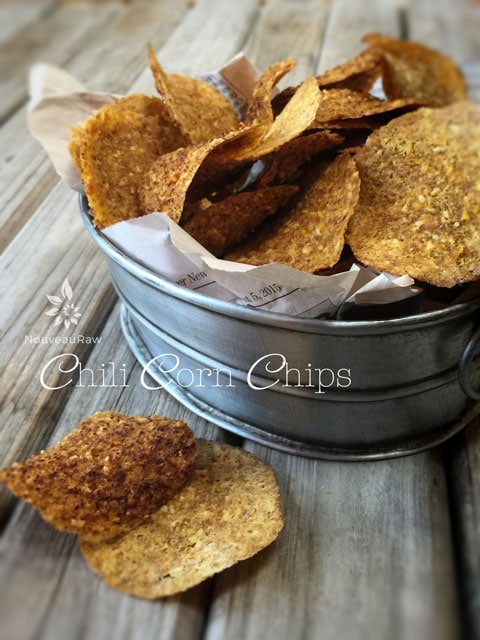
- Use it to create crispy textured foods such as crackers, granola, kale chips, etc.
Now let’s Dive in a Little Deeper!
Timing
Timing drying times are enormously dependent on factors:
- Amount of humidity in the air – Check with your local weather service to determine the day’s humidity level. The closer it is to 100%, the longer it will take for your food to dry.
- The moisture content of the food being dried – Water content of a fruit or vegetable can vary due to the growing season, rainfall, and environmental factors, as well as the ripeness of the food.
- The method of preparation – Slicing should be uniformly sliced, (not more than 1/4″ thick) and spread evenly in a single layer on the drying trays.
Food thickness
- Cut all your items the same thickness. If you don’t, they’ll dry at different times.
- Restaurant chefs are lightning fast when it comes to knife skills, but for us home chefs, a mandoline is perfect. They can slice and dice perfectly uniform cuts of fruit and veggies faster than you can say, “Now where is my darn knife?” They come with interchangeable blades to give you different vegetable slices such as julienne, wavy, plain, and even lattice cuts.
Use a Full Machine
- Why use the electricity on a half-empty machine? Make the best use of your dehydrator.
- If you are doing a small batch, put the remaining empty trays in the dehydrator. Your dehydrator is designed to work with all or none of them.
- It is best NOT to mix the drying of sweet and savory items at the same time. For example, if you are making onion crackers and wish to dehydrate a batch of sweet raw cookies, the onions from the crackers could infuse the cookies with its robust pungent flavor and aroma.
Dry Times
- Indicated dry times on recipes (mine and other chef’s) are SUGGESTED times.
- Experiment with your drying times. Everyone’s tastes are different. You may like some food dried longer for a crispier texture. You may prefer it dried less for a chewier texture. Be sure to write down what you made and the times, so you remember what you like!
- Always keep an eye on the items that you are dehydrating. If you are drying non-uniformed sliced foods, remove those that are drying quicker. The other still moist pieces should remain in the dehydrator until they are completely dry. However, if you have sliced your food into uniform pieces and have turned your trays 180º halfway through the cycle, your load should be finished at the same time.
- Always think about the moisture content of the foods you are dehydrating. If you plan on filling up the whole machine, try to dry moisture-like foods together. For example, if you decided to dehydrate watermelon with some raw cookies, the water content and humidity from the watermelon would significantly slow down the drying process of the cookies.
- Always allow the foods to cool down completely before storing. If you don’t, this could cause moisture build up which creates a breeding ground for bacteria.
- It’s ok to leave moisture in foods, but be aware that this will lessen the shelf life and will need to be consumed sooner than later.
-
-

How to Speed Up Dry Times
- Spread batters evenly, no more than 1/4” thick.
- Start the dehydrator at 145 degrees (F) for one hour, then reduce to 115 degrees (F).
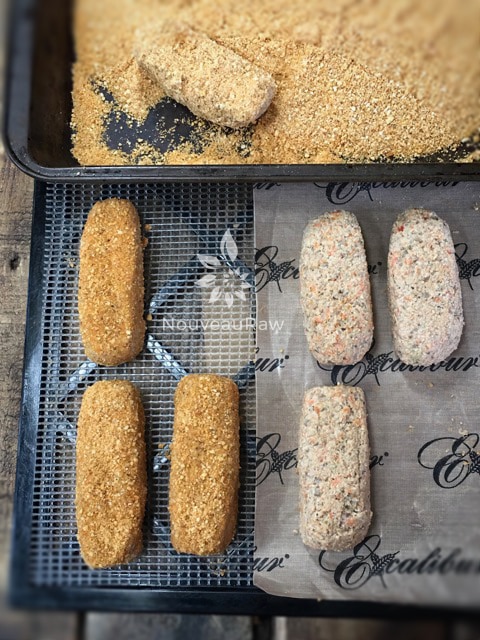
- If you start the drying process on the non-stick sheets, remove them part way through the drying process, allowing more air to circulate the food thoroughly.
- The process looks like this: in front of you, you will have the dehydrator tray layered with the mesh sheet, non-stick sheet, with the food on top. Now place a fresh mesh sheet on top of the food, followed by another dehydrator tray. You have created a sandwich. Clamp your hands on the edge of the sandwiched trays and flip them over quickly. Lay it down on the counter, lift off the tray, remove the mesh sheet, and peel off the non-stick sheet. Return to the dehydrator to continue drying. If the food sticks to the non-stick sheet once flipped over, it isn’t ready. Keep drying and try again in a little bit.
Paraflex or Non-stick Sheets
- They typically don’t come with the machine and have to be ordered separately. Order them! You will need and want them.
- When you’re not using them, they can be stored in the bottom of the unit. The sheets can also double as a drip liner at the bottom of your dehydrator for easy cleaning. And who doesn’t like that idea?
- Never use wax paper in the dehydrator. I find that most foods stick to them through the drying process.
- Some recipes don’t require the use of these. If the batter is “dry” enough, you can place it right on the mesh sheet. It will speed up the dry time since air can fully circulate around the food.
- If a recipe is high in water content, always start the drying process on a non-stick sheet. If you don’t, the batter will sink into the mesh cubes and make it very hard to remove the end product.
Cleaning the Paraflex or Non-stick Sheets, Frames, and Mesh Sheets
- After washing the sheets, place them in the Excalibur for drying. In just a few minutes your trays will be dried and stored away. You never want them to be moist if stacking them for storage.
- If you don’t have a way to store the non-stick sheets flat, roll them all up together and slide them into a paper towel tube. This way they won’t get all wrinkled and have bent corners.
- A vegetable scrub brush makes quick work of any bits of sticky fruit that may have stuck to mesh sheets. It only takes a couple of minutes soaking time in hot soapy water to release those bits.
- You can learn more about cleaning your dehydrator and accessories (here).
Spreading Full Sheet Batters
- If you are making full sheets of crackers, wraps, or fruit leathers, it is vital to spread the batters evenly, from the center to the edge. If the sides of the mixture tend to dry first, they will dry too quickly and become brittle.
- I like to use an off-set spatula while spreading batters.
- Don’t be afraid of bringing the batters up to the very edge of the trays. If any gets on the black rim of the tray, wrap a paper towel around your finger and carefully wipe a clean line down each side of the tray.
Air Freshener – Aroma Therapy
- Have you ever noticed all the wonderful aromas that come from your dehydrator as you are drying foods? If you want to add some fresh scents into the air, dry fresh evergreen branches or dry a wet sponge containing a few drops of vanilla flavoring or essential oil.
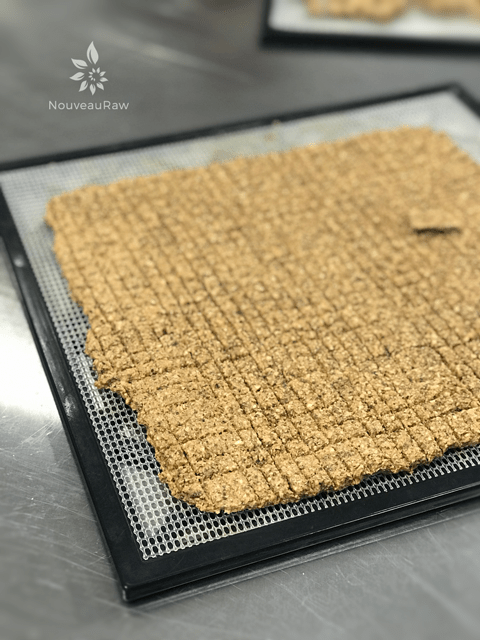
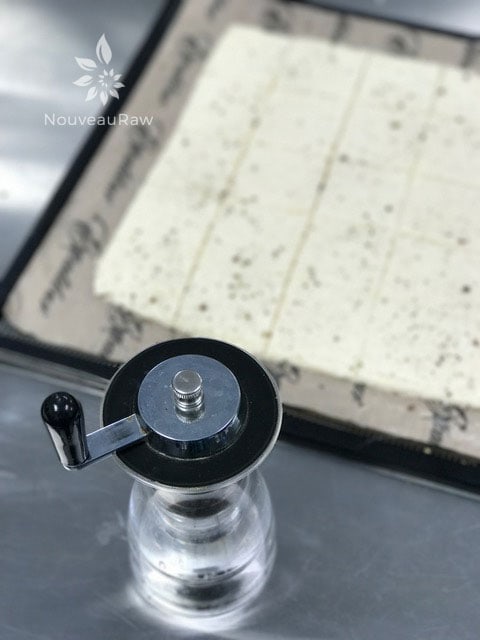
Scoring Crackers and Cereals
- The timing in scoring these types of batters depends on how thick the batter is after spreading it out.
- If the batter is thick and somewhat sticky, you can score the crackers or cereal right away. For this task, I use either my large off-set spatula, metal ruler, pizza cutter, or a pastry cutter. I avoid using a sharp knife for fear of cutting the non-stick sheet.
- If the batter is thin and more on the wet side, you may need to wait until it has been drying for a few hours. Test it throughout the dry time, then score using one of the tools I mentioned.
Drying Tips for Certain Fruits
- Watermelon – If you plan on dehydrating watermelon, make sure that you place a non-stick sheet on the very bottom of the dehydrator to catch any drippings. Do not dry any other foods while drying watermelon. The watermelon has a high water content and will release A LOT of humidity in the machine.
- Berries – If you wish to dehydrate berries or grapes, the skins should be broken first. Berries take a long time to dry, but you need to be careful that they don’t dry too long and turn into pebbles.
Speeding up a Culturing Process
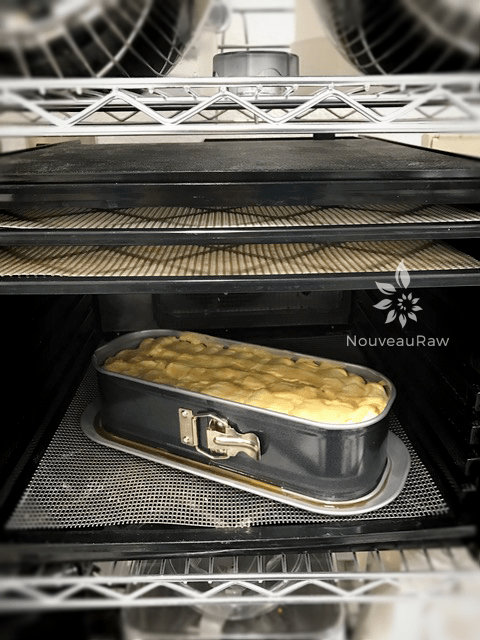
- If you enjoy making vegan yogurts and nut cheeses, a dehydrator can speed up the fermentation/culturing process. It is especially helpful if you live in a colder climate. Another reason why having a box cavity dehydrator is wonderful!
- All you have to do is remove the inner dehydrator trays and slide the culturing vessel into the cavity of the machine. Set the temperature to the lowest setting. It’s always a good idea to place a non-stick sheet underneath to catch any overspill, should that occur.
Drying Sweet and Savory
- I recommend that you don’t dehydrate sweet and savory items at the same time. Sometimes you can get away with it, but if your savory food has a pungent aroma, it can infuse your sweet foods. So just be aware of that.
Warming Foods
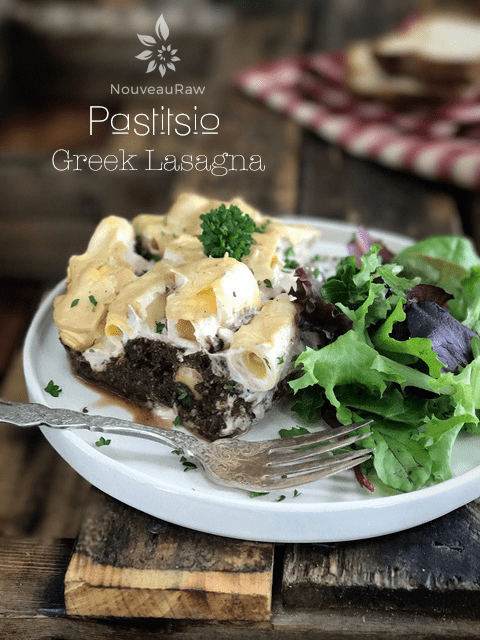
- A dehydrator isn’t JUST for removing all the moisture from food. It is excellent for warming up raw dishes, soups, living lasagnas, etc.
- You can also warm dishware before serving up your raw foods, just another way to add warmth without cooking.
- As I have mentioned before, this is another great reason to own a dehydrator with a box cavity.
- When warming foods, pour or place them in a large shallow dish. The more surface area that is exposed to the air, the quicker and more evenly it will warm the food.
Melting Products
- A lot of recipes call for melted coconut oil, softened raw honey, raw coconut butter, or other nut butters. To do this, place the jar or the measured amount in the dehydrator to melt it. I set my machine to 145 degrees (F) and then keep an eye on it, pulling it out once softened.
- Raw Chocolate – when I am working with a homemade raw melted chocolate for dipping, sometimes it will start to harden during the coating process. When that happens, slide the container of chocolate into the dehydrator and set it at 115 degrees (F). This will help soften it back so you can continue to dip your goodies into the chocolate.
Create Healthy Flours
- You can create flours right in your own home. Never waste veggie pulps or nut pulps from making milk.
- Want to amp up the nutritional profile of flours made from nuts, seeds, and grains? Soak and sprout them first. The sprouting process activates the enzyme activity in the nut, seed, or grain.
- Make sure to use the non-stick sheets which keep the grains from slipping through the holes in the dehydrator trays. Dehydrate until thoroughly dry.
- Place the dried pulp in the Dry Container that comes with a blender, the Magic Bullet, or any other type of machine that will pulverize the dried pulp to a fine flour.
- Store in airtight containers and put in the freezer if you have space.
© AmieSue.com
Tags: Dehydrator Basics


Oh Vay
What does that mean Maureen?
Great tips, super helpful! Thank you for sharing. I’m feeling more confident about dehydrating without fear now. :)
I love it! Taking the fear out of working with food is one of my main goals with all that I share. Thank you for letting me know. blessings, amie sue