Coconut Nut- Free Crust

 Add to favorites
– raw, vegan, gluten-free, nut-free, grain-free –
Either due to necessity or just the fact that you want to add variety into your diet… this nut-free, grain-free crust recipe will hit the spot. One of the main ingredients that I mixed into this recipe is ground flax seeds. They act as a binder, a filler, a flour replacement, add a nuttiness without adding nuts, and to add a pocketful of nutrients. You can read more about it (here).
There are many wonderful recipes that you can create using raw pie crusts. Everything in between sweet and savory. With this recipe or any of the others, you can either make it for an instant dessert creation, or you can store blank crusts in the freezer for future inspiration. Just remove them from the freezer and load them up with your favorite fillings. For a few ideas, you could use cheesecake fillings, raw chocolate pudding, blended Young Thai coconut meat, fresh fruit, or even savory ingredients.
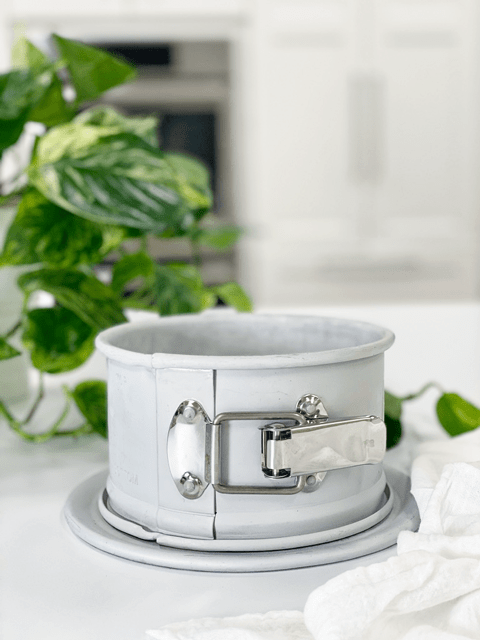
Which pan should I use?
There isn’t an answer to this because the possibilities are quite endless. Pie pans, Springform pans, baking pans, tart pans… be creative and start to look outside of the “pan” for ideas.
How do I prepare the pan?
If using a pie pan and plan on serving it straight from there, I would lightly dust the pan with finely ground nuts or oat flour. If you use Springform pans or tart pans, wrap the base with plastic wrap.
Can I substitute any of the ingredients?
I, for one, am not going to stop you. :) But seriously, of course, you can. You can use any nut and/or dried fruit, but before you do, stop and think about the end flavor will be and will it compliment the filling. I always recommend adding salt because it helps to elevate the flavors.
How to use this recipe:
With this recipe, I can make a flat crust for an 8-9″ pan. The larger the pan, the thinner the crust. Don’t go too thin or it won’t hold up. If you want to go up the sides of the pan, you will need to double the recipe. Or I can make 4-5 (4″) tart pan crusts. It can be enjoyed instantly or dehydrated.
 Ingredients:
Yields 2 1/4 cups batter
- 3 Tbsp (36 g) raw cold-pressed coconut oil, melted
- 3/4 cup (160 g) packed Medjool dates, pitted
- 2 cups (136 g) coconut flakes, unsweetened
- 1/2 cup (52 g) ground flax seeds
- 1 tsp ground Ceylon cinnamon
- 1/4 tsp (2 g) Himalayan pink salt
- 2 Tbsp (27 g) water
Preparation:
- Start by melting the coconut oil and re-hydrating the dates.
- For the oil, place in a small bowl, slide into the dehydrator and turn the temp to 145 degrees. It should be melted within 5-15 minutes.
- For the dates, remove the pits, place them in a bowl, and add enough warm water to cover them. Set aside for roughly 15 minutes. When ready to use, drain, and discard the soak water. Hand squeeze the excess water from them.
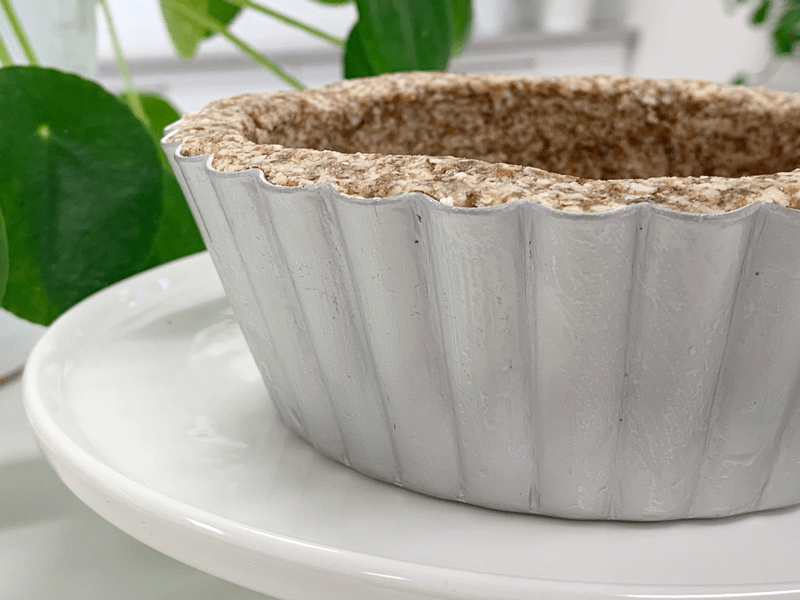
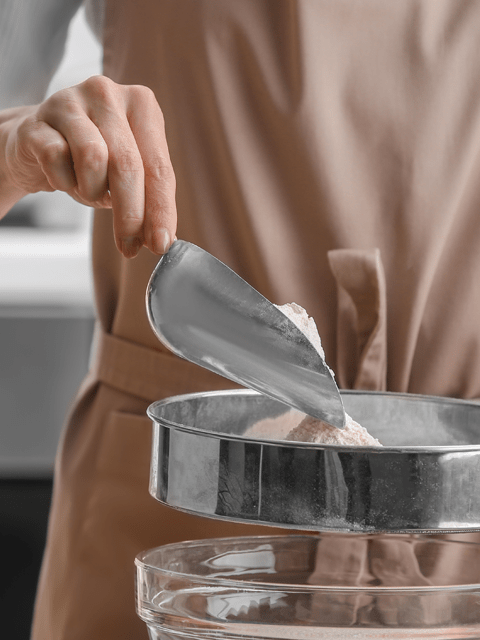
- In the food processor, fitted with the “S” blade, process the shredded coconut, flax, cinnamon, and salt.
- The coconut won’t break down to a fine powder due to the oils in the nuts, so be careful that you don’t over-process them and release too much of their oils.
- Always pulse the dry ingredients together. This will ensure even displacement of the spices/seasonings.
- Add the melted coconut oil, dates, and water. Process everything together until the batter sticks together when pinched.
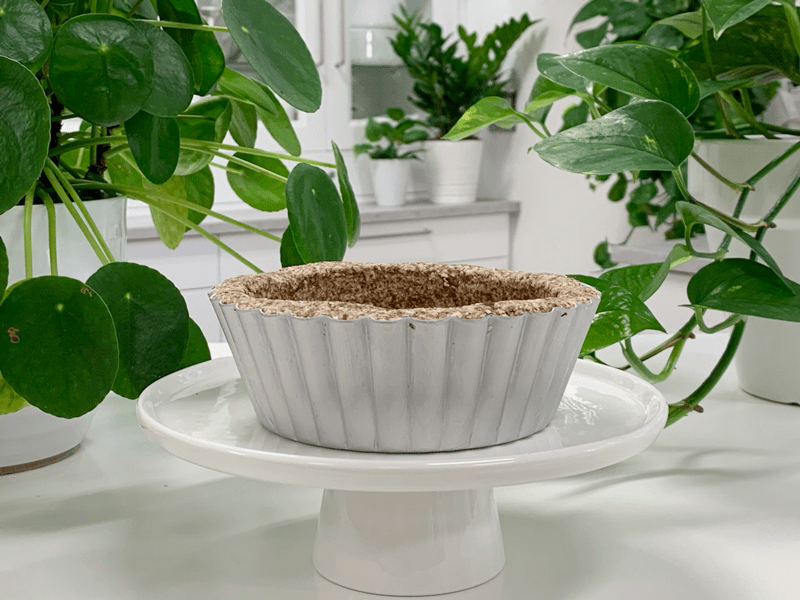
- Press the crust mixture evenly in the bottom of the dessert pan.
- Do your best to make sure the crust is the same thickness throughout, even if you go up the side.
- Double the batter if you want to bring the crust up the sides.
- For more crust techniques, click (Perfecting the Springform Pan and Crusts)
- Crusts also are excellent for creating a “crumble” to top desserts as well.
- The crust can be made 3-4 days in advance for time-saving purposes.
Freezer option:
- To create a raw food staple, I made 3 small tart pan crusts and froze them for future use.
- Line the base of the tart pan with plastic wrap.
- Place 1/2 cup of crust batter in the pan and press the crust batter into the bottom and sides of the pan.
- To store for future dessert inspiration:
- Place in the freezer for at least 2+ hours to firm up.
- Once frozen, remove from the pan and lightly wrap the crusts individually with plastic wrap and place it in an airtight container in a single layer.
- Freeze for up to 3 months.
- Remove from the freezer and fill with cheesecake batter, raw cacao pudding, blended Young Thai Coconut meat… the possibilities are endless.
Dehydrate option:
- Line the base of the tart pan with plastic wrap.
- Place 1/2 cup of crust batter in the pan and press the crust batter into the bottom and sides of the pan.
- Remove the ring of the tart pan and place the crust on the mesh sheet that comes with the dehydrator, slide the plastic-covered base out from underneath it.
- Dehydrate at 145 degrees (F), then reduce to 115 degrees (F) and continue to dry for 10+ hours.
- My reasoning for starting the crust off at 145 degrees? Click (here) to read why.
- The crust won’t get “Crispy-dry,” so don’t have that expectation.
- Dry times always vary due to humidity, the machine, how full it is, and how oily the nuts got during processing. So please check in on them periodically.
© AmieSue.com
Tags: Dairy Free, Gluten Free, Nut Free, Soy Free, Vegan


Brilliant! Thank you so much for the nut free option!!!
Your welcome Kylie. :)
Hey Amie,
I love your site, it is gorgeously done, and I know you hear that I lot! I am a fellow raw food chef coming out with a site soon, and I will be doing a lot of referencing to you :). I wanted to share a nut-free crust with you. Feel free to post it if you like it! I like to do berry swirl/lemon/vanilla pies with it mostly, but it is a pretty versatile crust.
1 1/3 Cup sunflower seeds
1/3 Cup coconut nectar* or other liquid sweetener
2 Tbsp goji berries (optional)
1/3 Cup ground flax
1/3 Cup coconut flakes
2 Tbsp coconut oil
3/4 tsp vanilla powder or 1 tsp liquid (optional)
pinch salt (optional)
5 drops liquid stevia or more to taste
Pulse and Combine until sticky and you’re done. I like to leave the sunflower seeds looking pretty crushed up, but not ground completely–it looks and tastes great that way.
*If using dates, I use 1 Cup, but it will have to be processed for longer and have a much different texture (as the sunflower seeds will turn into meal) than the coconut nectar, but will still taste good!
Hello Ariana,
Thanks for sharing the recipe. Sounds yummy! Good luck with your site, it can sure be a blessings :) amie sue