Everyday Sandwich Bread | Baked | Vegan | Gluten-Free | Yeast-Free | Oil-Free | Nut-Free

 Add to favorites
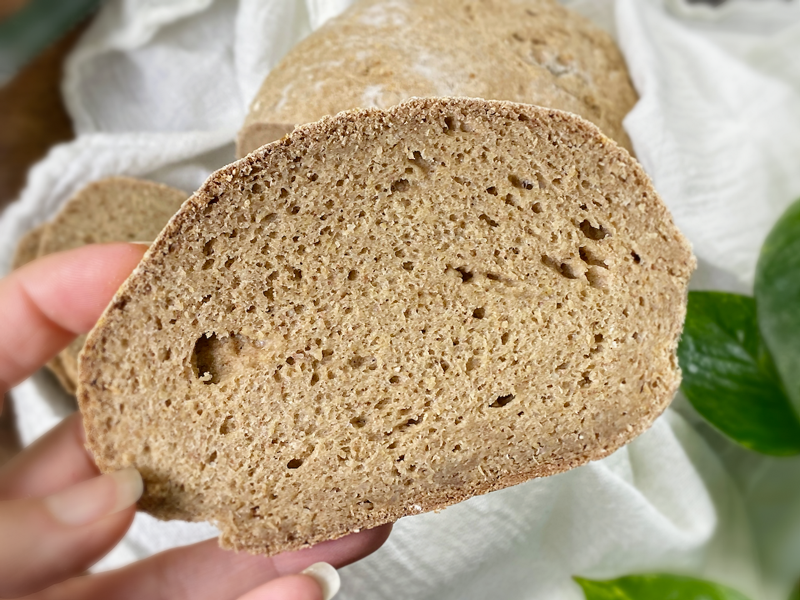
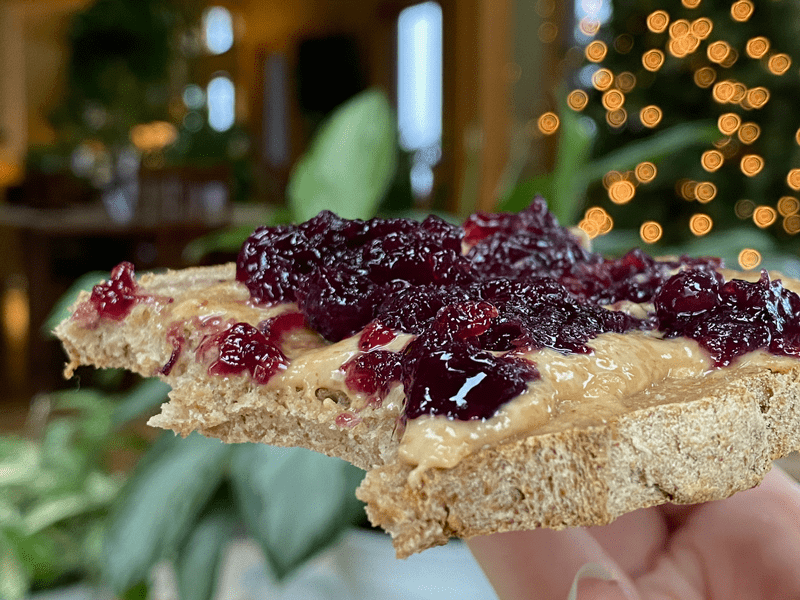
There’s nothing better than homemade bread, fresh out of the oven. This homemade rustic crusty bread is now the new rave in our household, and I hope that it will soon be in yours as well. It is gluten-free, nut-free, vegan, yeast-free, and oil-free. It may not have large airy holes like most yeast breads offer–the crumb is tighter and slightly denser–but it is glorious for sandwiches, toasted (or not) with almond butter and jam, or just served plain.
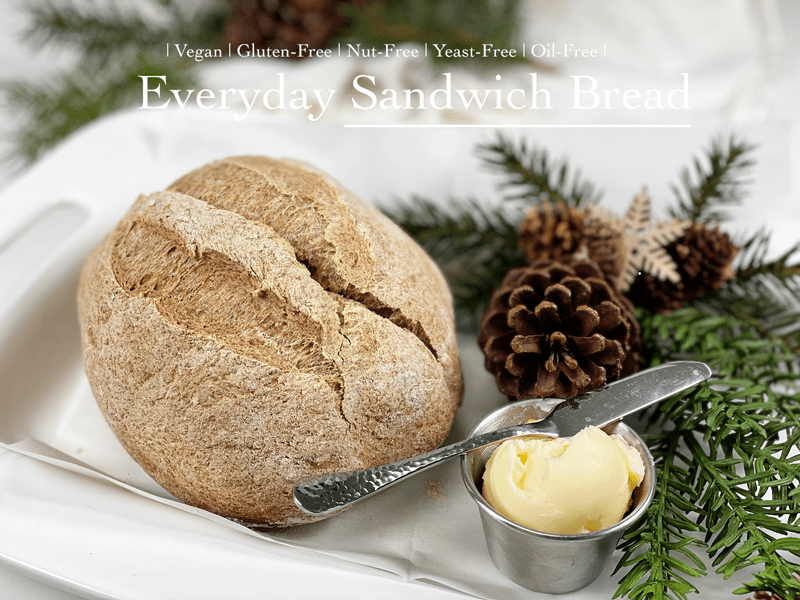
I titled this recipe Everyday Sandwich Bread because it has a lovely neutral taste that will complement any meal, dish, or craving. Bob is the main bread eater in our house. I LOVE bread, but it likes to stick to me, if you know what mean, so I limit my intake. On a regular basis, I make him raw vegan breads as well as baked ones. He enjoys them all but asked if I could make one that was closer to store-bought loaves of bread… the kind you make sandwiches with. I put my chef hat on, tightened the strings on my apron, and made my way to the studio. I resurfaced with a loaf of bread in my hands, fresh out of the oven. That’s just the kind of gal I am.
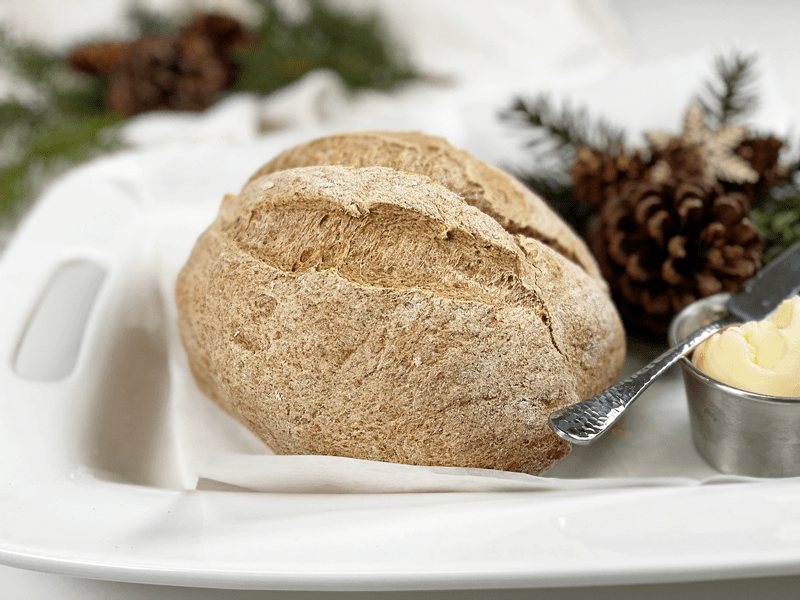
I am going to touch on the key ingredients that I used in this bread recipe. I have pulled together several types of flours, and with good reason. With gluten-free baking, a blend always performs better than a single flour does. Plus, I selected ingredients that fit our dietary needs. Can you substitute other flours? Yes, there is always wiggle room for substitutions, but you will have to experiment on your end to see what works for you.
Rolled Oats (certified gluten-free)
- Oat flour is made by simply grinding rolled oats! The result is a superfine, fluffy, and sweet flour that will make baked goods chewier and crumblier.
- If you have any type of intolerance to gluten, be sure that you seek out a brand that is certified gluten-free, which assures us that they haven’t been cross-contaminated with gluten-containing grains.
Hulled Buckwheat (whole kernels)
- For this recipe, I ground my own buckwheat flour. I personally think the flavor is superior to commercially ground buckwheat flour. It’s super easy and quick to do. I used my Vitamix blender for this 30-second task.
- You will find two types of buckwheat on the market: buckwheat with the hull still on is dark brown, while the hulled buckwheat groats (where the hull has been removed), is a grey-greenish color. I used hulled buckwheat for this recipe. The darker-colored buckwheat creates a darker and heavier flour. Curious about what brand I used? Click (here).
- Buckwheat is a great source of plant-based protein and contains all the essential amino acids.
- Buckwheat offers an assertive, earthy flavor that is great in bread.
Alternative Instead of Buckwheat
- Oat Groats – Replace the buckwheat with 1/2 cup oat groats (ground, but not too finely) and add 2 Tbsp of water when adding the sweetener. I tested this and the bread turned out wonderful. It has a bit stronger oat flavor which is to be expected. Bake the bread an extra 10 minutes.
- Sorghum whole-grain – Replace the buckwheat with 1/2 cup whole grain sorghum (ground, but not too finely) and add 2 Tbsp of water when adding the sweetener. I tested this and the bread also turned out wonderful. The overall flavor of the bread was neutral. Bake the bread an extra 10 minutes.
Sorghum Flour
- Ground from the kernel of the sorghum plant, this flour is a powerhouse of nutrition. It is a gluten-free ancient cereal grain.
- It has a smooth texture that makes it well suited for this bread.
- There are many health benefits to sorghum, but I lean toward it because it is rich in fiber, which benefits your digestive system and helps you feel fuller for longer.
- It has a light color and texture and a mild, sweet flavor, making our white sorghum flour a popular alternative to wheat flour and a wonderful ingredient for gluten-free baking.
- If you can’t find sorghum flour in your local grocery store, you can order it (here). If you don’t mind spending a few extra dollars you can get sprouted flour (here).
Arrowroot Powder
- Commonly labeled as arrowroot powder, arrowroot flour, and arrowroot starch.
- This powder is made through the extraction of starch from the arrowroot plant, without the use of high heat or harsh chemicals.
- Adding arrowroot flour to your recipe helps to create a lighter and fluffier result, but it also works to bind all the ingredients together. Another reason I added it is because it creates a wonderful crust.
- You can find organic arrowroot powder (here).
Psyllium Husks
- There is NO replacement for psyllium powder in this recipe. I’m going to put my foot down and stand firm on this statement.
- I have provided 2 different measurements down below, depending if you are going to use psyllium powder or the husks. I found that the husks provide a less dense texture, which is our preference.
- It works as a binder, along with giving the bread that bread-like, spongy texture that we crave.
- Psyllium husks come in different grades of purity, which affects the color of the husks, which range from brown to off-white color. Lower-quality psyllium can cause a purplish hue to your bread, so try to use a high-quality brand. I will provide some links to the ones that I recommend. Organic India, Psyllium, Whole Husk, 12 oz, Herbal Secrets USDA Certified Organic Psyllium Husk, Anthony’s Organic Whole Psyllium Husks, and Indus Organics Psyllium Husk Whole, 1 Lb Bag, Premium Grade, High Purity.
Tips and Techniques
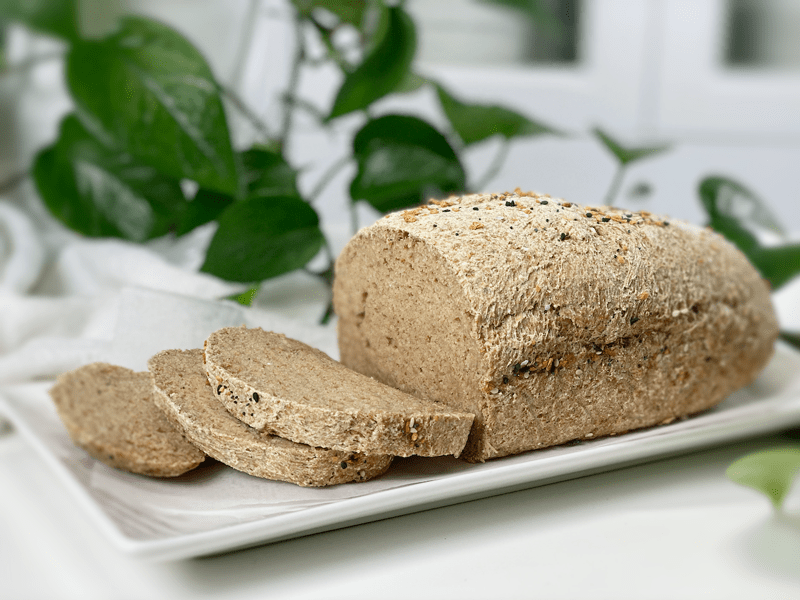
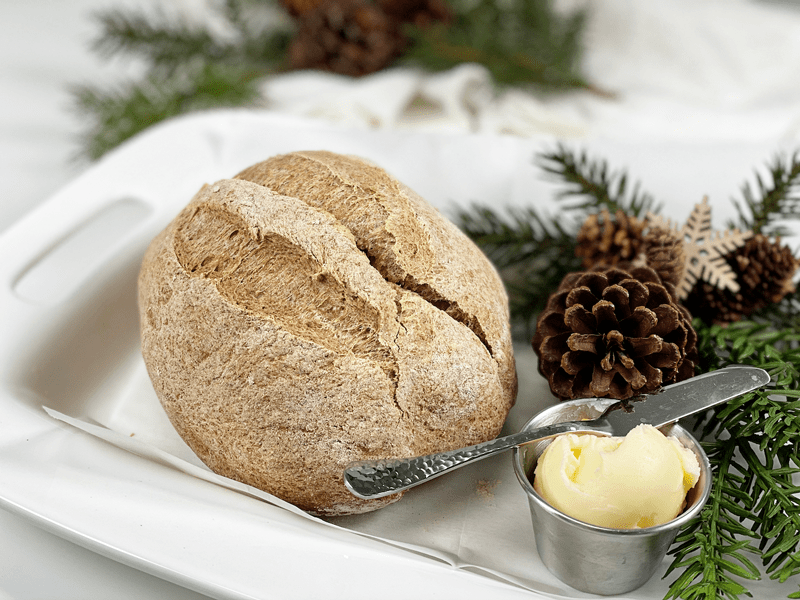
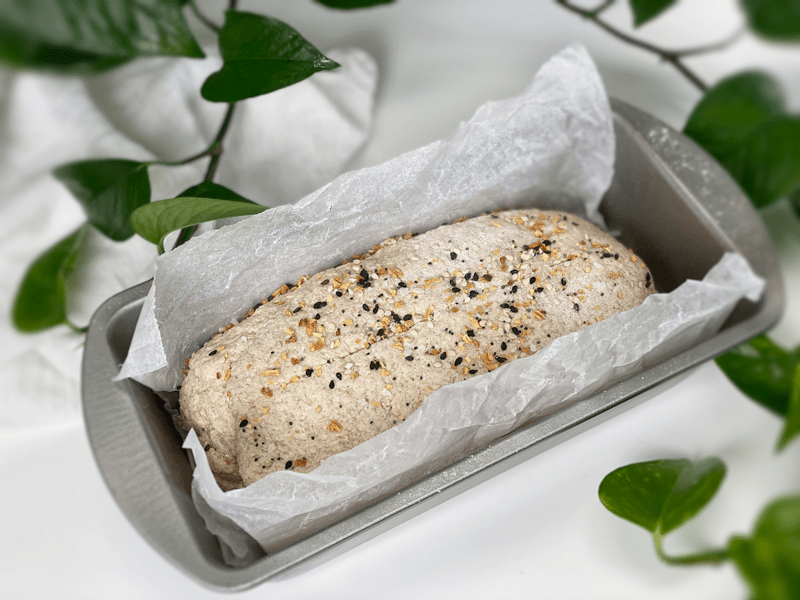
- No loaf pan is required for this recipe. I intended for it to be a rustic bread–free-flowing, if you will. Therefore, you just need a baking sheet and parchment paper. However, I have tested baking this bread in a bread loaf pan and it came out beautifully. See photos and tips below.
- Have fun and form the dough into any shape you want: baguette, buns, French bread style, etc.
- My oven is electric, so the outcome of the bread may differ if your oven is gas. If using a gas oven, I suggest baking the bread on a baking stone, which will provide consistent, even heat. Just as there is a science in how to MAKE bread, there is also a science in how to BAKE bread. I won’t go into detail, but you can read more about (here).
- If at all possible, weigh out the measurements of the ingredients. To measure without a scale, use a spoon to fluff up the flour within the container. Spoon the flour into the measuring cup and use a knife or other straight-edged utensil to level the flour across the measuring cup.
I hope you enjoy this recipe. Please leave a comment below. blessings, amie sue
 Ingredients
Preparation
Psyllium Gel
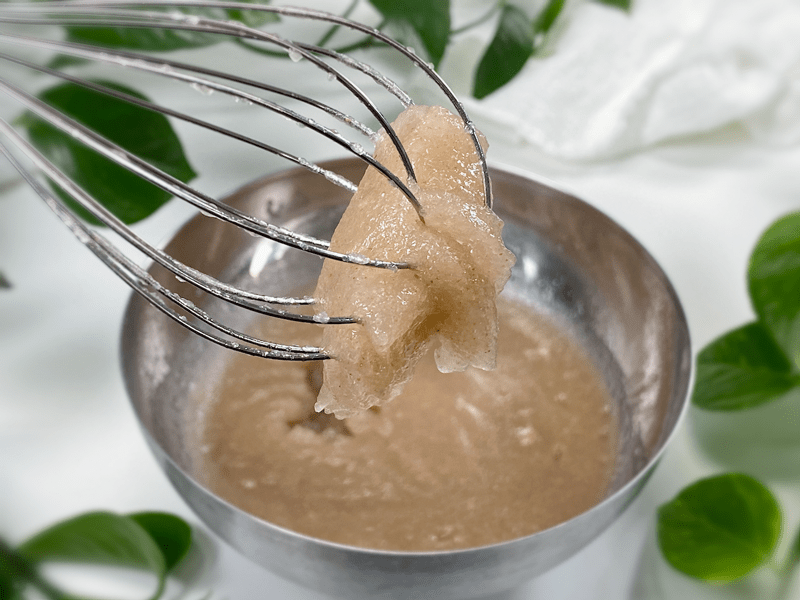
- Quickly whisk the water and psyllium husk powder in a mixing bowl. It will instantly start to gel, which is to be expected. Set aside while you prepare the remaining ingredients, so it can thicken.
- Preheat the oven to 350 degrees (F).
- Line a baking sheet with parchment paper, sprinkled with a little extra flour.
Dry Ingredients
- In the mixing bowl that we are going to knead the bread in, whisk together the oat flour, sorghum flour, buckwheat flour, arrowroot, baking soda, baking powder, and salt.
- If you have a sifter, use that to thoroughly incorporate all the dry ingredients.
Mixing the Dough
- Add the psyllium gel and drizzle the honey around the bowl.
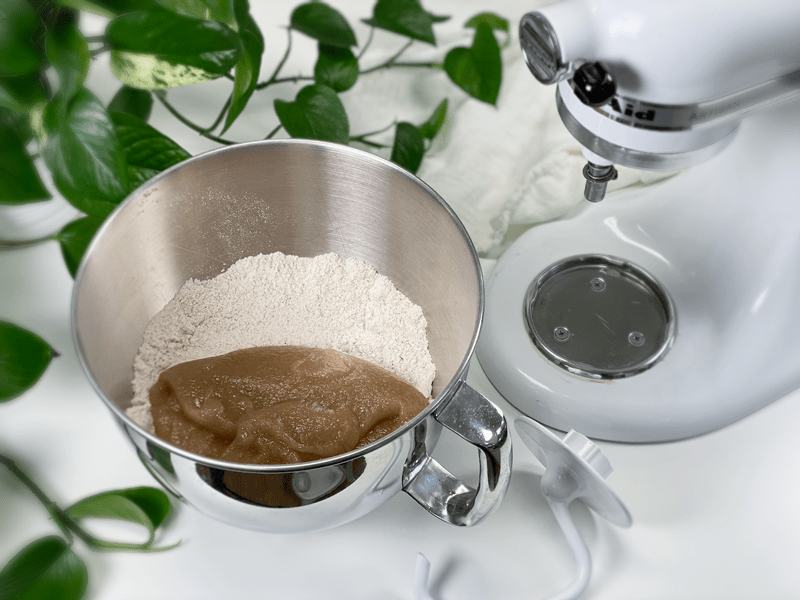
- Using either a hand mixer or a free-standing mixer with dough attachments, knead for 5 minutes (set a timer on your phone) to ensure that it gets kneaded enough (don’t we all love feeling needed?).
- Start the mixer on low until the flour is folded in, then turn it up one speed. If you start off at too high a speed, the flour will jump out of the bowl. If the dough feels too wet, add a tablespoon of arrowroot, and if it feels too dry, add a tablespoon of water
- You can do this by hand, but plan on kneading the dough for up to 10 minutes.
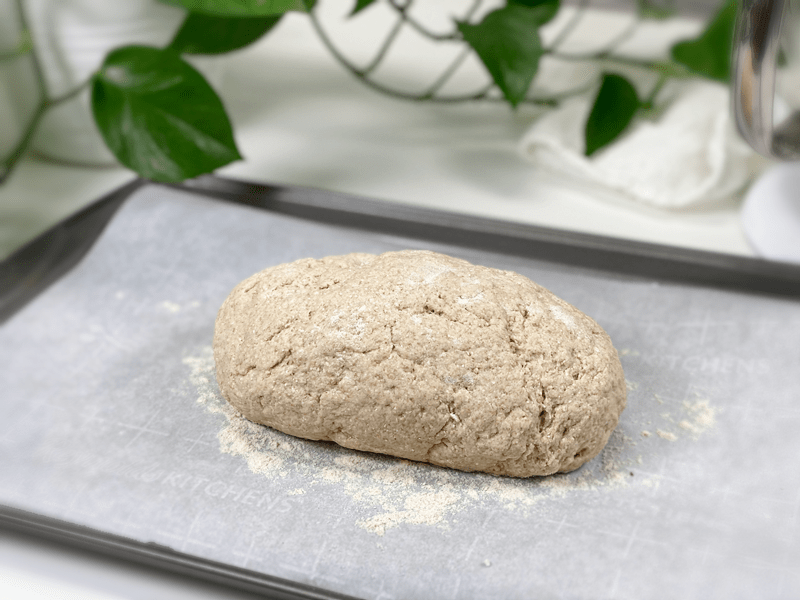
- Shape the dough into a round or oblong shape and place it on the baking sheet. After I shaped the bread, it measured 6.25″ x 4″ and once it was done baking, it measured 7″ x 5.5″. (You don’t have to aim for this, just a point of reference.)
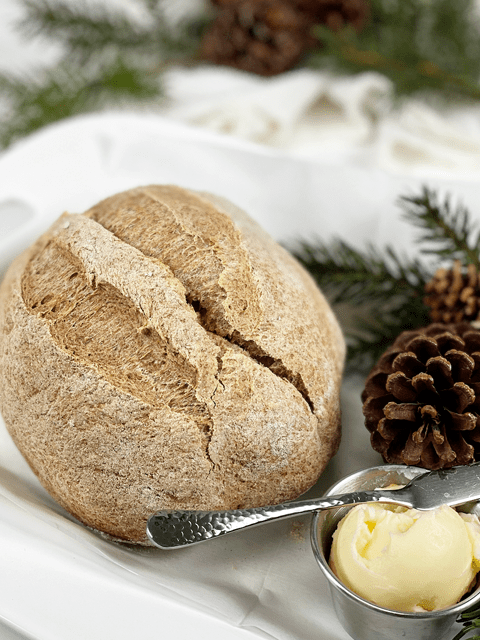
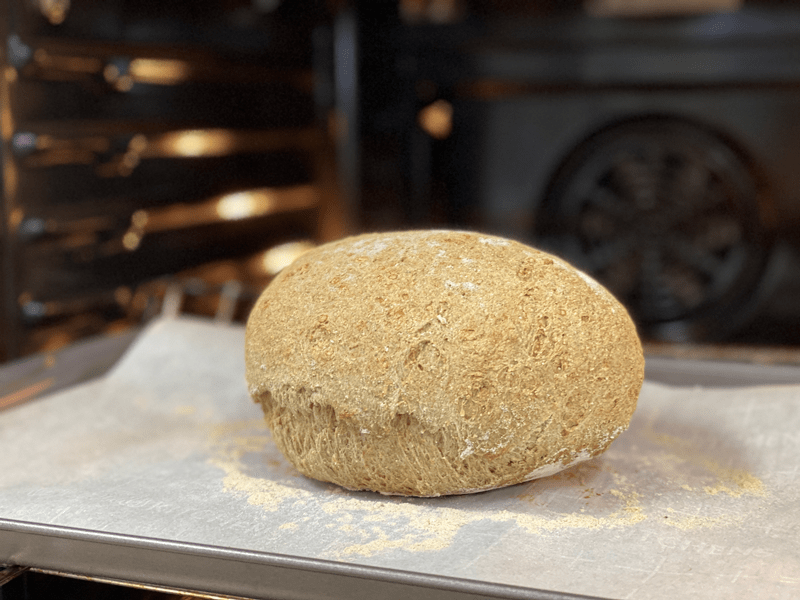
- Score the top of the bread with the tip of a sharp knife, going no more than 1/4″-1/2″ deep. This creates that wonderful texture that you see in the photos.
- Bake on the center rack for 50-60 minutes.
- Take the loaf out of the oven and turn it upside down. Give the bottom of the loaf a firm thump! with your thumb, like striking a drum. The bread will sound hollow when it’s done.
- When it’s done baking, slide it onto a cooling rack and wait to cut when cool.
Storage
- Once the bread has thoroughly cooled, you can wrap it. It should last up to roughly 5 days.
- Brown paper bag: This will better protect your loaf and allow for good air circulation, meaning that your crust won’t get soft. Some people claim that a sliced loaf stored cut-side down in a paper bag will stay the freshest.
- Plastic bag: If you want to avoid staling at all costs, go with a plastic bag. Make sure to get as much air out of there as possible before sealing. Your crust will soften, but your bread won’t dry out or harden prematurely. Make up for unwanted softness with toasting.
- Tea towel: Wrap the bread in a tea towel, then place it in the bread box.
- Fridge: Whether you store it in the fridge is up to you. Many people feel that bread in the fridge turns stale quicker. If you’re not going to finish a loaf in the first few days after baking it, you might want to freeze it until you’re ready to eat it.
- Freezing: Rather than freezing the loaf as a whole, preslice it and place wax or parchment paper in between each slice before sliding it into a freezer-safe container. That way you can pull out 1,2, or as many slices as you want.
-
-
Psyllium gel
-
-
Getting ready to knead the dough in the mixer.
-
-
Shaping the loaf for baking.
-
-
Fresh out of the oven.
-
-
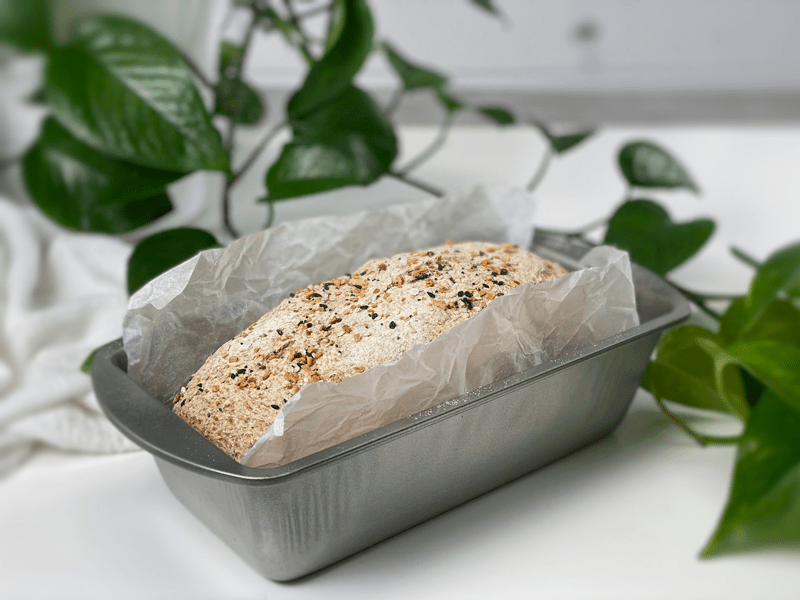
To bake in a loaf pan, line it with parchment paper so it doesn’t stick.
-
-
Fresh out of the oven. Lift the bread out with the edges of parchment paper and place the bread directly on a cooling rack.
-
-
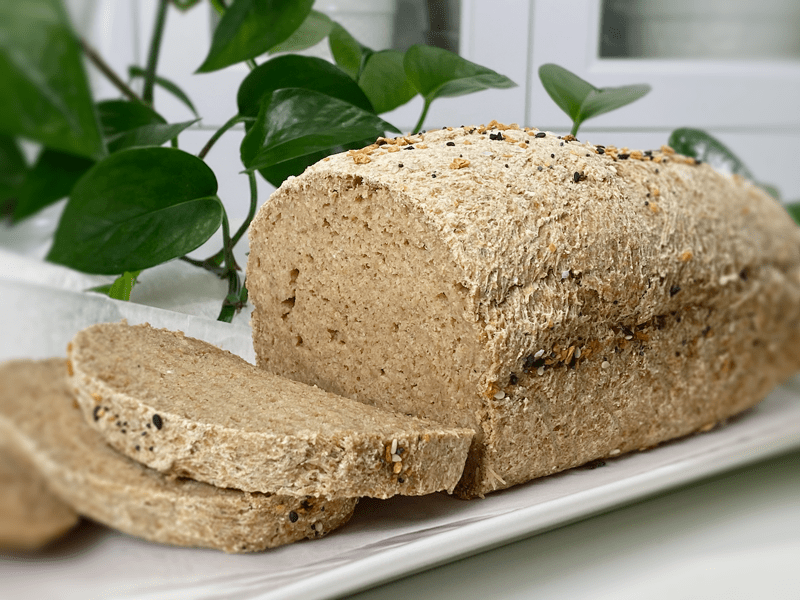
Gorgeous slices for sandwiches!
© AmieSue.com
Tags: Gluten Free, Nut Free, Oil-Free, Vegan, Yeast-Free


 Add to favorites


 Ingredients
Sorghum flour is unavailable where I live (and unfortunately Amazon is not an option). Is there something else that can be substituted?
Good day Esther,
I don’t know what you have available to you so you can try just about any other flour except coconut flour which would be too drying. blessings, amie sue
Flours available: almond, red lentil, raw buckwheat, cassava, rice, chick pea, quinoa, oat, tapioca, arrowroot
So, in your expert opinion, is there something to replace the sorghum flour in the breads/bagel recipes?
Looking forward to your reply.
Happy holidays.
Good day, Esther, and Happy Holidays!
Thank you for giving me a list of flours to choose from, it surely makes my job easier.
Since I basically know how the oat and buckwheat react in this bread, I would suggest those above everything else. Different flours respond in unique ways (flavor, texture, absorption rate, proteins, etc). A few days ago, I made some sweet rolls using almond flour in place of the sorghum but all the other ingredients for the base of the recipe was the same as this bread… it worked but the texture was slightly different. So, I would also give almond flour a try.
Whichever one you attempt, please keep us posted if you would. blessings, amie sue
Millet is a great choise. I use it every time!
Hi Amie Sue,
So you have crossed out sorghum flour, does that mean we just delete it altogether and don’t replace with anything else?? Sorry if I missed something here! :)
Good morning Sandy,
Well, how strange… I was literally working on a list of broken links on the site (we are experiencing some technical glitches that I am working on right now). You didn’t miss anything. :) Please use that flour and if click on the link with a line through it, it will still take you to the product I used. Sorry for the confusion. Looks like I have a long day ahead of me. Blessings and please leave a comment if you make the bread. amie sue
OK, thank you……will let you know when I make the bread how it turned out! :))
Looks like fun my dear neice. I guess I need to go shopping. Love you.
Ah so sweet to have you here on the site. :) LOVE it and YOU!!! You know how to reach me if you have questions. :)
Thank you Amie Sue for another great recipe. Quick, easy, nutritious and delicious. Bread turned soft but with body and a lovely crust.
Thank you for the feed-back Barbara. I love hearing from those who try the recipes. Have a blessed day, amie sue
Amie Sue, WOW, this bread is BY FAR the best gluten free/vegan bread I have ever tasted, let alone made!!! It felt a tad intimidating at first, as I’ve never baked with/used buckwheat or sorghum, and wasn’t sure about the psyllium husk either! But I’m SO glad I pushed through the fear and just did it, because THIS BREAD IS AMAZING!!!! I’ve been gluten free and dairy free for 6 years, health reasons, and recently learned of an egg sensitivity. So needless to say, I’ve been grieving the loss of bread. Since discovering your recipe, I’ve made 2 loaves/week. My whole family loves this bread. It keeps well, it toasts perfectly, it’s tasty with avocado, plant-based butter, nut butters, jam, and even smoked salmon and capers!!! I’m VERY GRATEFUL for your encouragement, your detailed recipe and instructions, and the beautiful way you present everything. THANK YOU> I”ve shared this with my sister in law, since my niece is having terrible GI issues and they are experimenting with GF. My 2 yr old niece loves the bread too!!! :) Again, huge thanks. I can’t wait to try the bagel recipe when I have time to tackle a new recipe :)
Oh, thank you Heather for your feedback and experience with the bread. It excites me knowing that you are able to enjoy this bread and that it has found a home on your kitchen counter as a healthy staple that feeds not only your tastebuds but also your body with nourishment. I really appreciate the time you carved out of your day to share such a lovely comment. I am always here to help encourage and support you! blessings, amie sue
Hi Amie Sue,
What could I use instead of the the buckwheat flour in this recipe? I can’t eat buckwheat, brown rice, almonds and you like to use those flours in your bread recipes. Please advise if you can and/or recommend a bread recipe that I could make.
Thank you
Good morning Barbara,
I don’t have a solid answer for you because I haven’t tested the bread without buckwheat so I would have to play around with the recipe in order to be confident in my response to you. More oats are possible but it needs to be tested. I will add this to my list of things to experiment with. If you decide to try it by replacing the buckwheat with more oats (same measurement), please let me know as well. blessings, amie sue
I will do that and will be looking out for your new bread recipes. I wish I have your super girl apron in my kitchen. Blessings to you💕
You have those super girl apron powers too… if you don’t feel them, hang in there… they are just waiting for you to tap into them! hugs, amie sue
Ok Barbara I did some kitchen magic and came up with two alternatives to buckwheat in the bread recipe. I added it in the body of the post but I will also post it here.
Alternative Instead of Buckwheat
Oat Groats – Replace the buckwheat with 1/2 cup oat groats (ground, but not too finely) and add 2 Tbsp of water when adding the sweetener. I tested this and the bread turned out wonderful. It has a bit stronger oat flavor which is to be expected. Bake the bread an extra 10 minutes.
Sorghum whole-grain – Replace the buckwheat with 1/2 cup whole grain sorghum (ground, but not too finely) and add 2 Tbsp of water when adding the sweetener. I tested this and the bread also turned out wonderful. The overall flavor of the bread was neutral. Bake the bread an extra 10 minutes.
I hope this helps. blessings, amei sue
Hello Ami 🌞🌈 I can leave out the arrowroot and Baking powder?i can not eat them. And replace the sorghum with buckwheat? Or replace entire flour bread onely with sprouted buckwheat flour?
Good evening Diana,
Thanks for reaching out with your questions. To be honest, with all of your requests, a completely new recipe would need to be formulated. Creating vegan, gluten-free, yeast-free bread recipes is a science; each ingredient plays an important role. I wish I could have answered yes to your requests but for now, the answer is no, all around. blessings, amie sue
Thank you for your answer Amie
In this case i will give an experimental try and see what will be the result
🤗🐝
You bet. Keep us posted if you give a try. :) blessings, amie sue
I was wondering if you batch grind your rolled oats and buckwheat. Does it store well or is it best left in it’s natural form before use? Thanks in advance for your advice.
Good morning Paula,
I prefer to grind the oats and buckwheat as needed to hold in as many nutrients as possible. I hope you give the recipe a try. If you do, please leave a comment. :) blessings, amie sue
Hello Amie-Sue,
Can I replace arrowroot powder with tapioca powder/starch?
Hello Shlomit,
I haven’t tested it myself but tapioca flour is typically ok to use in place of arrowroot. amie sue
I am sharing my experience making this bread so others would be aware. I made this bread without kneading it using a mixer because I don’t have one. So, what I did was I used a large spatula with a folding action I did about 5 minutes. And I changed the flour mix because I didn’t have buckwheat groats (Bob’s mill GF flour the red bag, Oat flour, millet flour, tapioca starch). The result was the bread rose but then got deflated and dense. I shall try next time using same flour mix and see if it improves. Thank you Amie-Sue.
Second attempt making the bread and this time using all the same ingredients called for except I instead of Tapioca flour instead of Arrowroot. The result of the dough was like on Amy-Sue picture, totally different than the last time I made using a mix of GF flour, oat flour and Tapioca flour. And I kneaded it by hand using a large spatula using folding method for 5 minutes. The result was much better. The bread had a good height and didn’t collapse. Although toward the middle slice saw that the base of the bread did not rise. My oven is electric oven without fan. Not sure if I need to adjust the temperature or the length of baking. Will definitely be making this again.
Hello Shlomit,
Baking bread is not only an art… but a science. Not all ingredients can be substituted, at lease when you use a specific formula. It’s always good to experiment though, many great things can and are discovered! Thanks for sharing your experiment with us! blessings, amie sue
Hello, love your website by the way. Sooo, I was wondering can you use a food processor to knead the dough or do you need a mixer? Please and thank you.
Hello Jim,
I am glad that you are enjoying the site. :) I wouldn’t use a food processor, it would be way to aggressive! You can do it by hand and good a nice workout but I highly recommend a mixer with a dough attachment. blessings, amie sue