Background Color


 Add to favorites
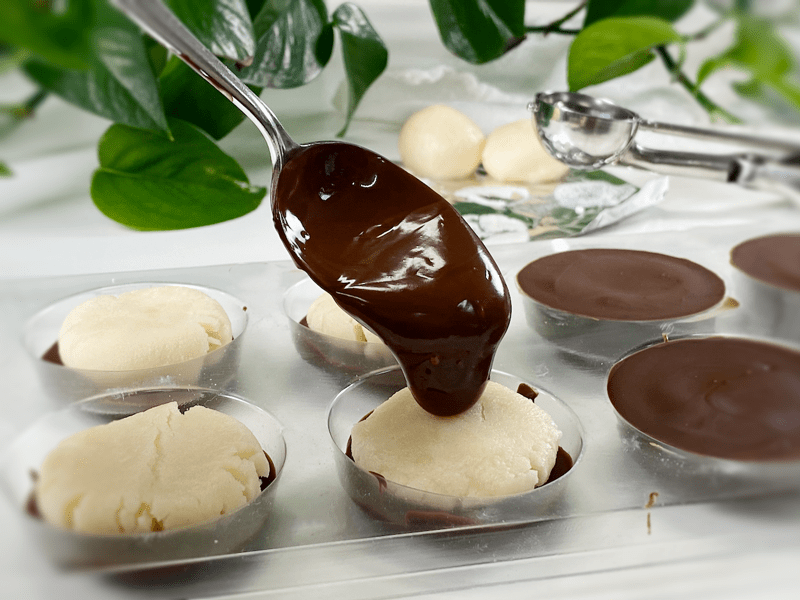
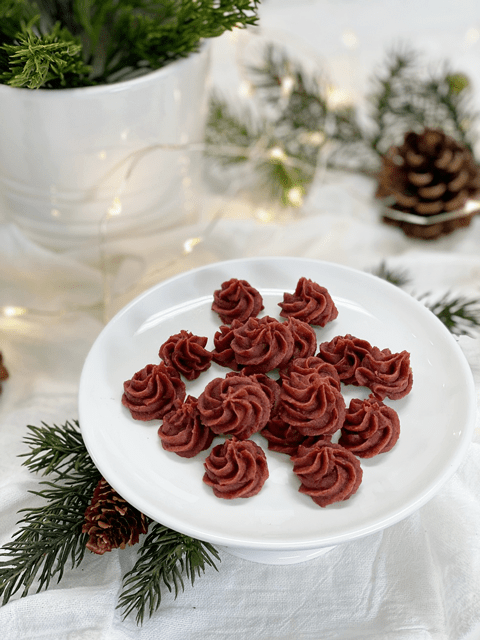
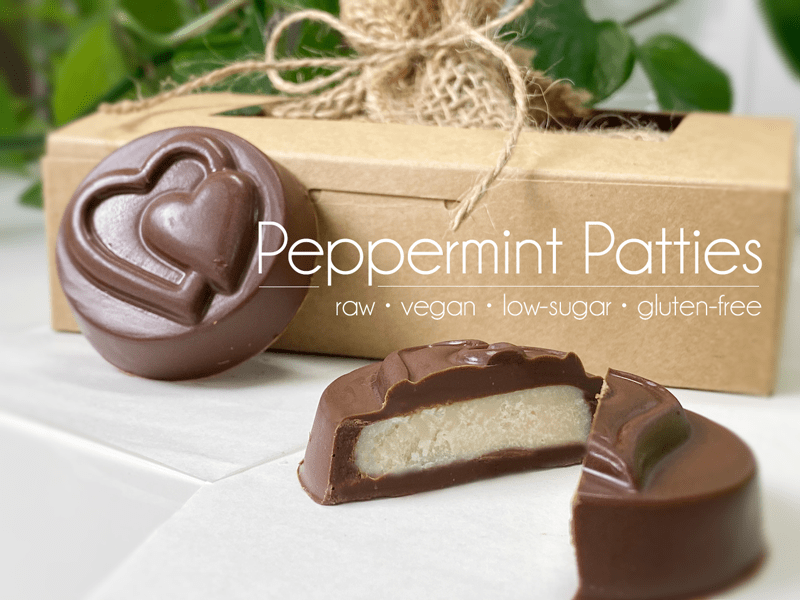
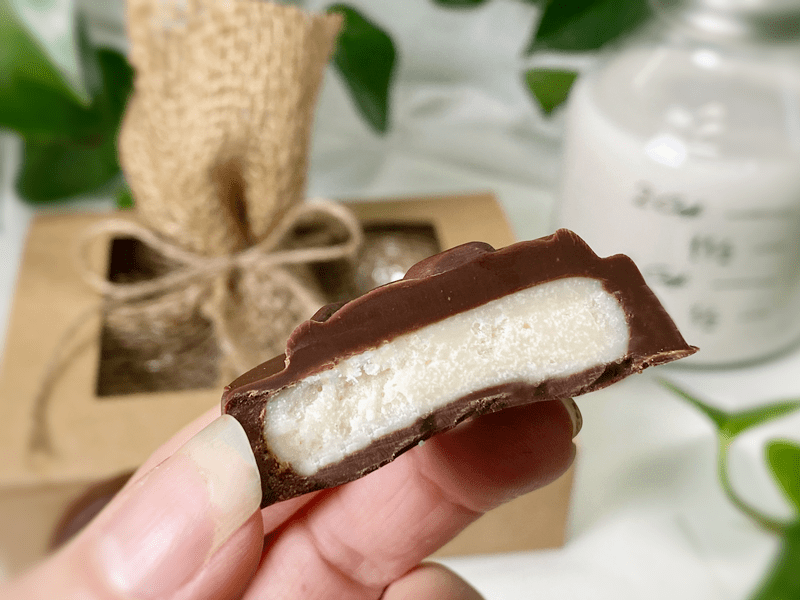
The base for these vegan, gluten-free, LOW-SUGAR peppermint patties is coconut butter. It’s perfect because it’s rich, packed with fiber, and achieves a creamy consistency when softened, giving it that creamy peppermint patty center that many of us grew up on. You won’t believe just how quick and easy these are to make!
You may think that I created this recipe just in time for Valentine’s Day. I could let you believe that, but in truth, I made these just in time for Bob’s birthday. After all the years we have been together and after the thousands of recipes that I have made (and he has taste-tested) he STILL gets excited about the food I put down before him. So, it’s no surprise that when a special occasion rolls around, like his birthday, I still get giddy with all the ideas of what I can make for him.
Traditional York Peppermint Patties are made from sugar, corn syrup, semi-sweet chocolate (chocolate, sugar, cocoa, milk fat, cocoa butter, soy lecithin, PGPR, emulsifier, vanillin, artificial flavor), invert sugar, egg whites, oil of peppermint, and milk. The ones that you are going to create today are made from coconut butter, very little maple syrup, peppermint extract or oil, and whatever chocolate coating you decide on.
Coconut butter is made from whole coconut flesh (not just the oil) and puréed into a rich and thick spread. It melts in your mouth with a full coconut taste and aroma. The melting point for coconut butter is between 93-100 degrees (F), which makes it great for this recipe, since it can handle being left out at room temp (providing your home isn’t above 93 degrees (F). Not all brands are made equal, so check to make sure that it is raw (if that is important to you) and be sure to scan over the ingredient list to make sure the manufacturer didn’t slip in other unnecessary ingredients.
I am going to share two different methods with which you can soften the coconut butter. If you are new to using this ingredient, the first thing you will spot upon opening the jar is a thick layer of coconut oil sitting on top. Do not be alarmed – this is not mold. The oil has separated from the meaty flesh.
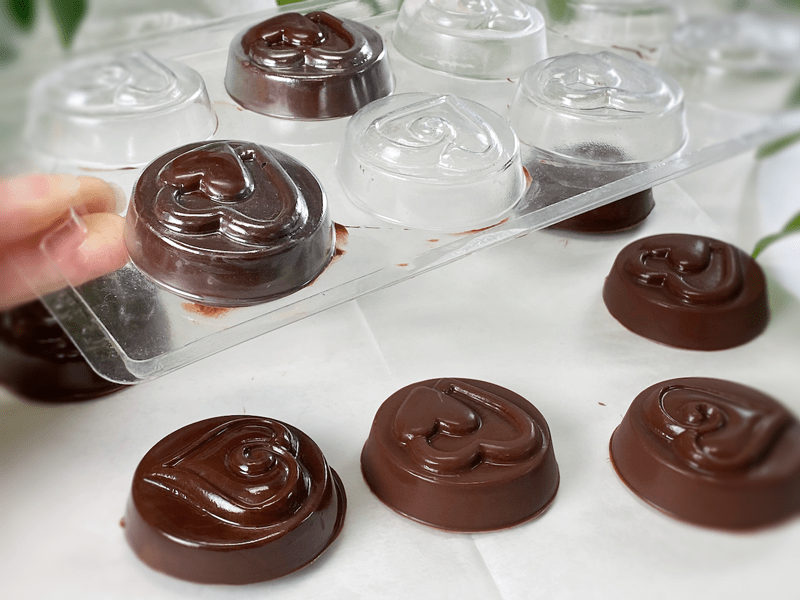
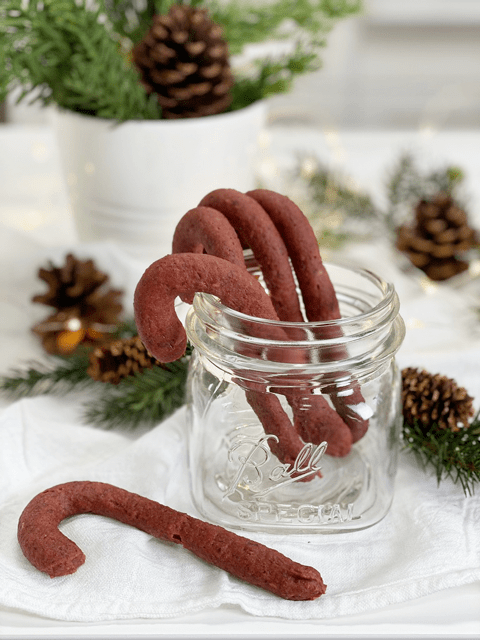
I don’t mind recipes that require refrigeration or freezing in order to keep their shape, but my goal is to always try to make them shelf-stable. Bob loves to take snacks on the go, and I don’t want them melting in his pocket. Today, I achieved that. These candies won’t melt (unless subjected to the sun or high heat). They can be stored in the fridge or freezer if you want to ration them, but your teeth will be met with some resistance when you bite down. I guess it just depends on what experience you are after.
Now, it’s quite possible that some of you have never experienced a York Peppermint Patty before, or if you have, you may not have experienced a homemade one. These peppermint patties have the cooling sensation that you can expect when using peppermint extract or peppermint essential oil (which is what I used). You know, that sensation of itty bitty snowmen running up and down your spine?!
Believe it or not, but I only used 1 tablespoon of maple syrup for the whole creamy center. Of course, there is more sugar once you add the chocolate coating. Speaking of which, you can use your favorite go-to chocolate coating, use the one I have linked below (all raw/vegan), or you can melt store-bought chocolate chips.
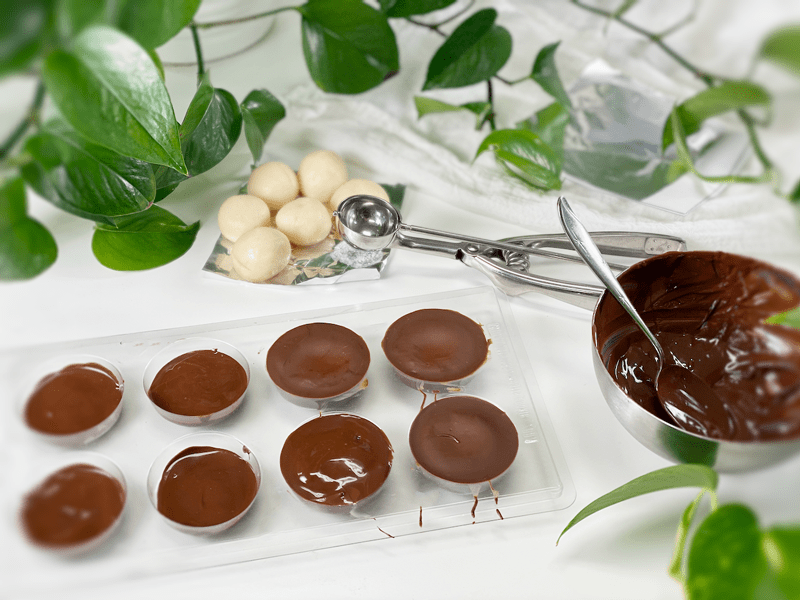
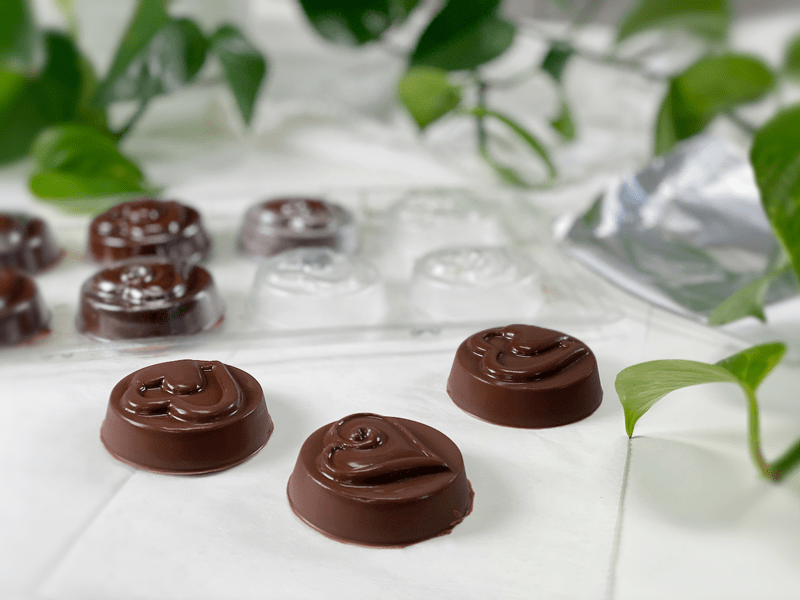
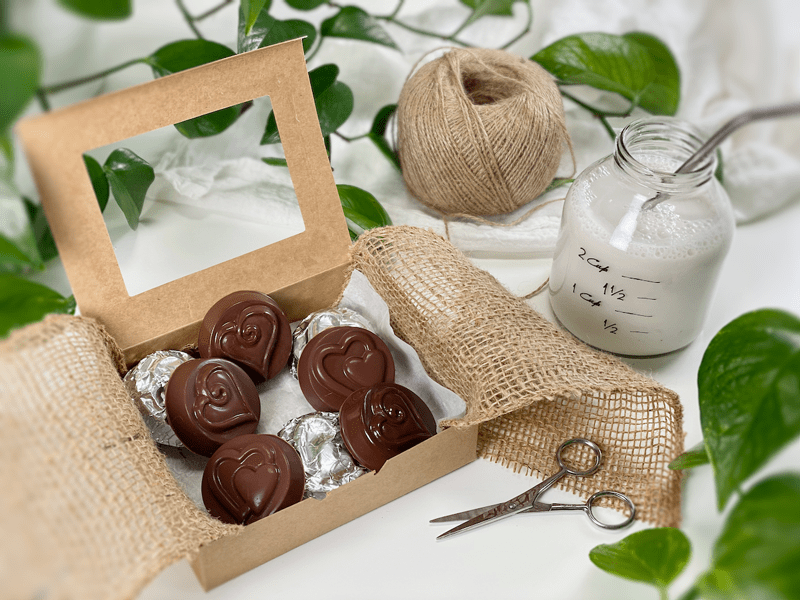
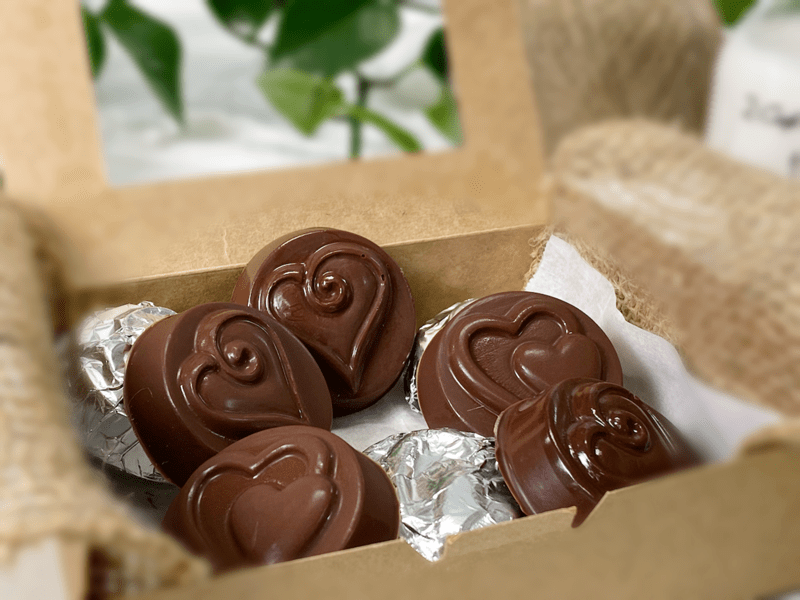
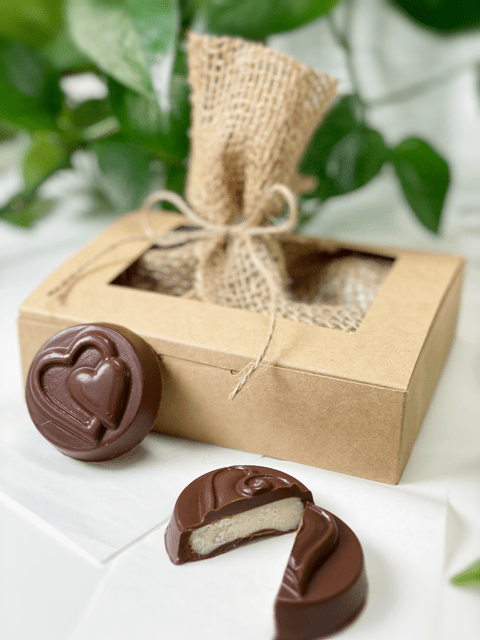
Be creative! You can use a chocolate candy mold (any shape or style) or you can shape them by hand and simply dip them into the melted chocolate. I used a mold that I picked up many years ago at Michael’s Craft Store, which made 10 candies. The smaller the mold or shape, the more candies it will make. My only word of caution is that you don’t make the candies TOO big, because they are very rich, and a small piece is satisfying.
I hope you enjoy these peppermint candies as much as we have. Please leave a comment below, but most of all… have a blessed and happy day, amie sue
 Ingredients
Yields 10 candies (size depending)
Peppermint Centers
Chocolate Coating
Peppermint Centers
Chocolate Coating