Background Color

 Add to favorites
Recipes are all about combining ingredients to make wholesome, delicious, and nutritious dishes. Some stand alone, such as oats, rice, grits, and so forth. Of course, we typically add other ingredients to suit our taste buds, but I also like to combine base ingredients to enhance the nutritional value. No matter what style of eating we adhere to, a varied diet is a sure way to get all the nutrients our bodies require.
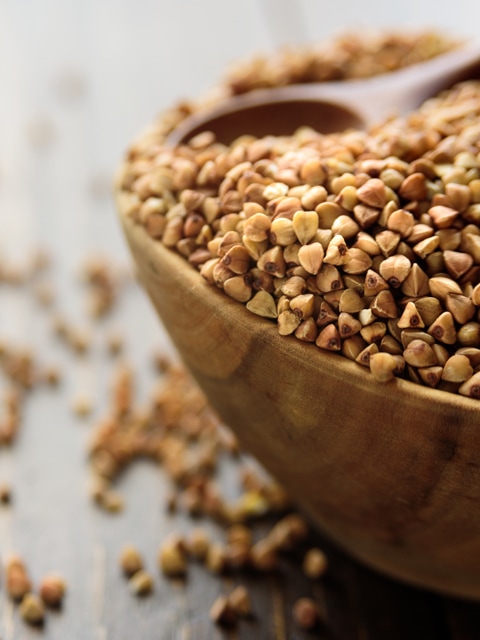
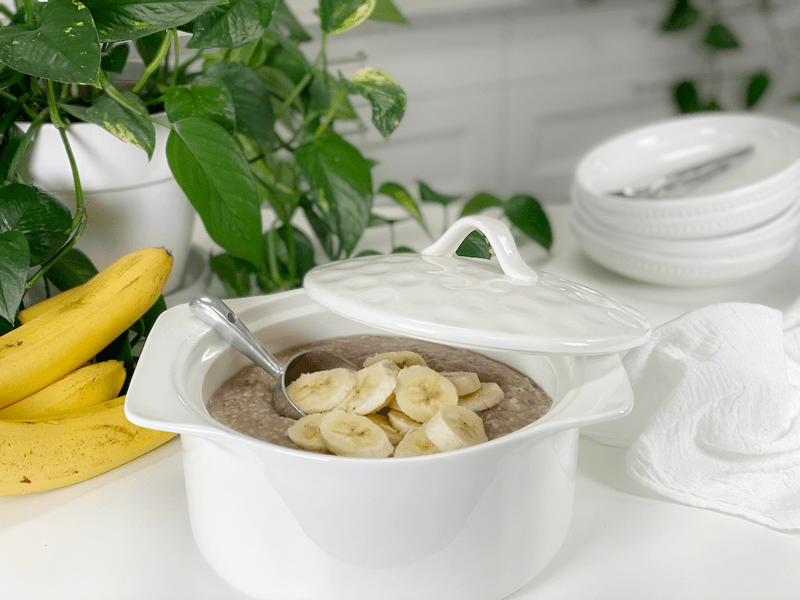
All of this leads me to today’s simple recipe. I enjoy and LOVE a bowl of steel-cut oats in the morning, but I wondered, “Is there a way to add another nutrient profile to up the game?” That’s when I thought of buckwheat. I had a feeling that the two would play well together, since they are similar in size and texture, and not too far apart in flavor. Below I’ve listed some (but not all!) of the benefits of these two grains.
Have you ever read through a recipe and seen the word “optional” next to an ingredient or in the cooking technique? I’ve often wondered why, since all the ingredients listed and all the techniques used are what made the recipe a true success. But I realized that the word optional gives the end-user the option to tweak a recipe or take short cuts as needed.
Ingredients can be swapped out due to food intolerances, allergies, taste preferences, or even availability. But techniques are what seals the deal when it comes to expectations of how the recipes turn out.
So, with that long wandering thought being said…I highly recommend soaking the grains you consume to increase the nutritional benefits and to reduce digestive issues. As a raw whole food chef, soaking nuts, seeds, and grains is an automatic occurrence in my kitchen, but it may not be for you.
Unsprouted grains (and pseudocereals) contain phytic acid, a mineral-absorption blocker. They need to be soaked or fermented (with an acidic medium like apple cider vinegar) before cooking to neutralize the phytic acid. Buckwheat contains high amounts of the enzyme phytase, which makes buckwheat gentler and more nutritious when it has been soaked.
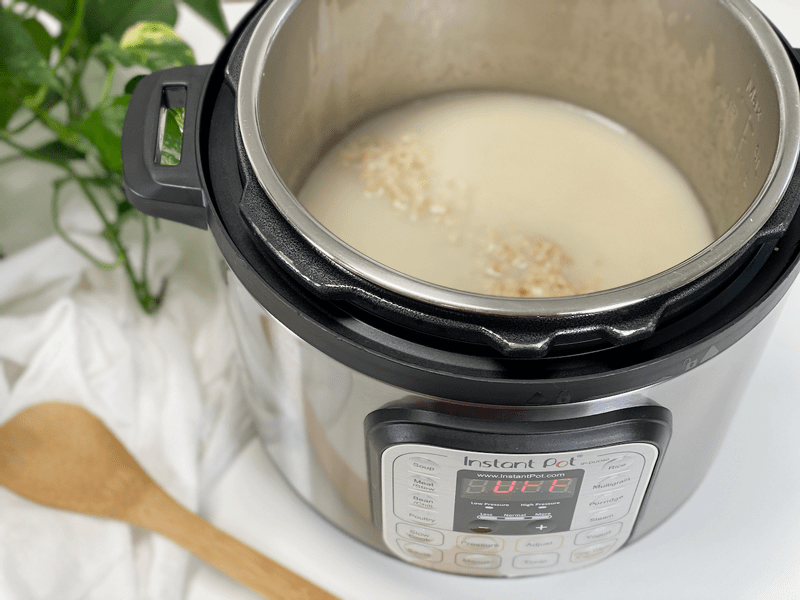
I will provide a link in the ingredient list that will guide you regarding how to soak the oats and buckwheat in this recipe. Should you choose to accept this mission…you just might reap the reward of your efforts.
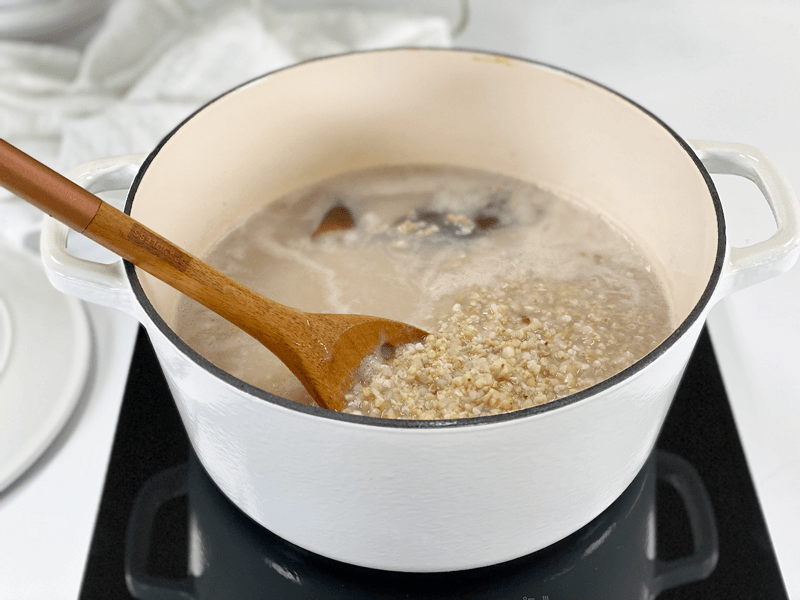
Kombu is a type of sea kelp rich in vitamins and minerals, including potassium, calcium, and iodine. It is a great ingredient to keep stashed in your pantry, as it is a tasty addition to soups and salads and makes beans more digestible when added to the cooking water.
It has a very mild flavor and won’t affect the taste of the oats. Because it contains natural glutamic acid (the basis of MSG), it is a natural flavor enhancer. It adds umami to dishes, while also providing valuable minerals and nutrients to food it is cooked with. Another great benefit is that when kombu is added to the cooking water in a pot of beans, it helps make legumes more digestible by tenderizing the proteins that can cause gas, and it also cuts down the cooking time.
It is high in vitamins A, C, E, B1, B2, B6, and B12. Seaweed also contains a substance (ergosterol) that converts to vitamin D in the body. In addition to essential nutrients, seaweeds provide us with carotene, chlorophyll, enzymes, and fiber. And while we are at it…seaweed is high in iodine, which is essential for thyroid function!
As I mentioned before, it has a very mild flavor, not what you might expect from a seaweed. It has a saltiness that comes from a balanced, chelated combination of sodium, potassium, calcium, phosphorus, magnesium, iron, and myriad trace minerals found in the ocean. So next time you make a pot of oats, rice, vegetable broth, or beans, add a strip into the pot and reap the nutritional benefits of this seaweed. Read more about Kombu (here).
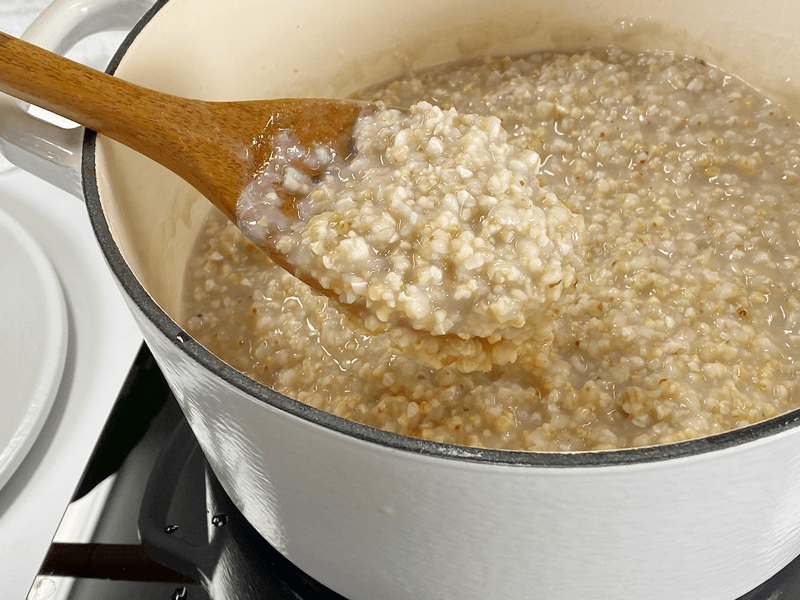
When it comes to food, whether you are a bona fide foodie or just dabbling with the whole idea of cooking from scratch, the texture is a huge component when it comes to eating. I know people who won’t eat certain foods regardless of how delicious they are, all because of the texture. For this recipe, we can modify the cook times to match up with the texture that you desire.
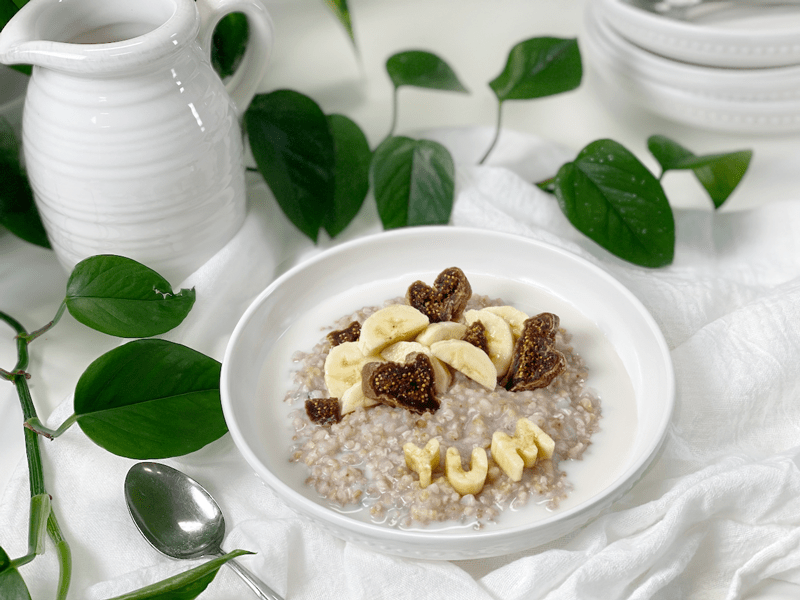
IF you do the soaking process (you get extra oat points), the porridge will come out thicker and creamier once it is cooked. If you feel that it is too thick, add more nut-milk to it when reheating it. IF you skip the soaking process, this porridge will be the most “runny” immediately after cooking and will thicken with time or in the fridge. The soaked grains will also be less chewy, since they have softened and soaked up a bit of water during the soaking process.
If you prefer a CHEWIER porridge, skip the soaking process. It’s chewiness vs. better digestion (I’ll get the popcorn to see who wins this battle!)
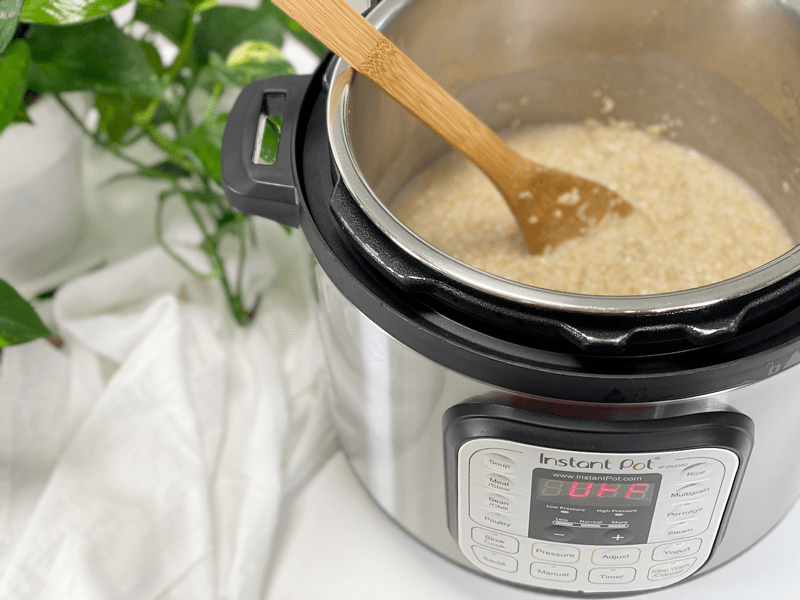
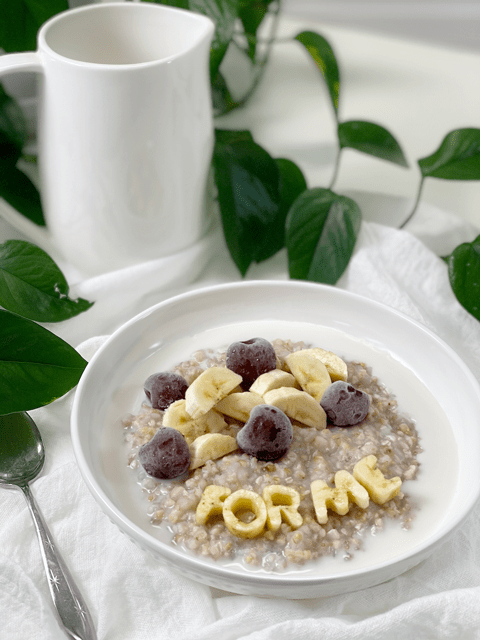
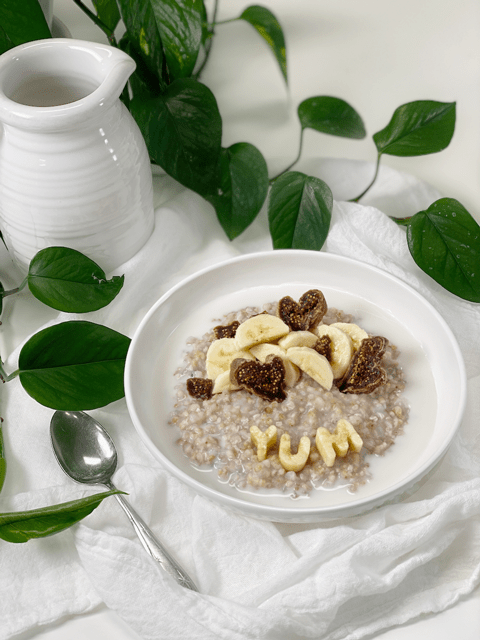
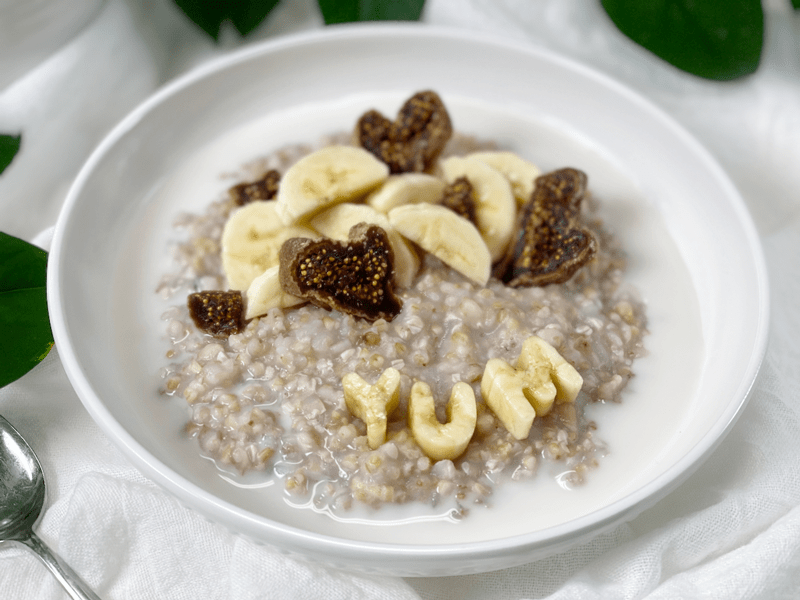
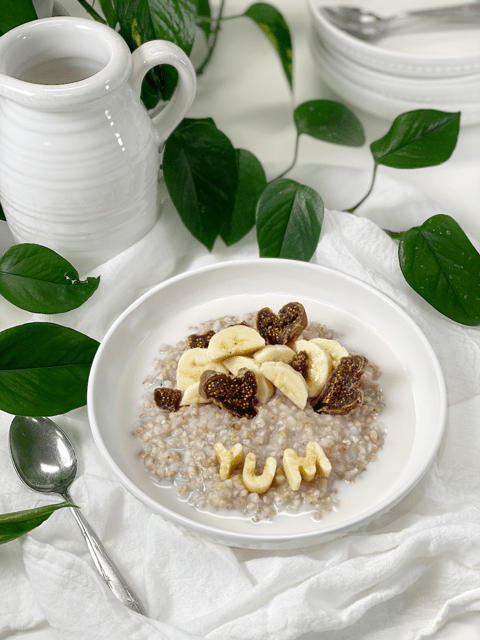
Today’s recipe is a base, foundation recipe. I believe that flavor enhancers ought to follow after cooking, especially if batch cooking. Now, if you are making this to eat in one sitting, then, by all means, doctor it up as it cooks. But with batch cooking, it is best to make a plain pot of porridge and mix in different flavor add-ins every day to switch things up! Click (here) for ideas.
 Ingredients
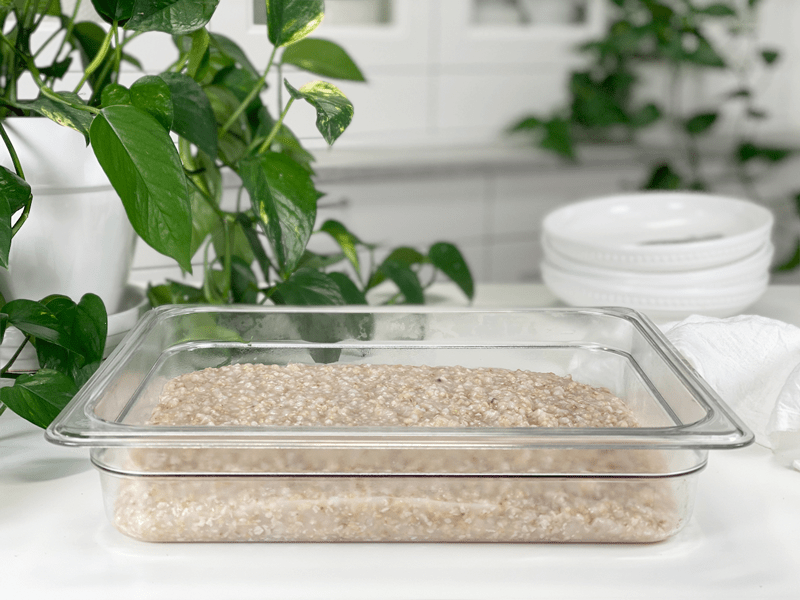
When it comes to storing hot foods, we have a 2-hour window. You don’t want to put piping hot foods directly into the refrigerator. However, If you leave food out to cool, and forget about it you should, after 2 hours, throw it away to prevent the growth of bacteria. (source) Large amounts should be divided into smaller portions and put in shallow covered containers for quicker cooling in a refrigerator that is set to 40 degrees (F) or below.