Rollo Halloween Date Caramels

 Add to favorites
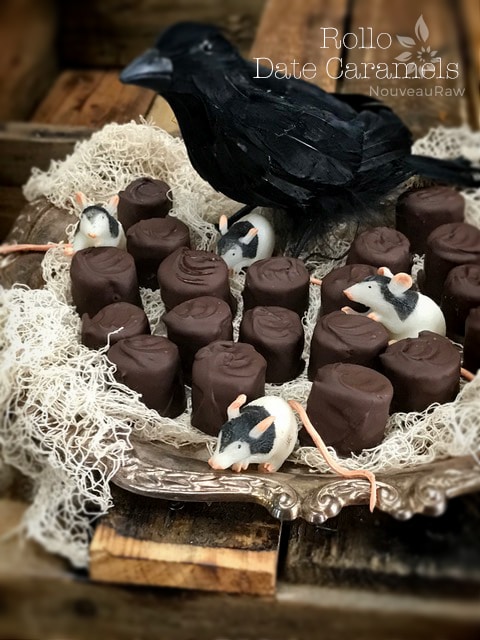
~ raw, vegan, gluten-free, nut-free ~
These raw candies turned out better than what I could have ever imagined. They taste exactly just like Hersey’s Rolo candies. Even though they have been around for 75 years, a few of you may not be familiar with them. They come wrapped individually in gold foil, have a chewy caramel center, and are covered in a milk chocolate outer layer.
Now, through this recipe, you can experience a healthier version of Rollo’s, made in the comfort of your own kitchen.
I know what your thinking… why don’t you just dip a date in raw chocolate and call it good? Or perhaps, your thoughts are getting all fancy on me and thinking… how about pouring the melted chocolates in candy molds, hollowing them out and putting date paste in the center?…
Truthfully, those would work but here’s the difference…by dehydrating the date paste and rolling it into coils… it creates a very chewy center for the rolls, that matches the commercially made candies.
Below I provided a link on making your own raw hardening chocolate for these candies… if that is out of your comfort zone, or you don’t have access to such ingredients… or perhaps you are new to raw, and you are taking baby steps through this learning curve… you can use melted commercially made chocolate chips. Do the best you with what you have.
The Hersey’s company advertised for many years with the slogan of… “Do you love anyone enough to give them your last Rollo?” So, my question for you is… “Do you love anyone enough to give them your last Raw Rollo Date Caramel?” All I can say is that Bob now knows just how much I love him. Hehe, These are an excellent Halloween Trick or Treat candies to share with those around you. Blessings, amie sue
Ingredients:
Yields 24 candies
Date caramels:
Chocolate coating:
Preparation:
Date caramels:
- Spread the date paste edge to edge on the non-stick sheet that comes with the dehydrator. Mine spread into a 12 x 12” square.
- Make sure that you spread it evenly, so it dries evenly.
- Dehydrator at 145 degrees (F) for 1 hour, then reduce to 115 (F) degrees and continue to dry for up to 24 hours.
- Part way through the drying process, flip the sheet over onto the mesh sheet and peel off the non-stick sheet. This will help speed up the dry time.
- The date paste will never dry to a crispy texture, which is good in this case, we want it flexible.
- You know it is done when it isn’t tacky to touch.
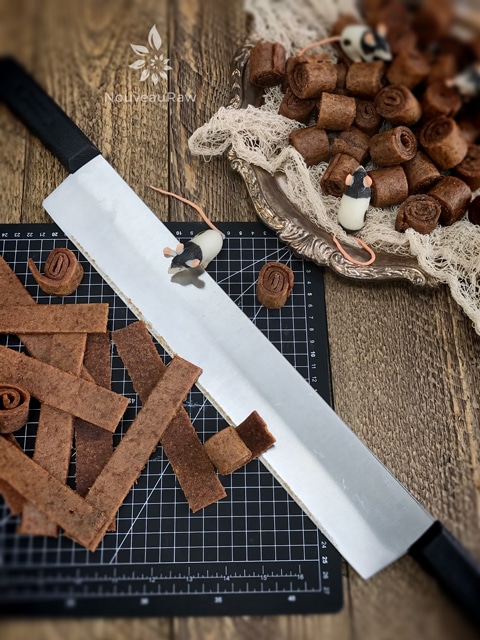
- Cut the date leather cut into 1” strips, then cut in half creating a total of 24 strips.
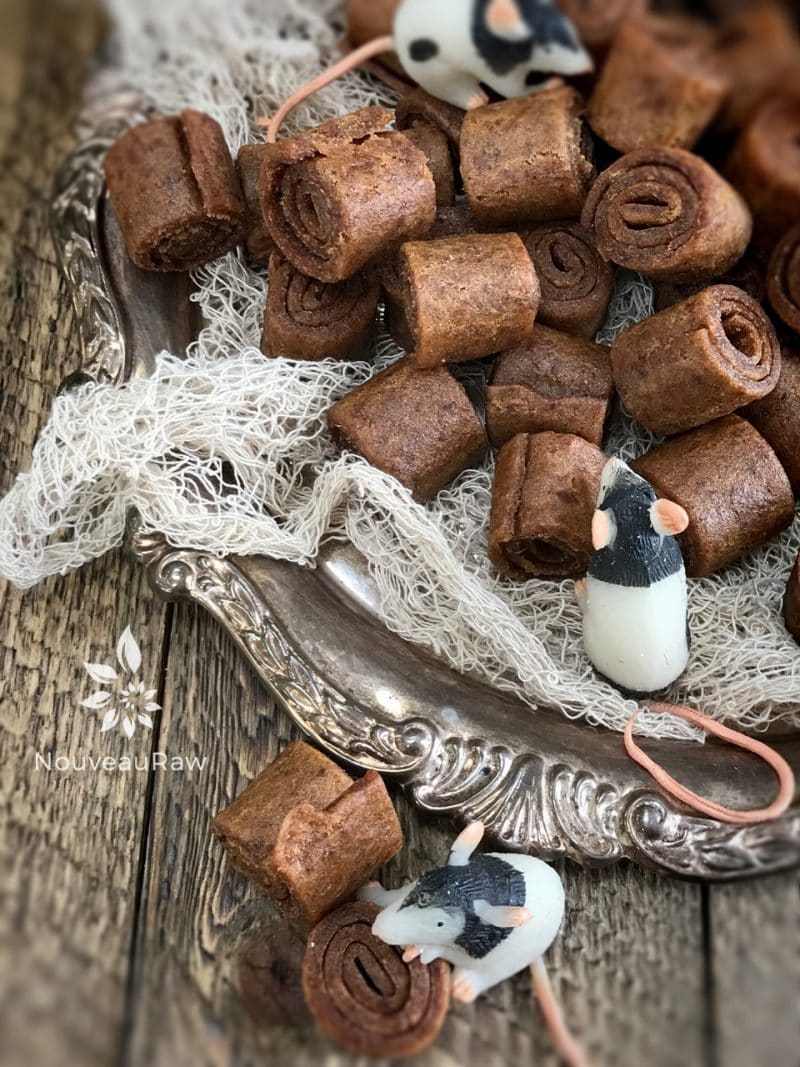
- Tightly roll each strip into coils. Repeat until all are done.
Chocolate coating and assembly:
- Create the chocolate coating. It will take roughly 1 cup of melted chocolate to coat the candies.
- Drop each caramel into the chocolate one at a time. With a fork, turn the caramel over and over until it is fully coated.
- Lift out with the fork and tap the handle of the fork on the side of the bowl, so the excess chocolate falls back into the bowl.
- Swipe the base of the fork on the edge of the bowl to clean the dripping chocolate from it.
- With a toothpick, slide the chocolate candy onto parchment paper to dry.
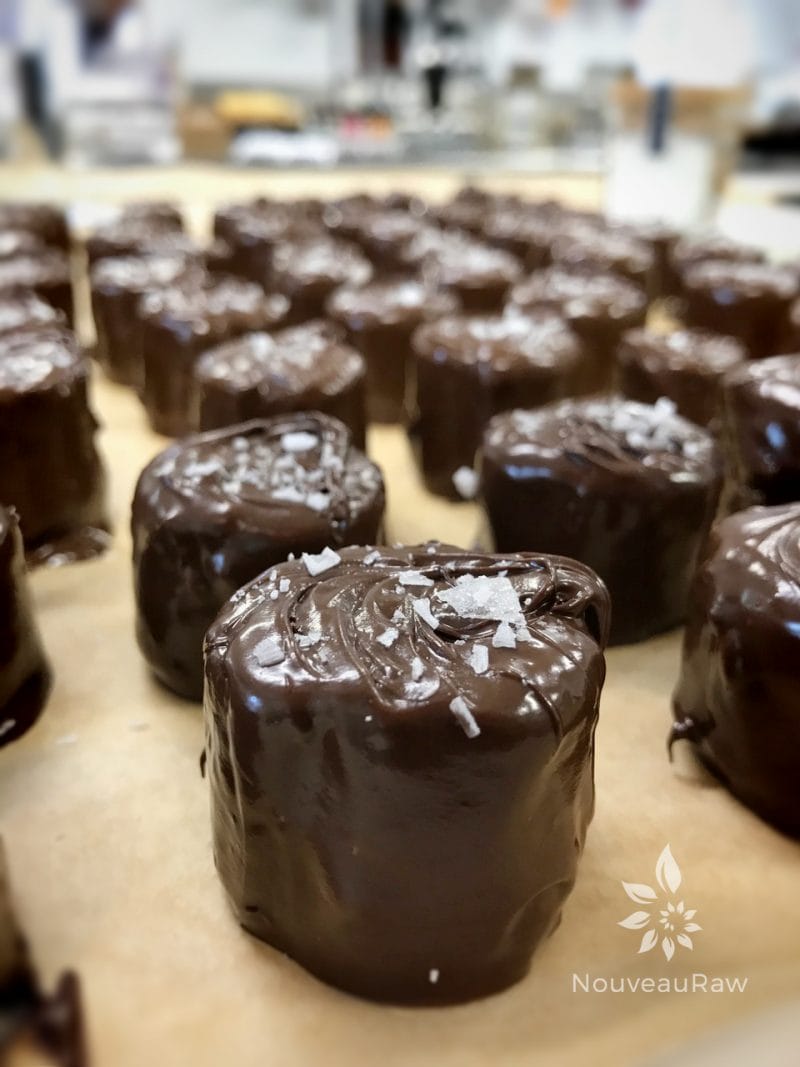
- For a little decoration, I took the tip of the toothpick and swirled it on top of the chocolate candy while still wet.
- Store the candies in an airtight container for as long as they last, which typically isn’t long. :)
Culinary Explanations:
- Why do I start the dehydrator at 145 degrees (F)? Click (here) to learn the reason behind this.
- When working with fresh ingredients, it is important to taste test as you build a recipe. Learn why (here).
- Don’t own a dehydrator? Learn how to use your oven (here). I do however truly believe that it is a worthwhile investment. Click (here) to learn what I use.
-
-
After dehydrating the sheets of date leather, cut into 1″ strips.
-
-
Roll into a coil and dip into chocolate.
-
-
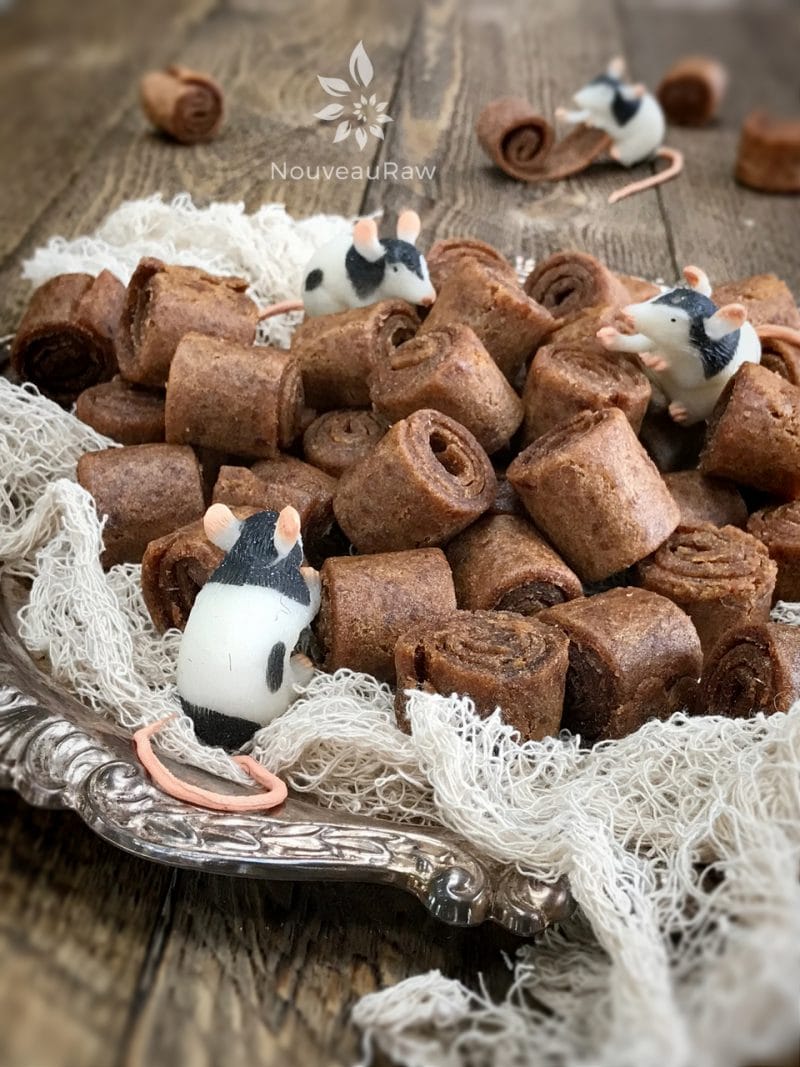
It’s always best to have little helpers. :)
-
-
Dip into chocolate, rich, and chewy!
© AmieSue.com
Tags: Dairy Free, Dehydrated, Gluten Free, No Added Sugar, Nut Free, Refined Sugar Free, Soy Free, Vegan


 Add to favorites