- Hide menu

Kokedama Moss Ball Plant | Board Mounted

LoadingFavoriteAdd to favorites

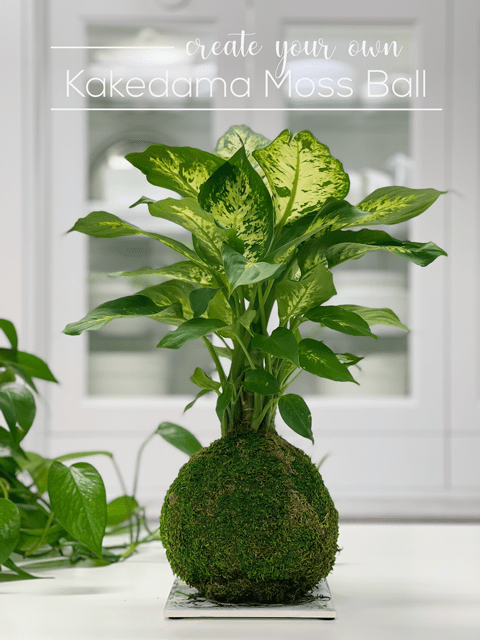
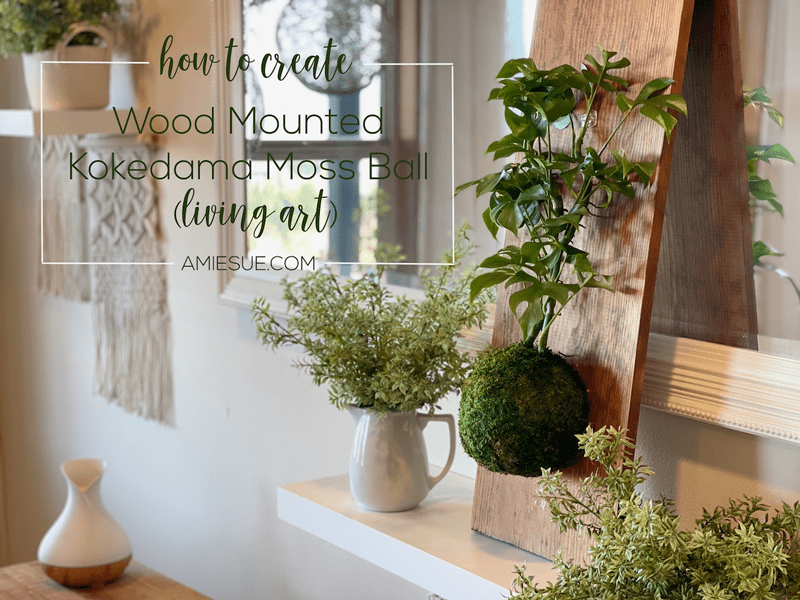
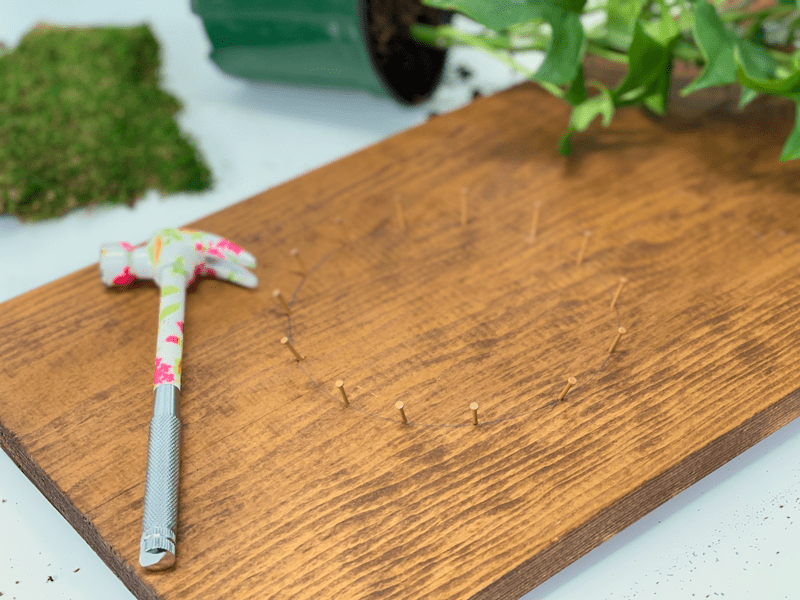
I have fallen in love with the art of creating the Kokedama moss balls and finding ways to display them in unique ways. Today’s post will show how you can hang them on a wall, as you would any framed artwork, where the detail and texture can be appreciated up close and from a distance.  You can also just lean the board onto a surface as a way of displaying your work of art.

You landed here to enjoy all the edible and non-edible creations I have made over the past 10+ years but TODAY you are here (unknowingly) to be my therapist, because I am here to confess that I have an addictive personality. I never really thought of myself that way, but as I take a good look at my surroundings, it has become evident. I am addicted to creating recipes, caring for houseplants, making art, sewing, decorating… the list goes on. Once a passion hits me, I run with it! As of late, the Kokedama moss ball art form has taken over my studio.  
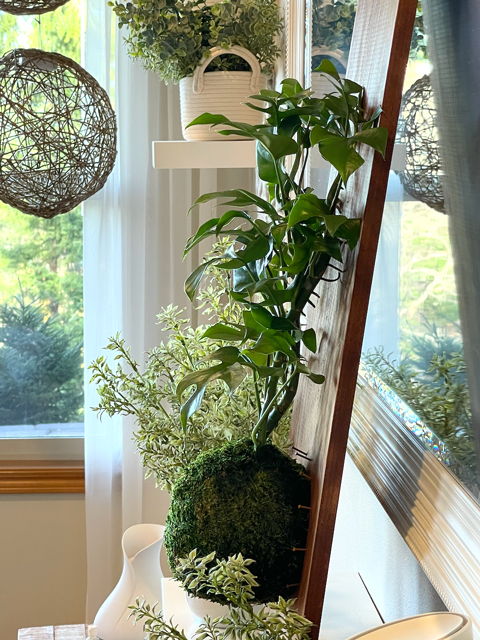
I don’t even complete one moss ball plant before I am already dreaming up other ways to display them. So, either send help or bring some soil over and we can create one together (of course you would be enabling my addiction, but I’m okay with that. haha).

How Long Will They Last?

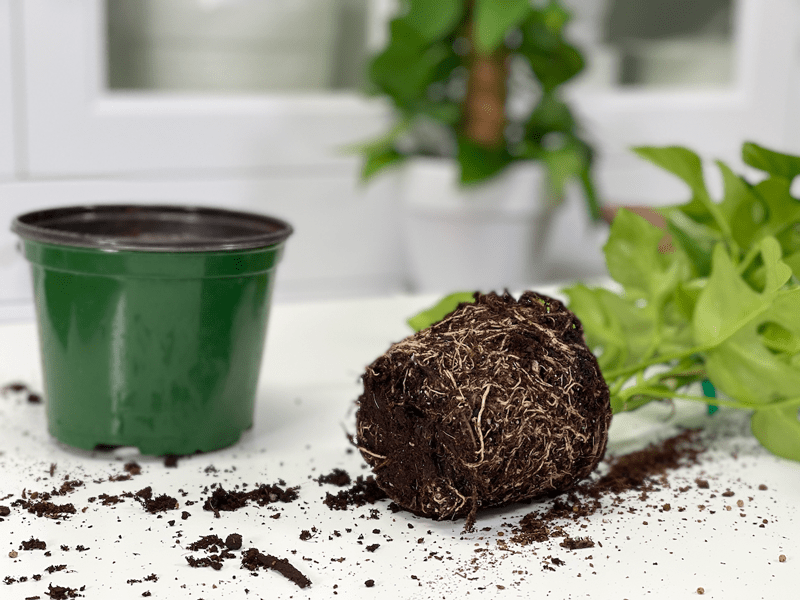
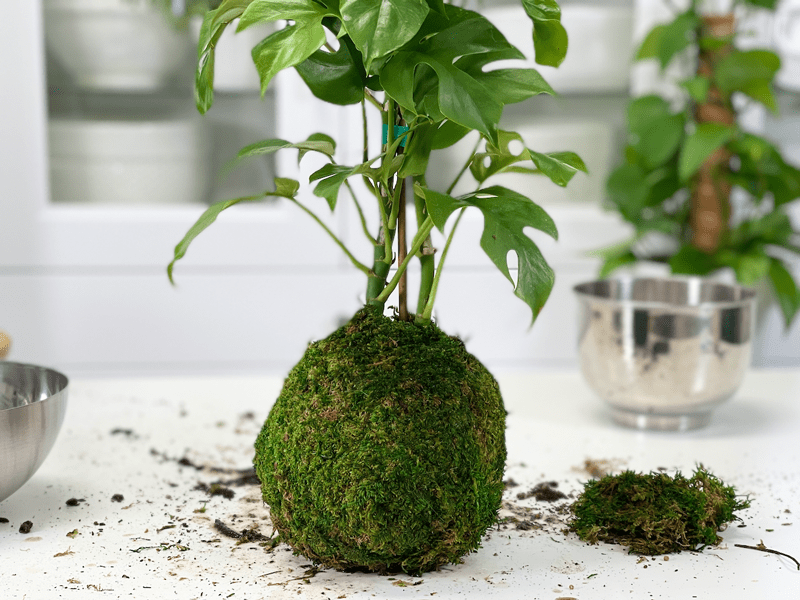
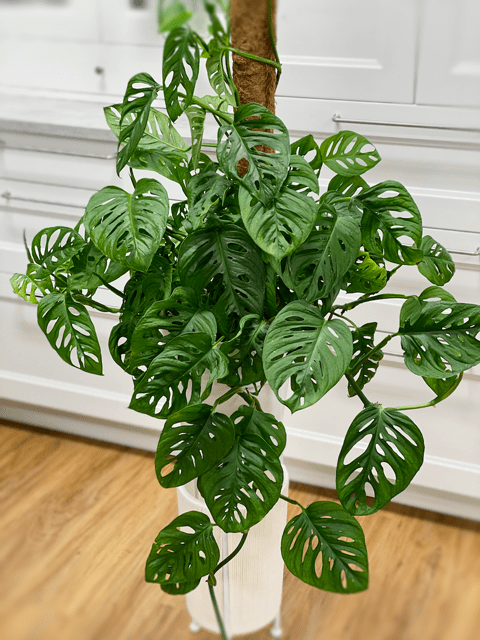
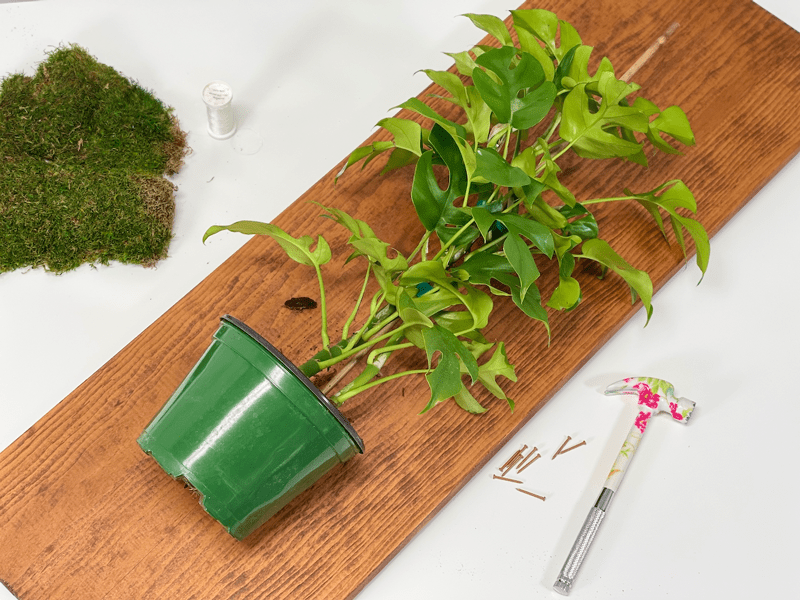
In the same way that plants can outgrow their pots, they can also outgrow their mounts. Therefore it is recommended to re-mount the plant every 1-2 years. It will all depend on whether or not the plant is a fast or slow grower. If you see any type of distress on the plant and you can’t correct it through double-checking the plant requirements (light, water, etc.) you might need to remove the plant from the moss ball and replant it in a nursery pot. Just in case you might be wondering, I used a Rhaphidophora tetrasperma plant in this creation. For other plant options, click (here).

Supplies Needed

Select the Wood and Cut

  • Cedarwood, redwood, teak, white oak, and mahogany are some of the woods that are perfect for projects that involve water because of their resistance to moisture and mold.
  • After selecting the board, there’s a good chance that you will have to cut it to size. If this isn’t an option, see if you have any extra wood pieces lying around in the back of the garage, shed, or shop. Heck, even check your kitchen cabinets… old wooden cutting boards would be perfect for this project as well. Trust me, I have my eye on a few in my kitchen.
  • The size of the board will depend on what type of plant you are going to wrap in the moss ball for mounting.  Ask yourself, “Does the plant I am using have tall foliage? Does it vine and if so, should I stake it upward (as I did in this post) or will the vines hang downward?”  The plant I chose to use is a vining plant and it can either be staked up or the vines can hang. I wanted to stake it upward; therefore I used a tall piece of wood to accommodate some extra growth.
  • If need be, you can stain the wood piece so that it matches your decor, plus the stain will put a protective barrier coat on it. I use Old Masters wiping stain on all my staining projects, but use whatever you prefer. For this project, I used the color Special Walnut.

Placement of the Plant on the Board

  • Keep in mind the natural growth pattern of the plant you are going to use.
  • Ask yourself the same questions that I laid out when it comes to selecting the size of your board. How you answer those questions will help determine where you want the base of the plant to be located. Since I am going to train my plant to grow upward, I place the moss ball toward the bottom of the board, leaving extra space above for growth.

Hammer the Nails on the Board

  • When you have decided on where you want the base of the plant will be, you will know where you need to hammer in the nails.
  • Remove the plant from the nursery pot and turn the pot upside down on the board. Once you have it positioned, trace the circle with a pencil.
  • Hammer roughly 14 nails into the board following around the circle you created.  Important – Angle (roughly 45-degrees) the nails slightly outward as you hammer them in. This will help secure the string when you are ready to adhere the moss ball to the board.
  • I used a 6″ pot, so you will need to adjust the number of nails needed if your plant is larger or smaller.

Attach the Hanging Bracket

  • Before you put the plant on the board, let’s not forget to attach a hanger on the back of the board so it can hang on the wall. It will be more of a challenge to do after the plant is mounted on the board. I suggest using the “sawtooth” brackets sold in most hardware stores.
  • Additionally, place felt or rubber protector pads as spacers on the bottom of the board so that when it is hung and perhaps slightly wet after watering it will dry evenly and not touch your wall surface.
  • Once your board is entirely constructed, you will move on to preparing your plant and attaching it to the plank.

Create the Moss Ball

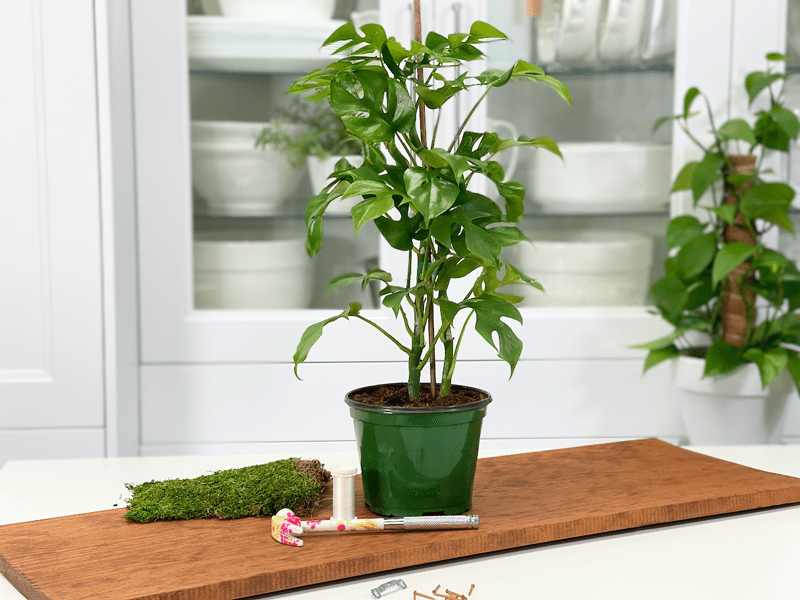
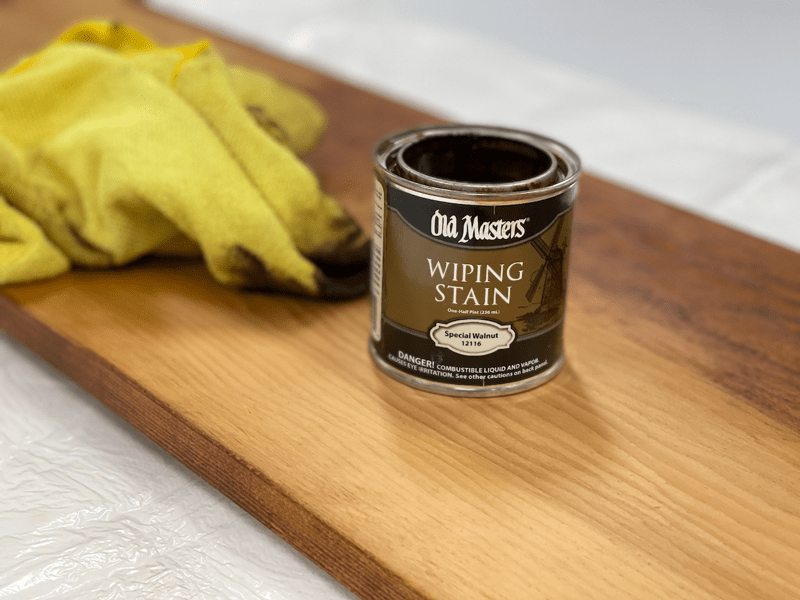
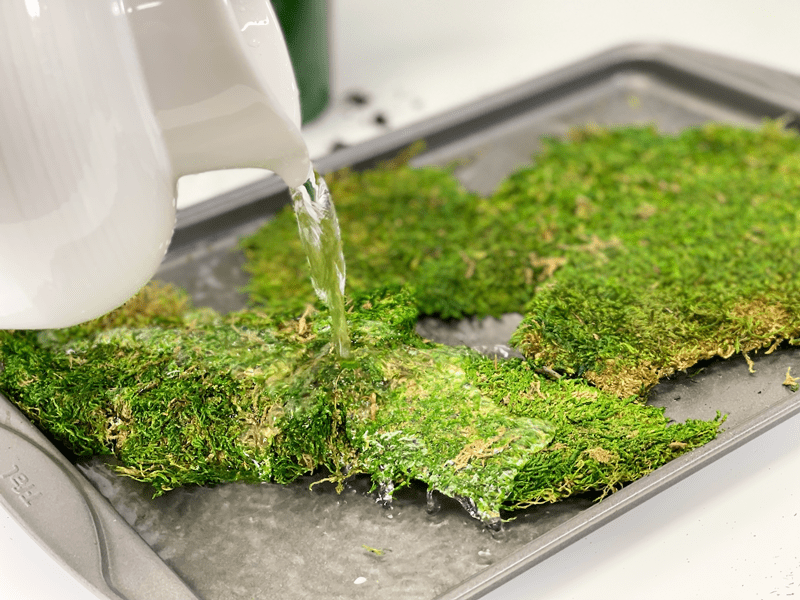
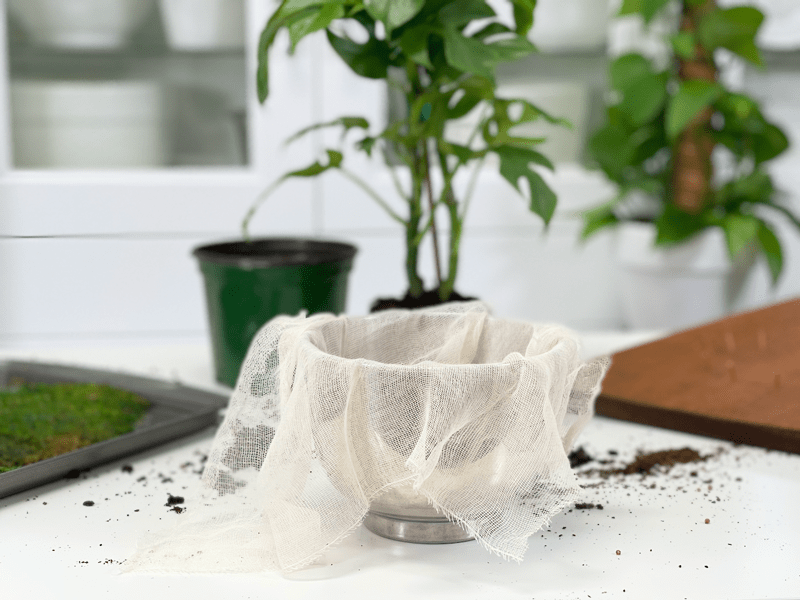
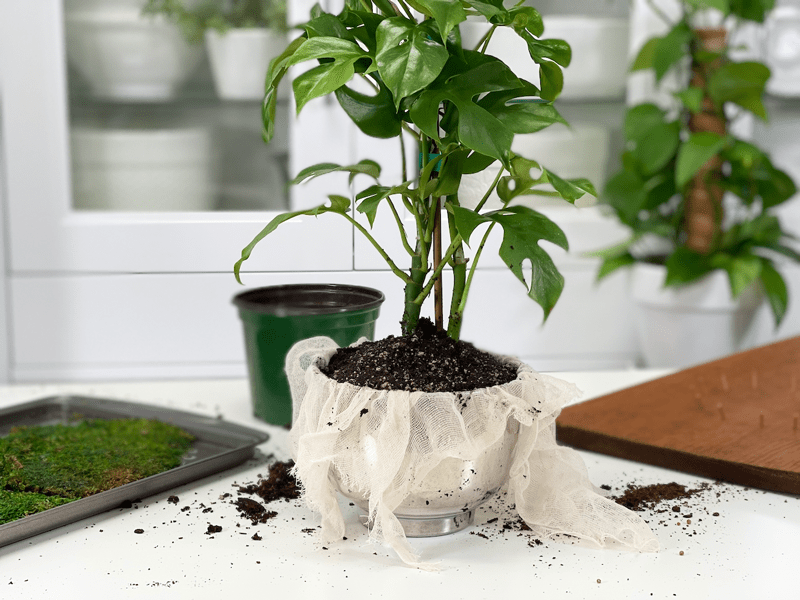
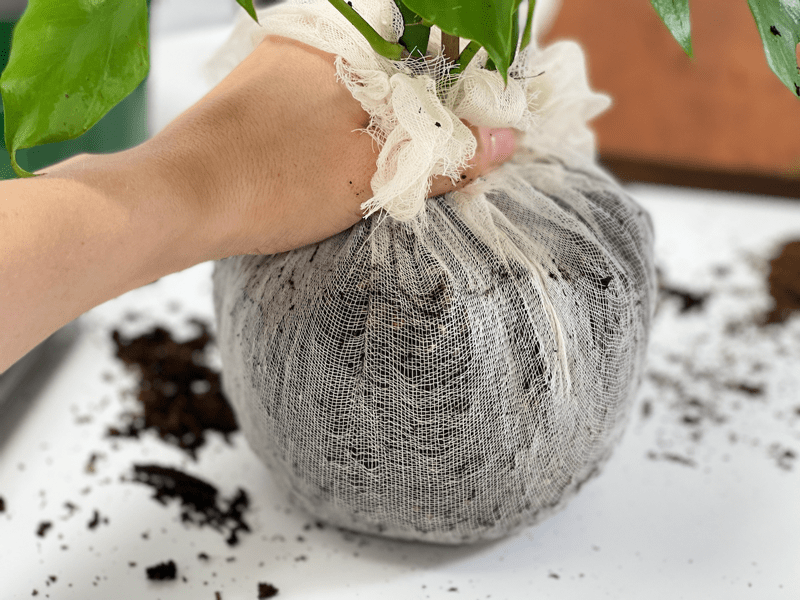
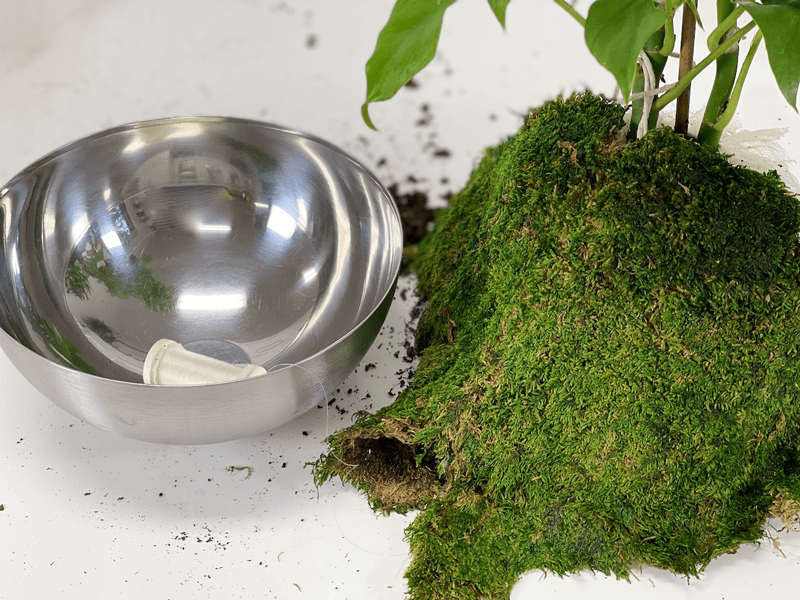
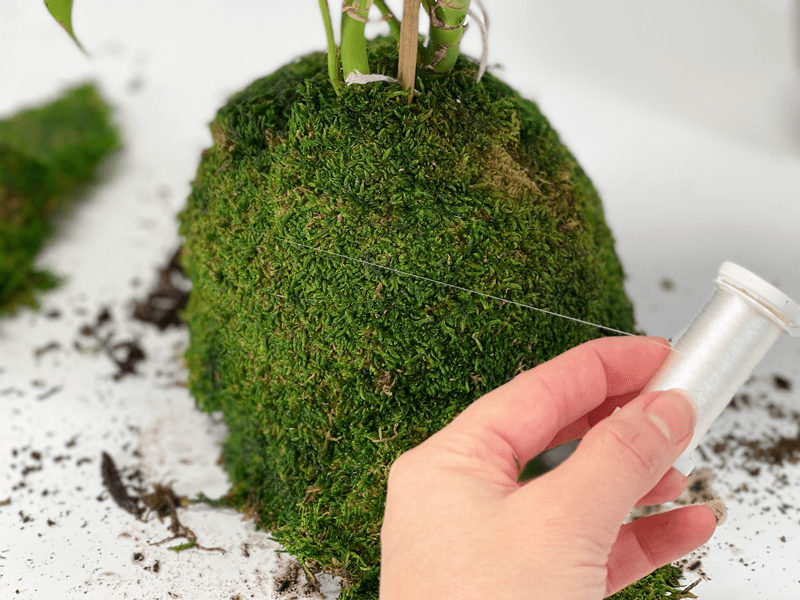
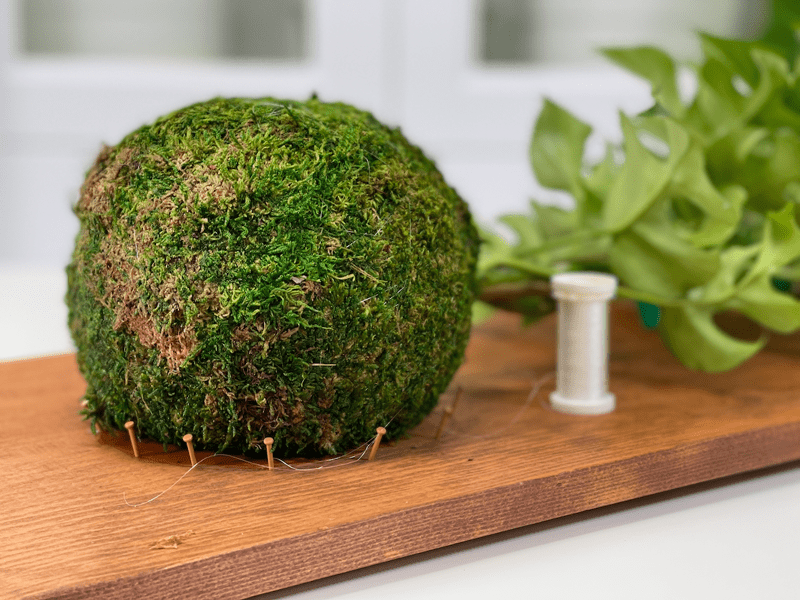
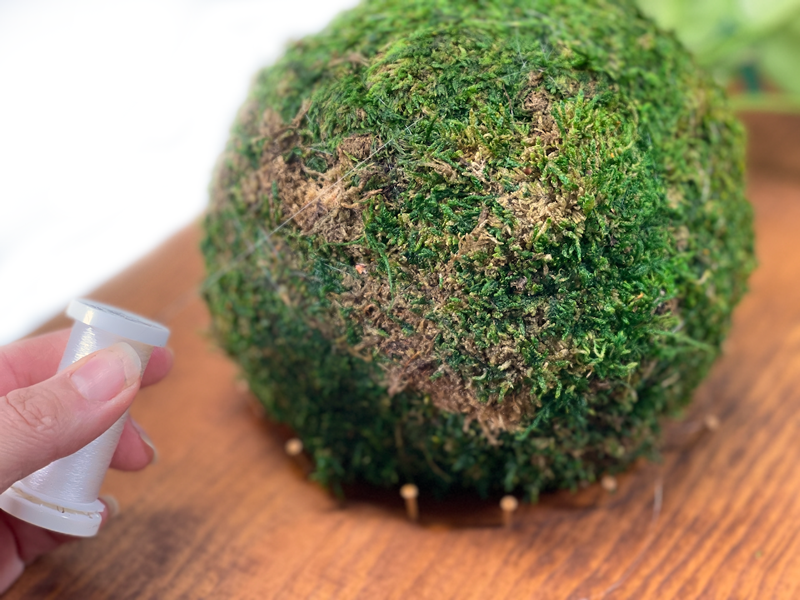
This part gets a bit messy, so an outdoor area or indoor space that you can cover with a sheet or plastic tablecloth is recommended. I already did a very detailed post that explains how to make a Kokedama moss ball, so pop on over there to learn more about the type of moss and soil(s) to use. I will attach some quick photos here for reference, but I recommend reading through it to gather a bit more information on this art form. Click (here).

Attaching the Moss Ball to the Board

  • Place the planted moss ball in the center of the circle of nails that you created.
  • Cupping the moss ball with both hands, gently yet firmly press the ball into the board to create a flat side on the back of the moss ball.
  • Cut a 3-foot piece of string and tie it to a nail, leaving a 3-inch tail—you’ll use this to tie off the string when you’re done securing the plant.
  • Pull the line tightly across the plant, hook it around a nail, and cross over to another nail, pulling the line taut to secure the plant. Keep going until you’ve hooked each nail once or twice and the plant feels secure. If the string continually keeps slipping off while wrapping it, the nails are most likely not angled enough, so you might need to hammer them down a bit more.
  • Tip – When standing in front of the completed project, you won’t see any of the nails, but from the side, you might. If this bothers you, you can tuck some loose moss around the edge of the ball to disguise those nails.

Watering the Plant When Done

  • Water your plant immediately after mounting it. Follow care instructions for your specific plant, and keep in mind that mounted plants dry out faster than potted plants.
  • As time goes on, water your mount once the sphagnum moss protecting the plant is dry to the touch but not crispy, and the soil around the base of the plant feels just moist
  • After watering, gently press the root ball to allow excess water to drain, and drip dry before rehanging.

Troubleshooting

The stems seem to be turning brown and/or are a bit mushy at the base.

  • If you notice this, you’re OVER-watering your plant. Reduce watering until the plant shows signs of recovery.

The stems appear to be puckering and becoming brown and crispy.

  • This can be a sign of UNDER-watering the plant. Increase watering and mist the plant until it shows signs of recovery.
  • If your plant is in a dry, bright location, it may require more frequent watering.

The leaf tips and lower leaves are turning yellow or brown.

  • Just like puckering stems, this can be a sign of UNDER-watering the plant. Increase watering and mist the plant until it shows signs of recovery.
  • If your plant is in a dry, bright location, it may require more frequent watering.

Why is my Kokedama moldy?

  • Mold can be a sign of overwatering or not enough airflow around the ball. Allow the ball to dry out almost completely before watering.

Why is my Kokedama dying?

  • The most common reasons a Kokedama is dying are under- and overwatering, insufficient light sources, inappropriate temperatures, pests, or diseases. Basically, it’s all the same issues that could arise with a typical potted plant. It’s time to put your detective hat on to figure out what is going on.

Why is my living moss turning brown?

  • If the moss is constantly saturated it can turn brown; similarly, using unfiltered hard water can also turn your moss brown.
  • Start off by backing off on the water a bit and see if that makes a difference. Also, assess whether your tap water has any chemicals in it.

Leave a Reply

Your email address will not be published. Required fields are marked *