
Background Color

 Add to favorites
 – raw, vegan, gluten-free –
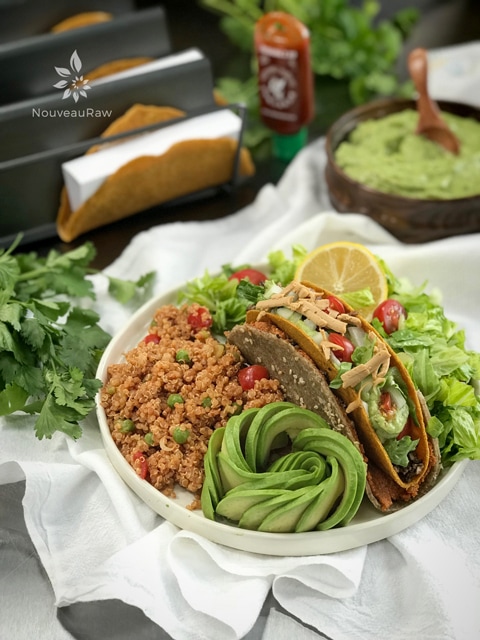
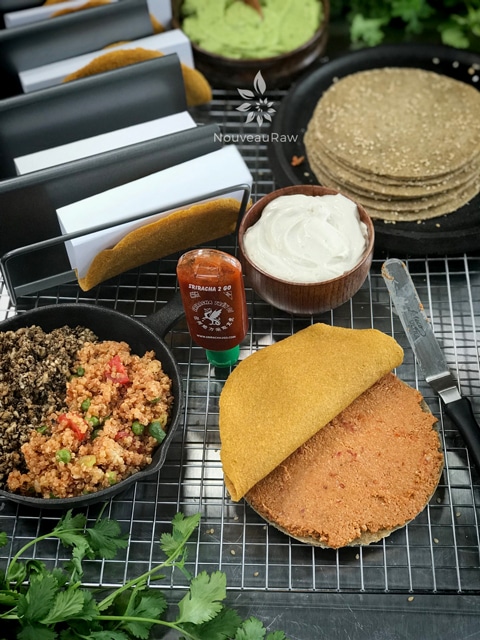
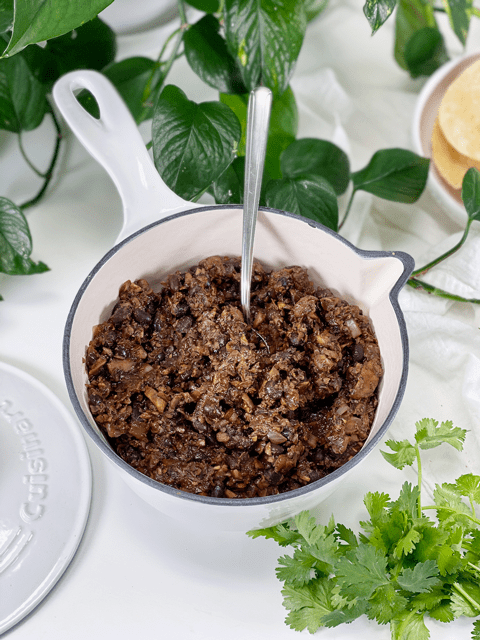
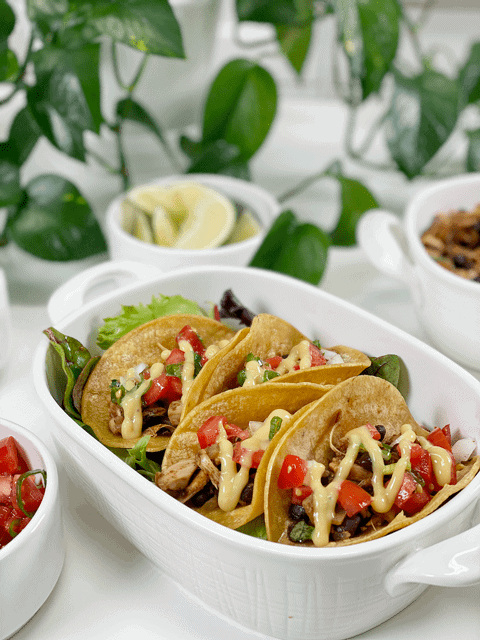
Warm, pillowy flatbread held into place with a spread of “refried beans,” wrapped around a crunchy raw taco… which is fully loaded with raw taco meat (nut-based or lentil-based), fresh salsa, diced onions, shredded lettuce, and Mexican white cheese (high-raw, vegan) and then taken over the edge with a drizzle of Sriracha sauce. That folks is how my hubby likes his gordita!
Gordita means “little fat one” in Spanish. And as long as my husband is longingly looking at his plate as he is about to sink his teeth in the taco… saying, “Ahh, there’s my little gordita!” and NOT when he is hugging me… then all is good in the world. hehe
The first time I heard of a gordita was from a Taco Bell commercial. They came onto the scene after I had given up all fast food… so I never ate one. BUT, that doesn’t mean that the mere idea of what they are made up of didn’t entice me. Just thinking of Mexican food makes me drool like a dog waiting for his master to throw the ball for the gazillionth time.
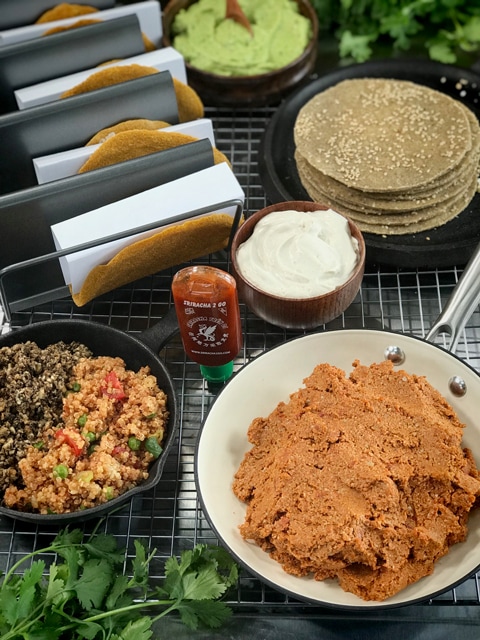
The idea of recreating such a dish has been bouncing around in my head for years. Finally, I got around to creating one that is raw, healthified, and oooooh sooooo dang (pardon my language) good!
Bob had one for dinner, three nights in a row. That right, there is a true testament of happy taste buds. And when my husband’s taste buds are happy, that means he is happy, and that makes me very, very happy! I should note that when making these for your family or friends, one is usually a sufficient amount. They are quite filling. It may seem overwhelming to make all the components that are required for this dish, but it is well worth it. Each one will together create this amazing dish, and any leftovers can be used creatively throughout the week. Please share your comments and thoughts below with me. Blessings, amie sue
My Spanish love is on Overwhelming Love for all of these neat ideas and recipes!!! So anxious to try.
Thank you, Thank you again!! hugs, jan
So happy to hear that my friend. Enjoy and keep us posted how it goes. It is one my favorite dishes yet. hehe blessings, amie sue
I just want to say that you bring a smile and a little giggle to me when reading your description, it’s so cute ! I use to make these Taco’s awhile ago, then went off track, BUT, I’m on my way back to RAW, umm….soon…..
Thank you Amie Sue !!
Good morning JP,
I crack myself up too sometimes, I have a goofy sense of humor. :) I am sure that you will back in the game that suits your body and health! I hope you make these again. :) blessings, amie sue
Love the recipe!
Thank you.
I’m wondering just how you get the Avocado “swirled?”
Good morning Frieda,
Hmm, I don’t have a tutorial on how to do that but I can briefly go over it step by step:
1. Start with a ripe but firm avocado. If it’s too ripe and soft, it won’t work.
2. Cut the avocado in half (tip to tip).
3. Gently remove the skin from the half that doesn’t have the pit in it. If there are a lot of brown spots on the avocado flesh, use it for something
else because it won’t create a pretty looking “flower”.
4. Place the avocado slice in front of you on a cutting board, cut side down.
5. With a sharp knife, slice the avocado (tip to tip) thinly, keeping the shape of avocado as you make the cuts. It helps to put a little coconut oil on
your hands and knife, so the avocado doesn’t stick to you or the knife. You want the slices to remain in place so in the end it just looks like half
of an avocado with cuts in it.
6. Now it’s time to “fan” the slices. Start at one end of the avocado and with the inside of your palms, coax the slices to fan out into a line. Make
sure that they don’t fully separate, they need to be touching.
7. Once you have a long row, take one end and start rolling the slices into themselves. Use a light hand, until you reach the other end.
Shew, that’s challenging to type out. One day I will do a photo tutorial on that.