Maple Sweetness Bites

 Add to favorites
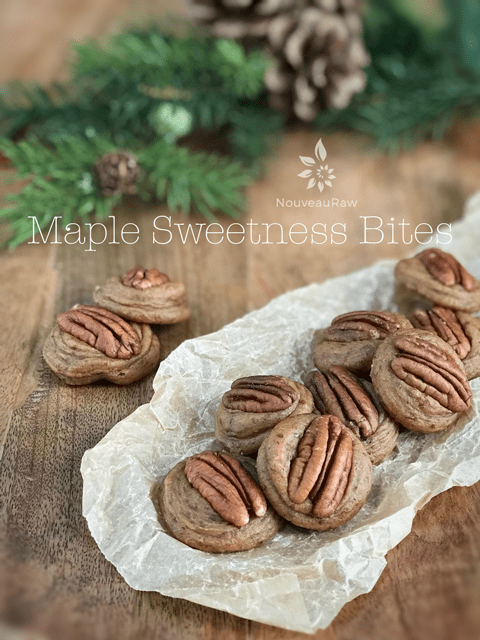 raw / vegan / gluten-free
Truthfully, my goal with this recipe was to create Maple Leaf Candies. They typically are commercially made by heating maple sap past the syrup stage. The sweetness just intensifies as it concentrates. At the crystalline stage, it is whipped then poured into a mold to become maple candy.
Sounds easy but not very healthy. That is where I stepped in and decided to healthify them. I will be very honest, I didn’t think the WHOLE process through. I just got too darn excited for my own good. This is typical for me.
I whipped up a batter, piped it into leaf molds, and threw them in the freezer. Even at this point, the logical side of my brain didn’t kick in. Eight hours later, still soft, placed them back into the freezer and shut the door. Again, the logical side of my brain didn’t even let off a spark. I left them in the freezer overnight.
Come morning, I slid (love socks on wooden floors) into the kitchen, made a screeching sound (like a little boy playing with Match Box cars), and whipped the freezer door open. I grabbed the mold and touched the candies. Soft. THEN, and only then did my brain have one of those, “AH HA!” moments. Dates my dear friends don’t EVER freeze solid. I knew this!!!! Oy-Vey! It was a sad moment because they sure looked beautiful!
Before I could smack myself silly for my lack of “thinking”, I got my itty bitty spoon out (it makes me smile because it is so cute) and scooped out the batter. During that process, my brain was already conjuring up a new way to try making these. I jotted down my idea and moved forward with the batter. That my friends is how I came up with Maple Sweetness Bites.
Now, I certainly could have omitted this complete story and have you believe that this treat came out exactly as intended. BUT I wanted to share with you… don’t get caught up in expectations, learn to go with the flow, and allow your creative side to shine. Great things are discovered in moments such as these. I hope you enjoy this recipe. Please leave a comment below. Blessings, amie sue
Ingredients:
Yields 44 candies
- 3 cups (535 g) packed Medjool dates, pitted
- 1/4 cup (50 g) water
- 3 tsp (10 g) maple flavoring
- 1/4 tsp (2 g) Himalayan pink sea salt
- 48 raw pecans for topping
Preparation:
- Have dehydrator trays ready, fitted with the teflex sheet. Set aside.
- Remove the pits from the dates as you put them in the measuring cup.
- Be sure to inspect each date as you tear it in half to remove the pit. Mold and insect eggs can infect dried dates. I don’t mean to gross you out, you just need to be made aware of this.
- Place the dates, water, maple flavoring, and salt in the food processor fitted with the “S” blade. Process until the dates turn into a creamy paste.
- This will take some patience and you will need to stop the machine every once in a while to scrape the sides down and redistribute the dates around the container.
- You know it’s done when it turns to a caramel-colored paste.
- Maple flavoring ~ use maple syrup in its place. Try 1 Tbsp to start off with and adjust from there. The maple syrup won’t be as intense in flavor.
- Sea salt ~ optional, but salt brightens the flavors in sweet recipes.
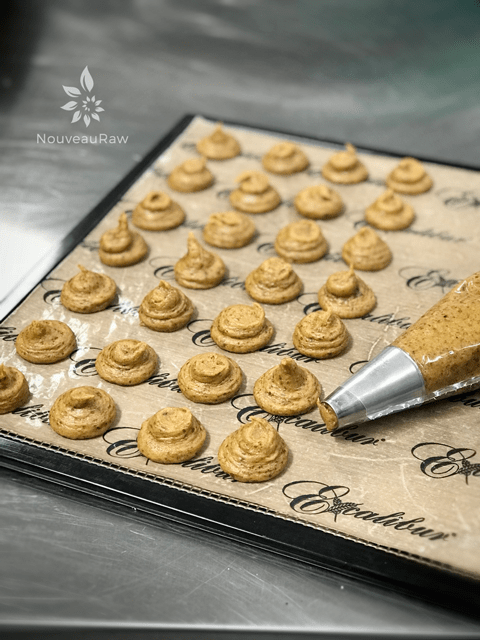
- When piping out the batter, keep the bag in an upright position.
- Keep constant pressure on the piping bag as you squeeze out the paste and keep the tip in the center of the candy that you are forming.
- Stop every once in a while and squeeze the batter down the bag and give it a few twists. This will eliminate air bubbles in the bag and give you a solid grip.
- Don’t worry if a point forms when you pull the tip away, you will be flattening this with a pecan.
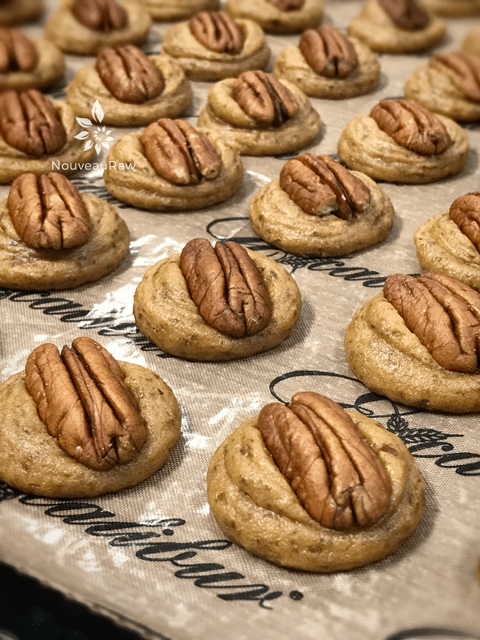
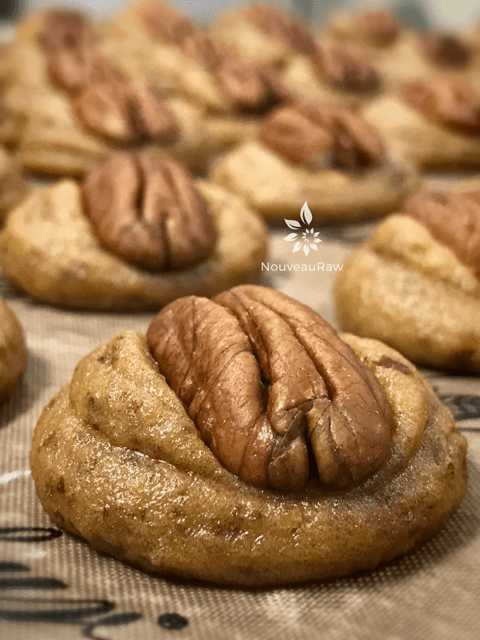
- Gently push a whole pecan into the center of the candy. Omit for a nut-free version.
- When you buy the pecans, look for large whole ones. Hand carry them home, don’t put them in the shopping bag. Protect those babies. :)
- Place the tray in the dehydrator and dry at 145 degrees (F) for 1 hour, then reduce to 115 degrees for 8 hours (+/-).
- Store in an airtight container, single-layered with wax paper in between layers.
- These freeze wonderfully. Dates don’t freeze solid so you don’t have to thaw them for enjoyment.
Culinary Explanations:
- Why do I start the dehydrator at 145 degrees (F)? Click (here) to learn the reason behind this.
- When working with fresh ingredients it is important to taste test as you build a recipe. Learn why (here).
- Don’t own a dehydrator? Learn how to use your oven (here). I do however truly believe that it is a worthwhile investment. Click (here) to learn what I use.
-
-
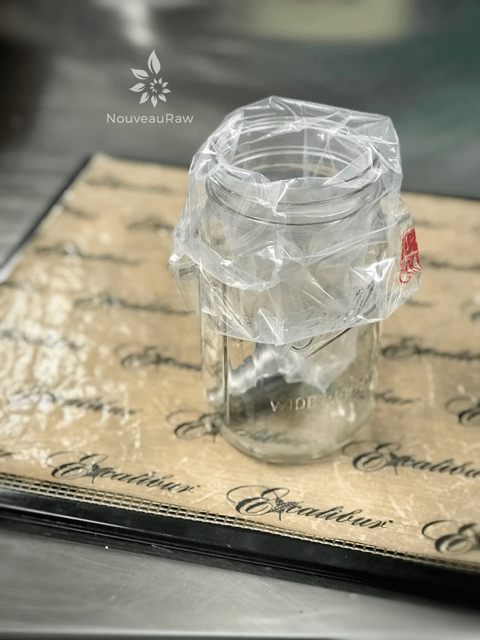
Put the piping tip in the bag, and fold the edges over the jar opening.
-
-
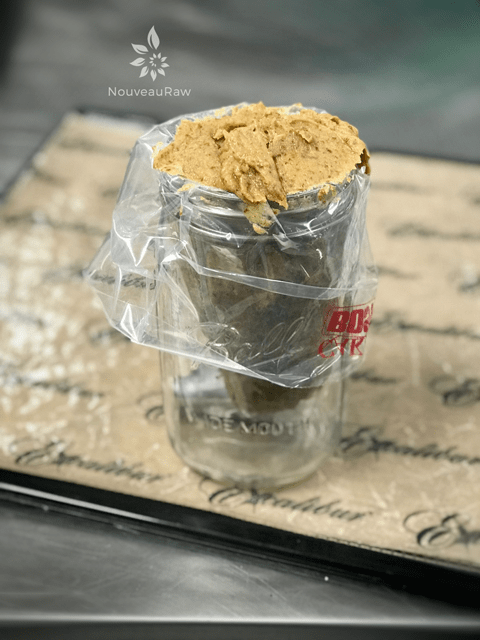
Pack in the date mixture.
-
-
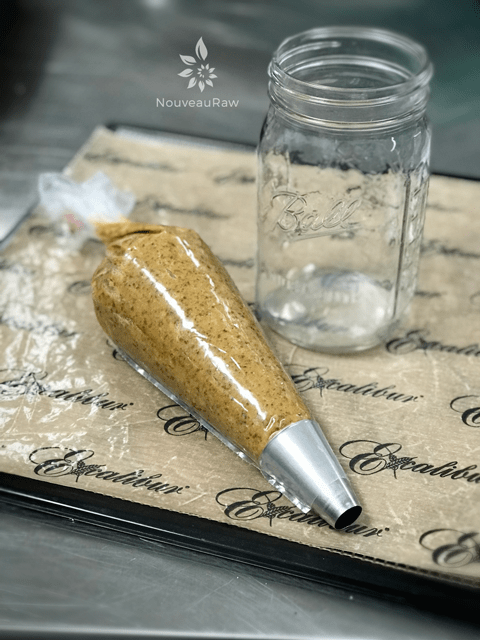
Work out any air bubbles and twist the top tight.
-
-
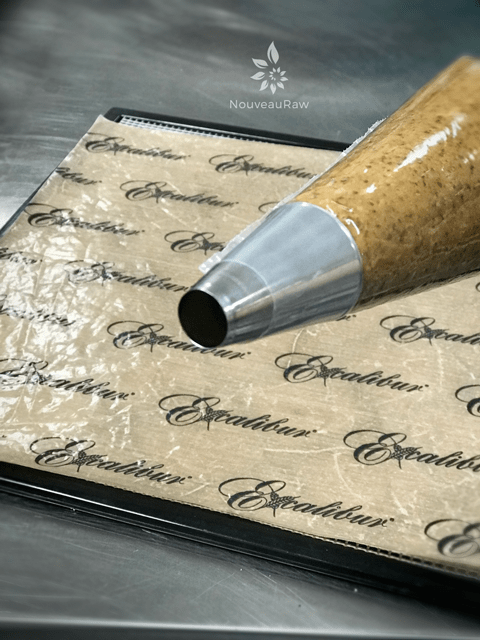
This is the tip I used. You can use any size.
-
-
Holding the piping bag straight up and down, pipe small discs.
-
-
Here is a close up…
-
-
Here is a close up. :)
© AmieSue.com
Tags: Dairy Free, Gluten Free, Nut Free, Refined Sugar Free, Soy Free, sugar free, Vegan


 Add to favorites
Mold? How can you tell if your dates have mold?
Good morning Myrna,
Well there is the first obvious sign… fur on the skins (but honestly I haven’t experienced that) but when you pry a date apart to remove the pit you should always inspect the inside. Every once and while I will get one that has a black like powder inside of it… form of mold, or you might see little eggs…sorry don’t mean to gross you out. Toss’m if you do. Dates can get a sugar crystal like look to them from time to time, but that is fine. I see this more in the dates that have more moisture. I hope this helps. amie sue