How to Frost a Cake

 Add to favorites
 Too much frosting will overwhelm the cake, and too little is disappointing. But in the end, it is up to you! Keep in mind that all frostings are not alike.
Some are soft, firm, temperature sensitive, don’t freeze well, change color when exposed to air, and so forth. Know your frosting, so you know how to deal with it. Below I am sharing some very basic tips on how to frost a cake.
Read through it carefully before you start your project and make any adjustments that may be needed according to the consistency of your frosting. Be forewarned… there will be a LOT of finger and bowl licking! hehe
How to Frost a Cake:
Filling:
- Going to put a layer of filling in between cake layers? You’ll need about a half cup to one cup of frosting in between layers. This will depend on the pan size. If the frosting is pretty soft, place the cake in the fridge or freezer until it firms up then you can to apply the next cake layer.
- When the cake is filled and stacked, refrigerate it for 15 to 30 minutes for the filling to set.
Crumb layer:
- The goal in frosting a cake is to put it on smoothly while keeping the cake crumbs out. Usually, two layers of frosting are put on: a crumb coat or a thin layer and a final coat. If at all possible, it is best to freeze the cake before frosting, this will give you a firm foundation when applying the frosting.
- Remove the filled cake from the freezer and brush away any loose crumbs from the top and sides of the cake.
- Frost the sides of the cake first. Scoop up a generous dab of frosting onto a flat metal spatula and hold the spatula against the cake, perpendicular to the turntable. Move the spatula down and away from you without lifting it from the cake as you frost only a few inches.
- Wipe excess crumbs and frosting from the spatula between applications of frosting. Scoop up another dab of frosting and continue around the cake.
- When the sides are covered, spread an even layer of frosting over the top of the cake. This initial layer of frosting should cover the sides and top of the cake but does not have to look perfect.
- Make sure the frosting spreads easily. A stiff frosting will not go on smoothly, and you may tear the cake while as well, creating a lot of unnecessary crumbs and uneven surfaces. Allow the frosting to sit at room temperature until it is soft enough to spread.
- After the first layer, refrigerate the cake for at least 20 minutes. This will give the frosting time to harden a little so that you can apply the final layer of frosting with ease.
 Outer frosting layer:
- Spread the sides of the cake with a thicker, finishing layer of frosting, working from the top toward the bottom as you rotate the cake. Wipe the spatula with paper towels before dipping it back into the bowl of frosting, and keep it well coated with frosting, so it doesn’t pick up any crumbs.
- To frost the cake top, spoon a mound of frosting in the center and spread it outward to all edges, quickly smooth a section with long strokes, moving in one direction. Repeat until the frosting is smooth on the cake top and sides.
- Use a spatula to level the frosting, this step is necessary.
- Place in the fridge for 15+ minutes to firm up.
- This is the last step, the fun part but it is optional. Use a piece of parchment paper or a paper towel and lay it right on the cake. Use your finger to press lightly over the cake and smooth the icing, then peel the paper away. Do the same for the sides. You can pull it up and press it back on several times to get the cake as smooth as you like it.
- The frosted cake should be refrigerated, protected from air and fridge odors, and should only stay out of refrigeration for no more than one to two hours. After that point, the frosting will start to get pretty soft.
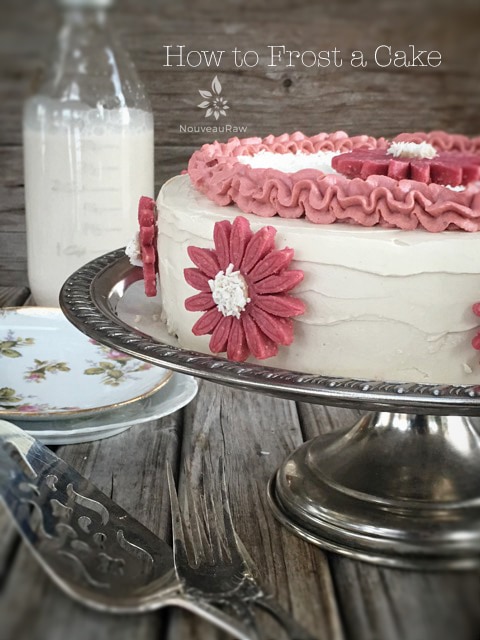
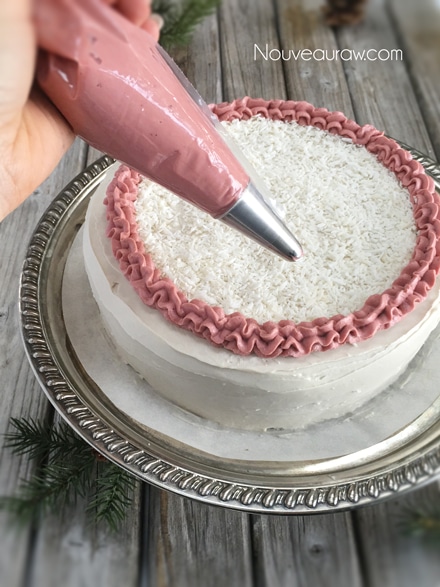
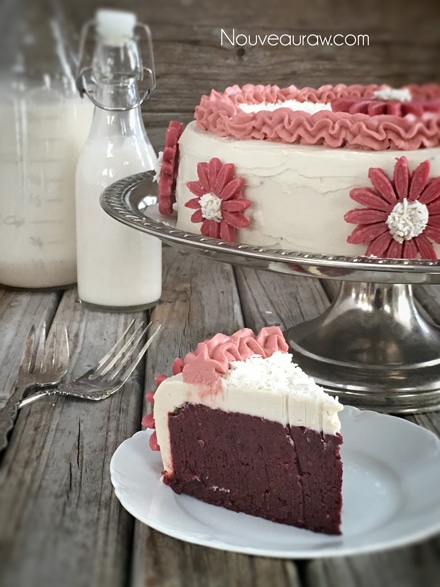
- Now it is your turn to decorate and give the cake some personality!
Additional Cake Tips:
- How to slice a cake. Click here.
- How much frosting is needed for a cake? Click here.
- Need a basic white frosting recipe? Click here.
- Want to create a colored frosting? Click (here) to make natural food coloring.

© AmieSue.com


 Add to favorites
 Too much frosting will overwhelm the cake, and too little is disappointing. But in the end, it is up to you! Keep in mind that all frostings are not alike.
Thanks for these great tips! What frosting recipe is used in the picture above?
Hello Racquel,
It is listed within the post under “Additional Cake Tips”.
Have a blessed weekend, amie sue
very helpful website
Thank you
Your welcome Sabina :)
THANK YOU SO MUCH for this helpful guide! I’ve never decorated a cake before (I used to just leave cakes in the pan they were baked in and slather some store-bought sugary goop on top), so this guide was a lifesaver this weekend when I decided to enter a cake-baking contest by the Born This Way Foundation (#BeKindBakeOn). I made my first-ever raw cake, TWO frostings (I had also never made frosting AT ALL before), and now thanks to your helpful guides, I have one of the prettiest dang cakes I have ever seen! ♥
Also, I have no piping bags (like I said, I’ve never decorated cakes before), so I re-purposed an old Ziplock baggie (used to buy raw goodies from the bulk bins) with a corner cut off… So my frosting technique could use some finesse but I think I did a fantastic job with what supplies I had at hand (and the help of your website, of course)!
Thank you again! I absolutely ADORE your site and love to browse for hours! ♥
Good morning Pax,
Thank YOU so much for sharing. hehe I always love to hear from those to visit NR and share their experiences. I am so proud of you for stepping out of your comfort zone and frosting your first cake! It’s a lot of fun and can really open the door for creativity. :)
Keep in touch and frost on! hehe Blessings, amie sue