Background Color

 Add to favorites
It may seem odd, but before you start preparing food in the kitchen, before wielding a knife in your hand, take a moment to ground yourself. Become present and get a grip (pun intended). If there is chaos around you (kids running, dogs barking, your husband has a cold, etc.), take a moment to calm the situation before picking up the knife. Being flustered and distracted can lead to injury.
So what’s the best way to grip your knife? There are many different ways in which you will witness someone holding a knife. It’s sort of like holding a pen or pencil, not everyone holds them the same way or even with the same hands. Frankly, the best grip is one that makes you feel the most comfortable and secure. It will also depend on what type of knife you are using as well as what you are cutting.
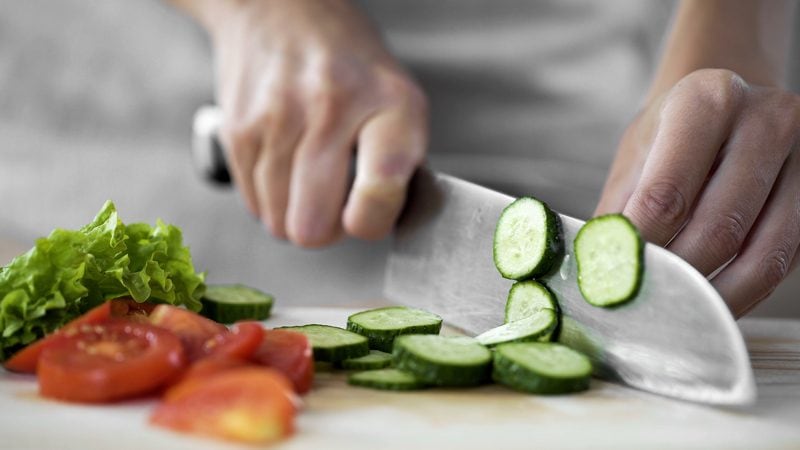
With that being said, there are some helpful tips that you should practice for safety reasons. Plus, where and how you hold your blade determines your level of control, which will build your confidence. Today, we are going to talk about a chef’s knife since this is the most common knife used in the kitchen. Most of the techniques acquired here will carry over to other knives.
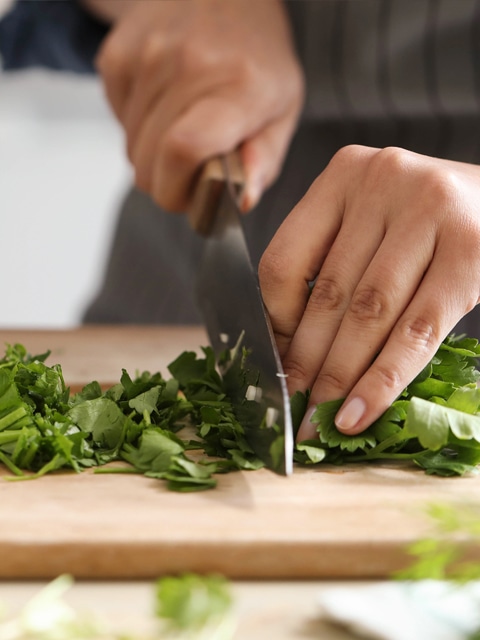
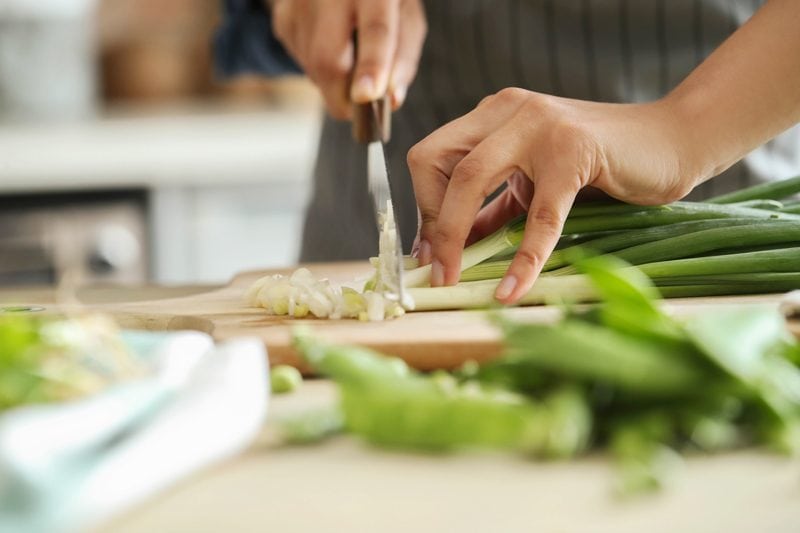
Pinch Grip
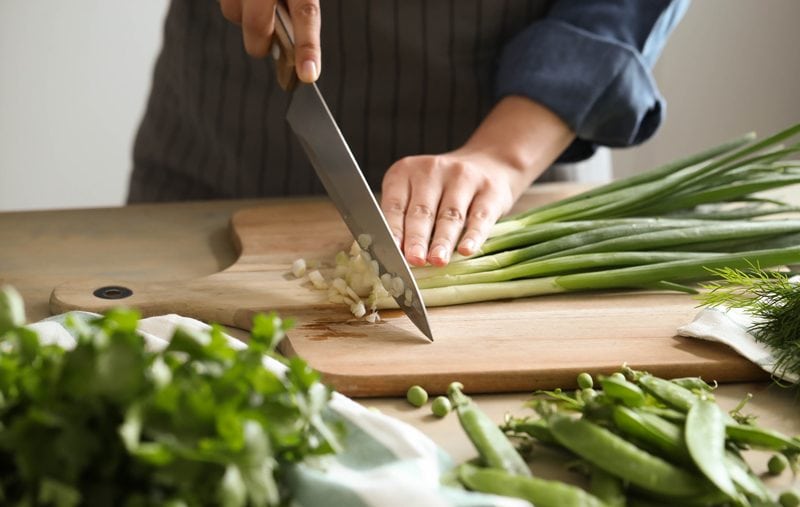
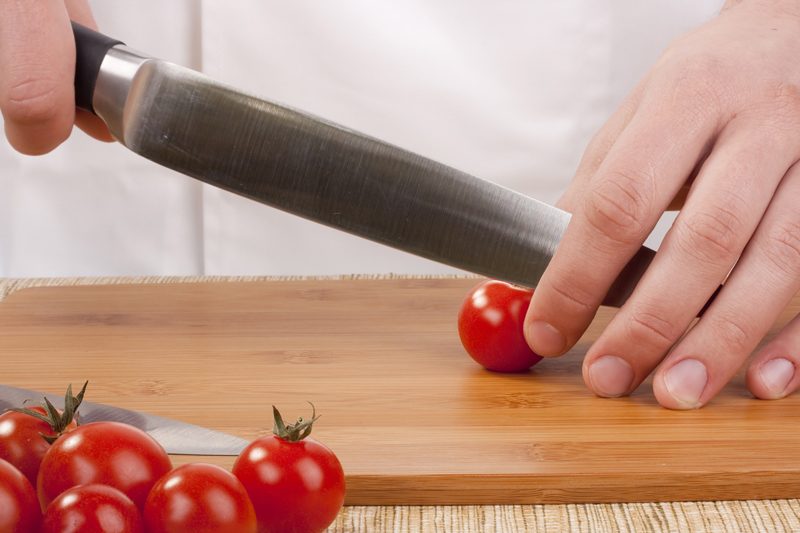
PHOTO ABOVE – HAND POSITION NOT RECOMMENDED! The fingertips are lined up perfectly for a disaster.
Finger Grip – only with soft foods
You may witness someone using this technique where the forefinger is perched along the spine of the knife with the rest of the hand wrapped around the handle. The problem with this position is that there isn’t much stability from side to side with this grip, which means that if that top finger slips off of the knife, it could end up on the cutting block. If you are in the habit of holding the knife this way, try to undo that habit so you can pass on the right technique to those who watch you in the kitchen.
If you are dead set against changing your ways, only use this technique if you are cutting softer foods. If you hold your knife this way when slicing hard root veggies, you are at risk of sliding off of the vegetable and cutting yourself. So be cautious and aware of what you are cutting.
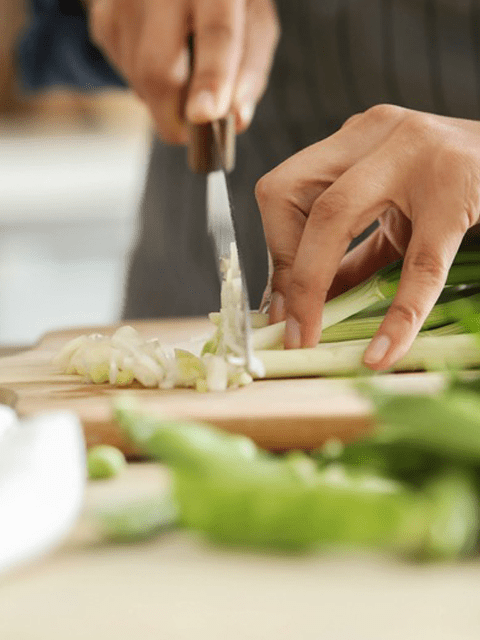
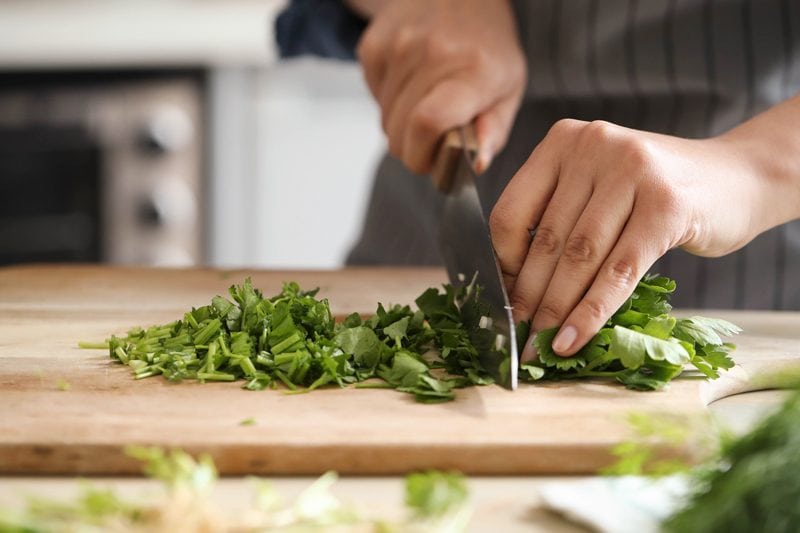
Now that you know how to hold a knife in one hand, we need to assign a task to the other hand. It plays just as an important role as the cutting hand, it nudges and stabilizes the ingredient being cut to maximize safety and efficiency.
The guiding hand works in harmony with the knife-hand. Not only does it stabilize the food, but it also helps control the size of the cuts. Listen, fingertips are the prime target for the edge of a knife. Learning proper knife skills helps ensure safety in the kitchen, keeping food, not fingers, on the chopping block.
For a quick visual of what the guiding hand will be doing, hold your hand up in front of you, curl your fingers back, so all the tips are tucked. Now turn your hand, palm facing down, and place it on the countertop. That is what is called “The Claw.” We will use the position of this hand to prevent foods from slipping away from the knife.
In the photo above, you can see that the fingertips are about 1/2″ from the blade and they aren’t properly curled under… this could lead to nicking the fingertips with the blade if you get distracted. The basic hand potion is ok, but to get that claw look, tuck those fingers under a tad more and cut with the blade resting on knuckles.
The Claw – hand position
The Bridge or Tunnel – hand position
I hope you found this helpful, blessings. amie sue