Background Color

 Add to favorites
 ~ raw, vegan, gluten-free ~
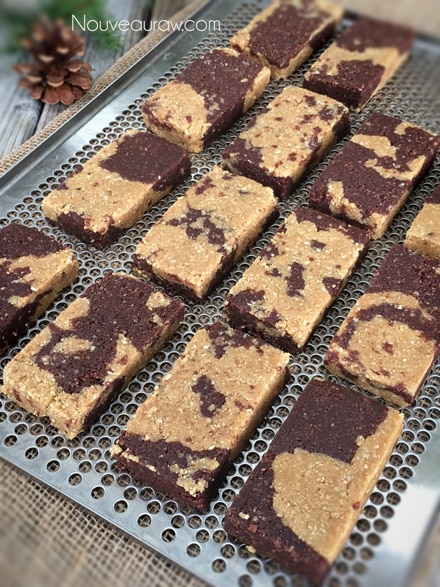
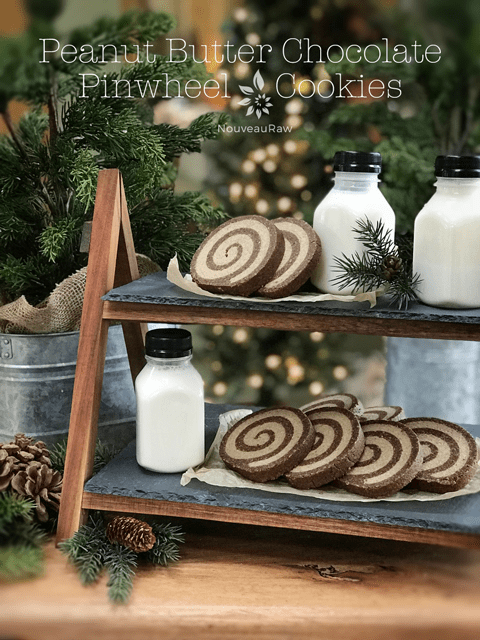
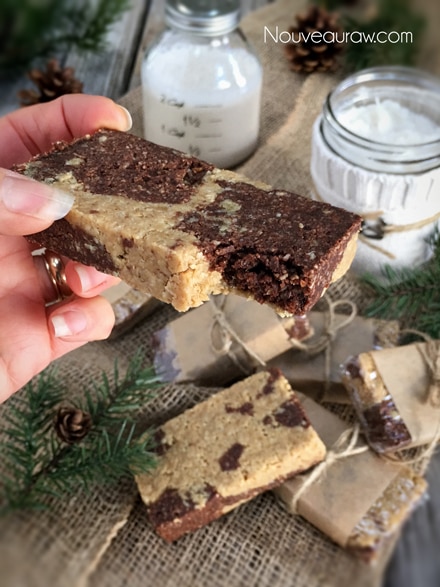
What can possibly go wrong when you marble together peanut butter and chocolate?! Nothing… that’s what could go wrong… absolutely nothing. We all know that they are a match made in the culinary heavens.
When it comes to making bars, I love my “cookie” press. Truth be told, it is sold as a sushi press. How I ever stumbled upon it in the first place is beyond me, especially when I don’t eat sushi. But I tend to look at things, trying to figure out how I can use them other than what they were intended for, this is one of those times.
I have been using the press for years, and it helps to create the ideal shape and condenses it into a very firm bar, which is just about perfect. On Amazon, they cost less than $1.00, and shipping usually runs $4.99. Go figure. But it has become a staple tool in my kitchen for $5.99.
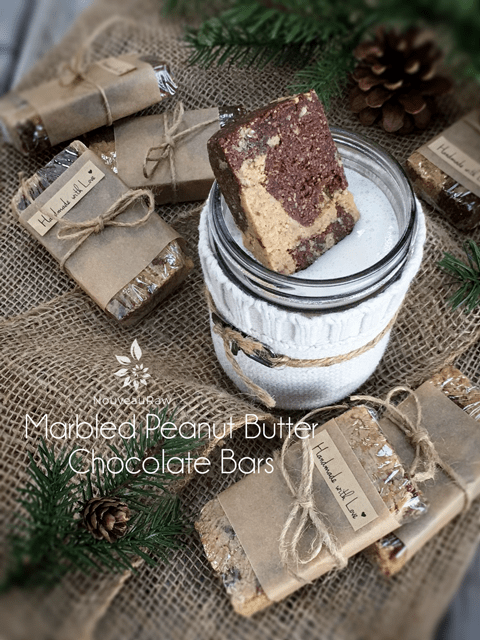
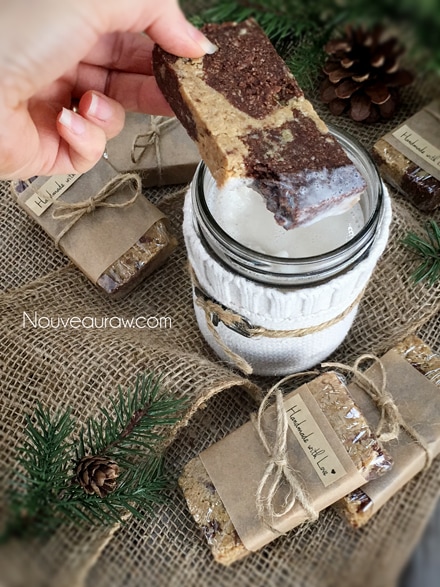
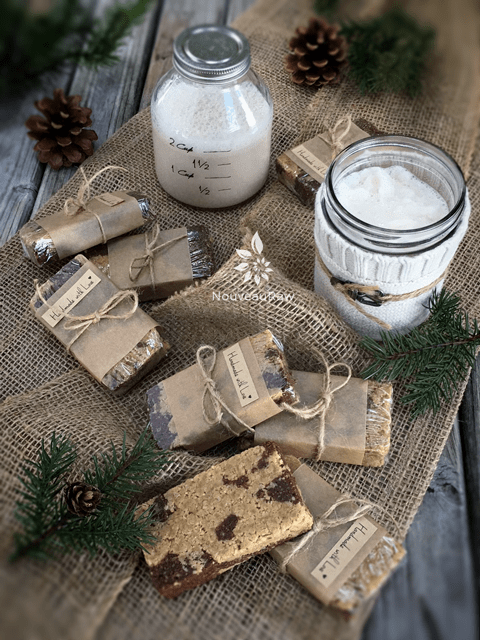
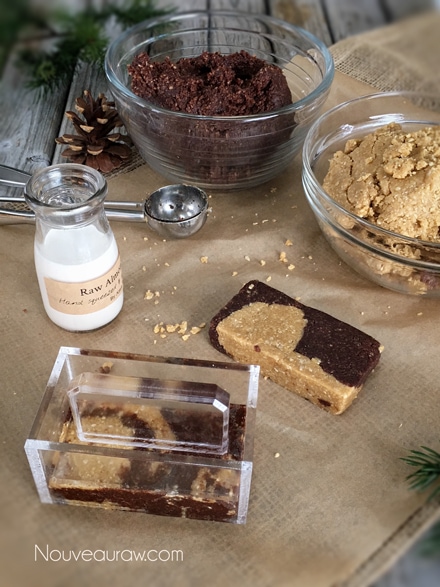
When I am creating raw goodies, I am always thinking of fun ways to either present or package them. They make such beautiful gifts.
Since these bars can be kept at room temperature for a week or so, I thought it would be fun to wrap them individually with plastic wrap. I then cut some parchment paper to create a band around the center of the bar. I wanted the ends to poke through so a person could see the lovely coloring of the two doughs.
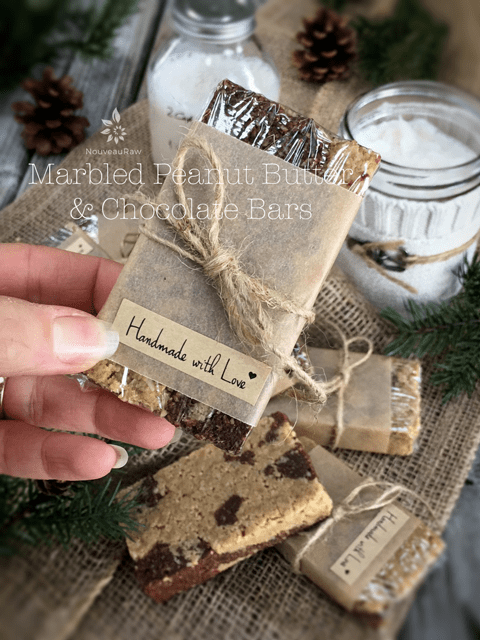
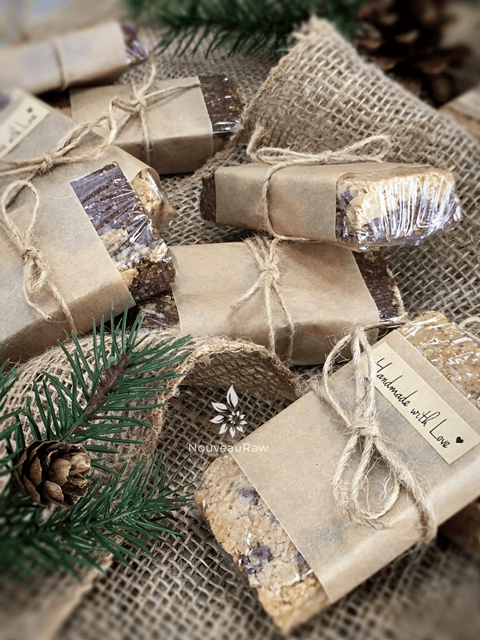
And then there’s twine, who doesn’t love twine? When I give gifts to my lady friends, I make a bow with the twine, but for men, I tie it in a knot. I picked up the “Handmade with Love” stickers at a local craft store. They also come in handy to help personalize a gift.
Before I let you go, I want to run through a few ingredients. When it comes to the almonds and oats, I suggest that you soak and dehydrate them first. Don’t use them in their soaked only state. It will mess up the texture of the bar. I realize this process adds some time to the process. It’s a good habit to get into, to soak and dehydrate nuts, seeds, and grains ahead of time. That way, they are ready to go with inspiration hits you.
Some of you may be asking if you can skip this process, and the answer is yes, but again, I wouldn’t. This whole pain-in-the-biscuit step can help reduce digestive issues. So for those of you who are dealing with a compromised digestive track… soak and dehydrate and see if makes a difference for you.
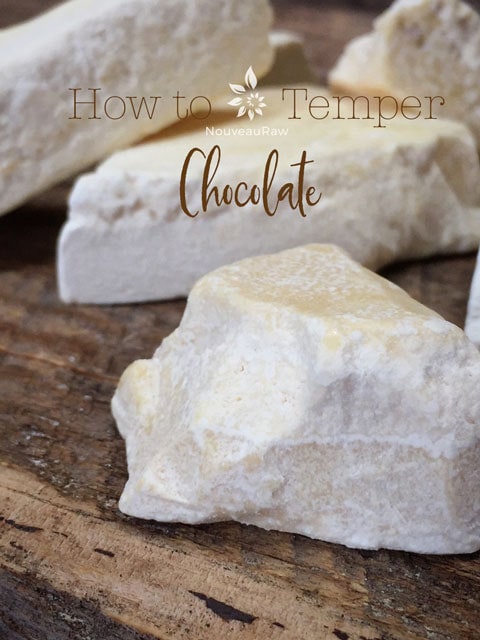
I chose to use olive oil instead of coconut oil because some people feel that dehydrated coconut oil leaves a bad taste in their mouths. I usually don’t detect this, but I like to mix things up anyway. As far as sweeteners go, use whatever suits you. Everyone has a different opinion on what works for them. Personally, I used maple syrup and honey. These days, I think that maple syrup is more healthy than agave. The two different sweeteners help with the binding of ingredients and add a layer of complexity to the overall flavor of the bar.
Lastly, the peanut butter I used is fresh ground roasted peanut butter. Raw peanuts have a unique flavor; not much like you would imagine it to be. They are also hard to find. If you want to keep the bar as raw as possible, feel free to make your own raw peanut butter. Ok, now it’s time to get some dishes dirty and make these bars. Please comment below and have a blessed day, amie sue
 Ingredients:
yields 15 bars
Chocolate batter:
Peanut Butter Batter:
Chocolate batter:
Peanut Butter Layer:
Cookie press method:
Pan method:
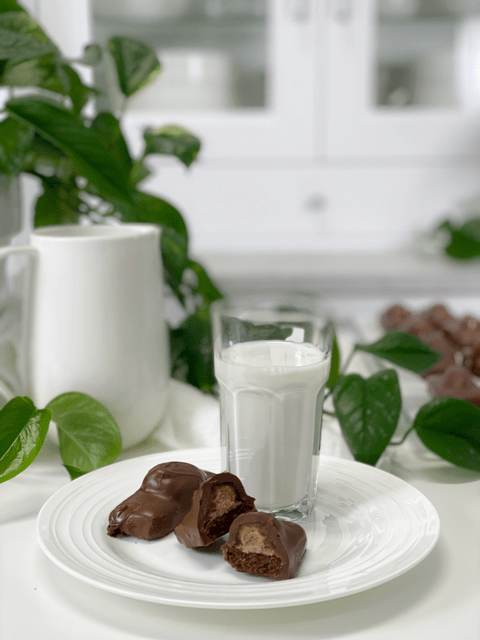
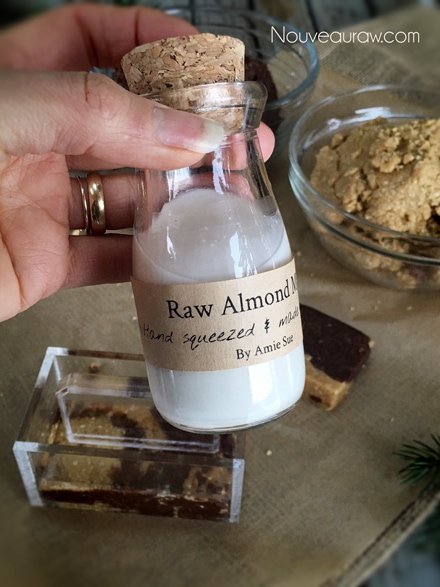
To things off right… make yourself some almond milk because
when creating a treat like this… it is required. :)
Alternate the dough in the cavity of the press.
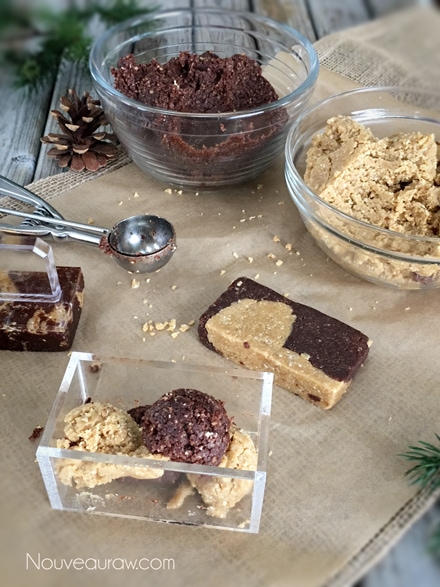
With firm and even pressure, press down on the handle.
Remove and place on the mesh screen that comes with the
dehydrator. I found it helpful to wash the cookie press a
few times while making all of these to prevent sticking.