
Background Color

 Add to favorites
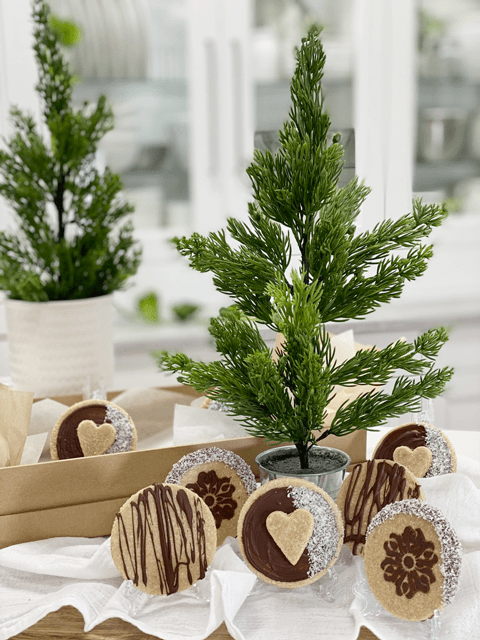
A wafer-thin, firm but chewy cookie that is the perfect snack to satisfy that sweet craving without sacrificing quality, health, or taste. These cookie thins are reminiscent of sugar cookies. That wasn’t my intent, but I am one to go with the flow. They are firm to the touch but have a little chew to them. What I most like about them is the fact that they aren’t TOO sweet (unlike most sugar cookies, again, that wasn’t my intent, but I need to compare it to something…)
Chocolate chip, peanut butter, oatmeal, sugar, these simple childhood favorites just never seem to go out of style. When the holidays roll around, we become kitchen artists, wielding cookie cutters and icing bags to create everything from the simplest gingerbread men to shimmering, glittery cutout snowflakes. I do realize that it’s a bit more challenging to replicate all the amazing decorating techniques that the cooked world has to offer. But I am ok with making such sacrifices to feed my body with better quality ingredients.
There are several distinct stages when making rollout cookies. It’s easy to break the process down to accommodate your schedule and can be spread out over several weeks.
For the base of this recipe, I used finely ground cashews, coconut, and cassava flour. I did this for several reasons. They are all neutral in appearance, flavor, and they are all gluten-free. When grinding down the cashews, it’s important to know that they won’t break down to a fine flour powder. In fact, if you aren’t too careful, you could find yourself well on your way to making cashew butter.

The dried coconut I used was already finely ground. If you have larger flakes, be sure to grind them down to a flour-like texture before adding it to the recipe. I used coconut to add a hint of sweetness and lightness to the cookies. If you use more nut flour in its place, the cookies will be denser.
Lastly, cassava flour,t it too is very mild and neutral in flavor. It’s also not grainy or gritty in texture – rather, it’s soft and powdery. For future use, it is gluten-free, nut-free, grain-free. The cassava plant is a staple crop to millions of inhabitants in South America and parts of Asia and Africa. The plant produces the cassava root (also known as yuca), a starchy, high-carbohydrate tuber – similar to yam, taro, plantains, and potato. I must add it is NOT a raw product. So, if that is an issue for you, substitute it with more ground cashews or coconut.
Well, it’s time to strap yourself into that apron and get busy in the kitchen. I hope you enjoy this simple yet delicious cookie recipe. Please share your thoughts down below and have a blessed day, amie sue
 Ingredients:
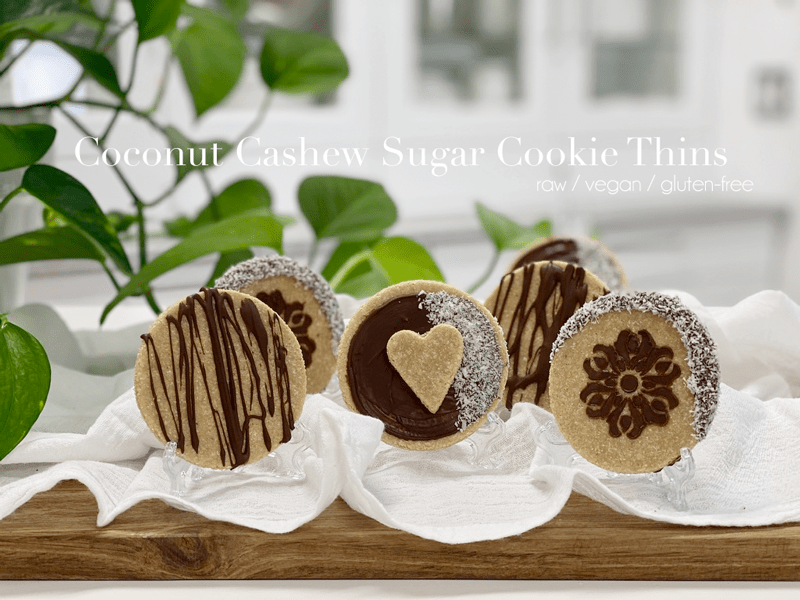
yields 32 cookies (1/8″ thick – 2 3/4″ round)
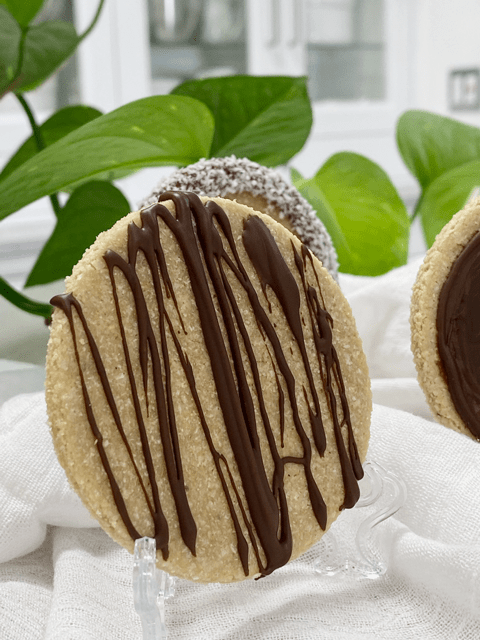
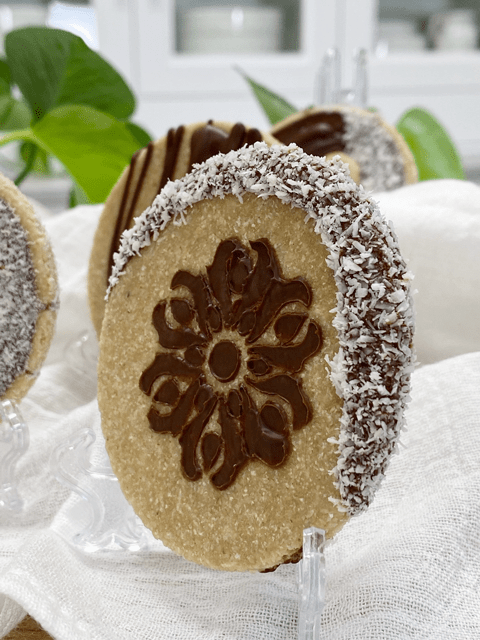
To decorate with chocolate, you can melt vegan chocolate chips, or you can make raw hardening chocolate. Before you melt the chocolate, make sure that you have everything set out for your decorating session. If your chocolate starts to thicken up throughout the process, you can place it in the dehydrator to soft it. I used a small paintbrush and a little stencil for some of the decor. For the white dusting, I used superfine dried coconut. Be creative and have fun with it!

I don’t have a dehydrator. Possible to bake in a low oven?
Hello Leslie,
Yes, I have post on how to do that – https://nouveauraw.com/reference-library/dehydrator-basics/conventional-oven-food-drying/
blessings, amie sue