

 Add to favorites
~ raw, vegan, gluten-free, nut-free ~
Abundant sunshine and an invigorating breeze whispering through the house inspired me to create this recipe. It was that or clean the house… the popsicles won!
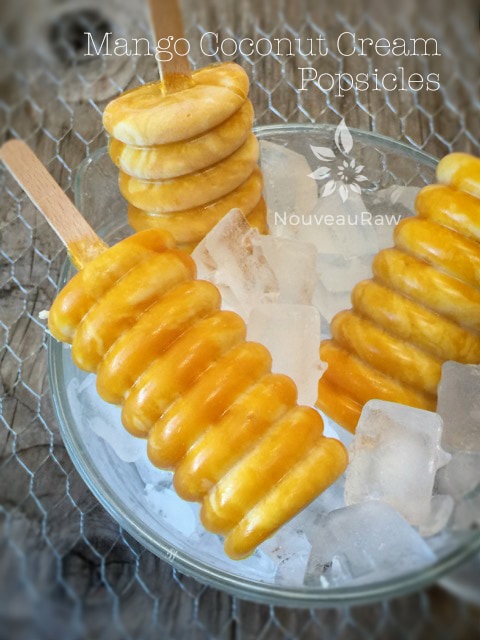
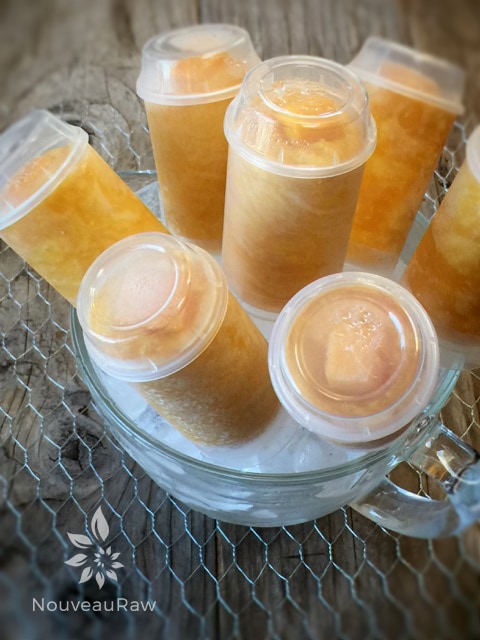
Mango and coconut are just one of the great flavor combinations that work together when making a soothing, frozen treat for the warm summer months. Though I really don’t like to put timeframe restrictions on them, because I find sweet frozen treats to be a delight even in the cooler months.
This recipe can be enjoyed right after the blending process. With the aid of a blender, you will soon discover that both mangos and Young Thai Coconuts transform into luscious cream-like puddings. In fact, put a bowl aside for tomorrow’s breakfast and then move forward in making popsicles.
For the best tasting popsicles, you need to start off with the best-tasting mangos. That means that you want to select beautifully ripened mangos. There is a “sweet spot” of perfection. If they are a bit under-ripe, they will taste sour and have a fibrous flesh. Over-ripe mangos often have a soapy or fermented taste.
Mangos are ready to eat when they are slightly soft to the touch at the stem end and yield to gentle pressure, like a ripe peach. Avoid mangos with black spots. You can ripen them at room temperature in a paper bag, along with an apple or a banana.
The next tropical ingredient that we will be using is young Thai coconut flesh/meat. If for some reason you can’t get your patties on these wonderful jewels, you can use canned. Please look for organic, BPA-free, full-fat coconut milk. You will want to chill the can overnight, so that the coconut separates inside the can. Once opened you will have a super thick cream (which is what you will use) and a thin liquid (save for tomorrow morning’s smoothie). You will need roughly 3 cans.
I really should let you go now… it’s time to play in the kitchen, make a mess, and then reap the rewards!
 Ingredients:
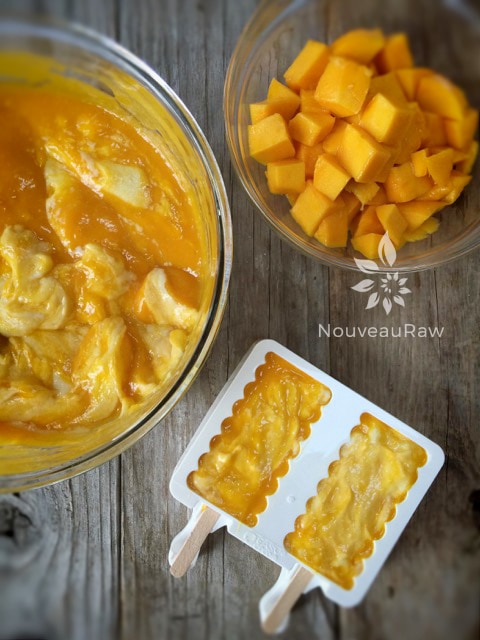
Regardless of the popsicle mold that you use… combine both batters in a bowl, swirling them together just enough so you can see the variation. I overdid it a tad on mine, but they still turned out pretty.
Uff Amie-Sue!!! Totally delicious!!! I will do some for my kids, they will love them!! Thanks! ^_^
Perfect for the kiddos Elizabeth. They are so easy and very few ingredients. Get them involved! Many blessings and let me know how they turn out. amie sue
Btw.. We’re did you find those pretty molds?
Good morning Elizabeth,
Scroll about 3/4 of the way down the follow page to see the molds that I used. https://nouveauraw.com/equipment/pans-forms-molds/
Blessings, amie sue
these LOOK beautiful … and taste delicious … healthy “popsicles” (and I’m sharing)
Share away my friend. And thank you, they have a natural beauty to them, just like you. :) Blessings, amie sue
thank you so very much ♥ God bless you and your work
Another great recipe, as always. I have one question – where did you get your popsicle molds used in this post? I love them! Very unusual. Typically you indicate where readers can buy the molds & other items you use, but you didn’t this time. Are these molds available anywhere? Thanks & have a nice day! :)
Oh never mind! LOL – I just read in another comment where you provided a link to the molds! Sorry! Have a great day :)
Wonderful! Pretty and sooo delicious Amie Sue! My kids loved them! Thanks!!!
That’s exactly what I love to hear. Kid tested, mom approved. hehe Thanks for sharing Elizabeth. Many blessings, amie sue