#2 – Food Processor – Tips and Tricks

 Add to favorites
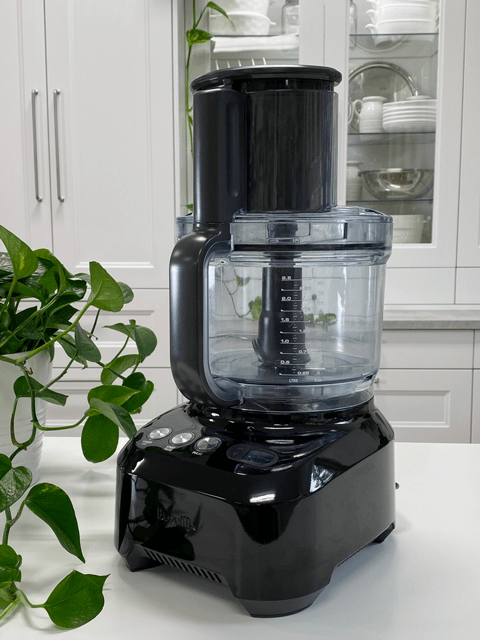
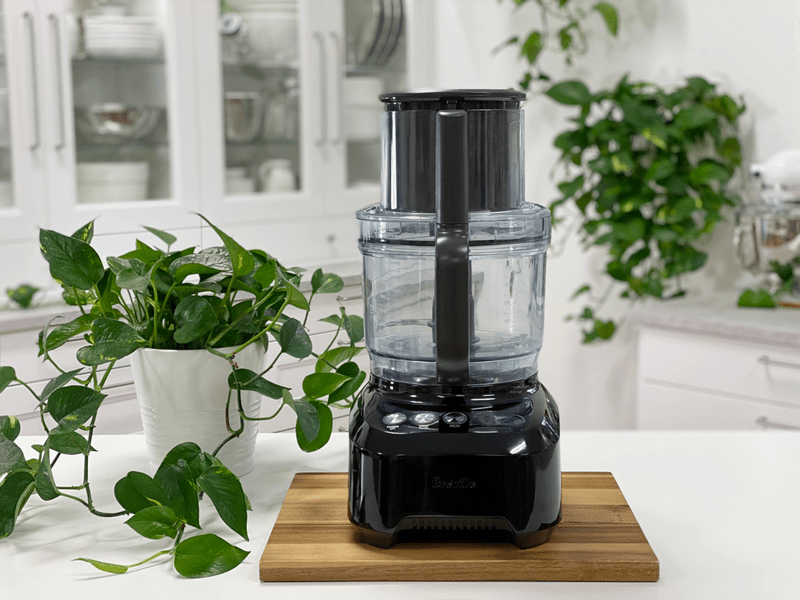
It slices, it dices, it whips up a batch of raw cookie batter in no time! My food processor is one of those multi-tasking kitchen tools that I don’t think I could live without at this point. One question that I get over and over is, “How can I save time in the kitchen?” Use your food processor!
Anything that can be done in a food processor can be done by hand, BUT it will take MUCH longer, and the texture won’t match up. Today, I thought I’d take a minute to share all the wonderful ways, big and small, that I use mine — making my life just a little bit easier in the process. So if you are looking to save time and take food prep to the next level (with minimal effort), take a moment to hear out some tips and tricks that I want to share with you.
I also recommend reading through the manufacturer’s manual (gasp! I know, just do it). There are so many machines on the market, and although they all do the same jobs, there are small differences due to horse-power, size of the food processor bowl, the types of blades and discs that come with it, and perhaps a few fancier button controls.
Getting to Know the Blades
It’s important to understand the roles that each blade or disc plays.
Using the wrong one for the job can result in less than satisfactory results.
Never place the blades or disc in a sink of soapy water. Murky water + sharp objects = injury.
S-Shaped Blade
- Also called the Sabatier blade.
- While the food processor bowl is attached to the machine, the “S” blade will snap into the base of the bowl.
- Used to coarsely chop, grate, mince, mix, or purée food.
- Its general purpose is for creating batters for cookie dough, salsas, pesto, nut butter, and hummus (to name a few).
- When you use the pulse feature with this blade, it will mix and chop.
- When the machine is on continuously, the blades will blend and purée.
Shredding Discs
- Also called the grating disc.
- While the food processor bowl is attached to the machine, you will slide the disc on top of the non-removable motor shaft, followed by the lid with the chute.
- With the machine running, you feed the food chute, and it hits the disc first, which shreds it, before falling into the bowl of the food processor. Shred carrots quickly and efficiently for carrot cake, cabbage for slaw, or broccoli for a crunchy salad.
Slicing Disk
- The slicing disk is similar to the shredding disc, in that it sits on top of the non-removable motor shaft, followed by the lid where items are put through the feed tube to be sliced.
- Use it to slice cucumbers, apples, mushrooms, carrots, potatoes, cabbage, tomatoes, peppers, radishes, and other firm/hard veggies or fruits.
Adding Foods to the Processor
- Don’t fill up the food processor’s bowl before placing it on the base.
- Why? The blade won’t fit properly. You’ll either cut your hand fiddling with the blade or will have to remove the food and start over.
- Instead, set the bowl on the base with the blade in place, then fill the bowl.
- Never add piping hot food to a food processor.
- Why? If the ingredients are hot, they can discolor and melt the plastic section of the blade.
- Instead, let the food cool down, then proceed.
- Never fill the food processor more than half full of liquid.
- Why? If there’s too much liquid, it can seep or splash out the sides when you turn on the processor.
- Instead, if you’re working with something super liquidy, use a blender.
- Don’t add large food pieces to the food processor’s jar.
- Why? If the items are too large, they will jam up the blade and prevent the batter from blending.
- Instead, roughly chop up food items before putting them into the bowl through the tube.
While Blending
- Steadily running or pulsing.
- Continually running the motor is ideal for creating emulsions, like date paste, and creamy sauces.
- A pulse is perfect for chopping. By pulsing, it will agitate the food, but not so long that it begins to break down and liquify.
- Remember to scrape down the sides of the food processor bowl when you’re puréeing or chopping.
- Why? Ingredients can stick to the sides and not get puréed or chopped with the rest of the food, leaving you with uneven results.
Here are some Basic Ideas
Vegetables
Garlic Cloves and Ginger
- Using fresh garlic and ginger in recipes is terrific, but you can’t just throw them in the food processor.
- Why? Garlic cloves and fresh ginger won’t mince evenly if you just throw them into the food processor. You will end up with an uneven dispersion.
- Instead, remove the skins, and then drop the cloves or ginger chunks in one at a time into the food processor while it’s running.
Cole Slaw or Shredded Veggies
- Don’t just toss the veggies into the food processor bowl fitted with the “S” blade.
- Why? When the blade spins, it obliterates everything in its path. Often you will be left with finely chopped veggies in the bottom with large chunks sitting on top because the blade couldn’t pull them down into the base of the dish.
- Instead, use the shredding disc that comes with the food processor. Prepare the veggies (wash, rough chop) and feed the pieces through the chute, using the plunger to help guide them into the shredder blade.
- Simple slaw recipes: Creamy Ranch Cole Slaw / Asian Curried Cabbage Slaw / Apple Cabbage Slaw
Leafy Greens
- Leafy greens can be shredded into tiny bits but don’t just dump them in the food processor bowl.
- Why? It will lead to uneven shredding, leaving you with a wet green mush on the bottom and untouched leaves on top.
- Instead, stack the leaves, roll up and stand them up in the feed tube (chute). Process using even pressure with the food pusher as it makes its way through the chute.
- To practice this technique, make the following recipes: Cumin Kale Salad / Shredded Rainbow Salad / Toasted Sesame Shredded Brussel Sprout Salad
Onions
- Don’t cry over onions.
- Why? Because it’s no fun, your eyes tear, and they burn.
- Instead, remove the outer skin, cut the onion into quarters, and place in the food processor bowl fitted with the “S” blade. Pulse until they reach the desired size.
Nuts and Seeds
Chopping Nuts and Seeds
- If you are looking to chop nuts, use the pulse feature on the food processor.
- Why? If you turn the unit on the continuous run, you could overprocess the nuts.
- Instead, press the pulse button so that the blade makes short, quick chops. Also, avoid filling the bowl too full to make sure that the pieces are evenly sized after a few pulses.
Nut and Seed Flours
- If you are looking to make nut and seed flours in the food processor, use the “S” blade.
- Why? The “S” blade will continually spin the nuts/seeds until they break down to a small crumble. You won’t be able to create a fine powdery flour due to the natural fats in them. Stop when they reach a small crumble. If you process too long, their oils will release and leave you with an oily mess.
- Instead, if you are looking to make a FINE powder out of nuts, I would use nut/seed pulps. The pulp is a byproduct of making nut/seed milks. Dehydrate and then blend into a fine powder using the dry container with the blender.
- Recipe for creating nut flours: Almond Flour / Hazelnut Flour / Cashew Flour
Nut and Seed Butters
- Never use wet nuts or seeds.
- Why? If the nuts or seeds are wet, it won’t blend into a creamy butter.
- Instead, dehydrate or roast them first.
- Always use room temperature nuts or seeds.
- Why? If the nuts are hot from roasting or warm from dehydrating, they can gum up the blade.
- Instead, let them cool to room temperature.
- Simple recipes for nut butter: Walnut Cashew Butter / Almond Butter / Pecan Cinnamon Butter
-

-
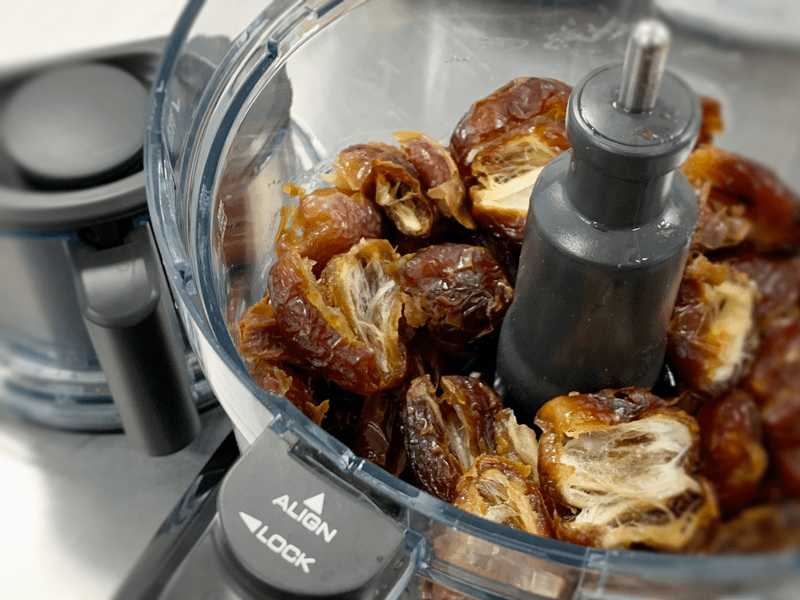
Place the whole, pitted dates in the food processor fitted with the “S” blade.
-

-
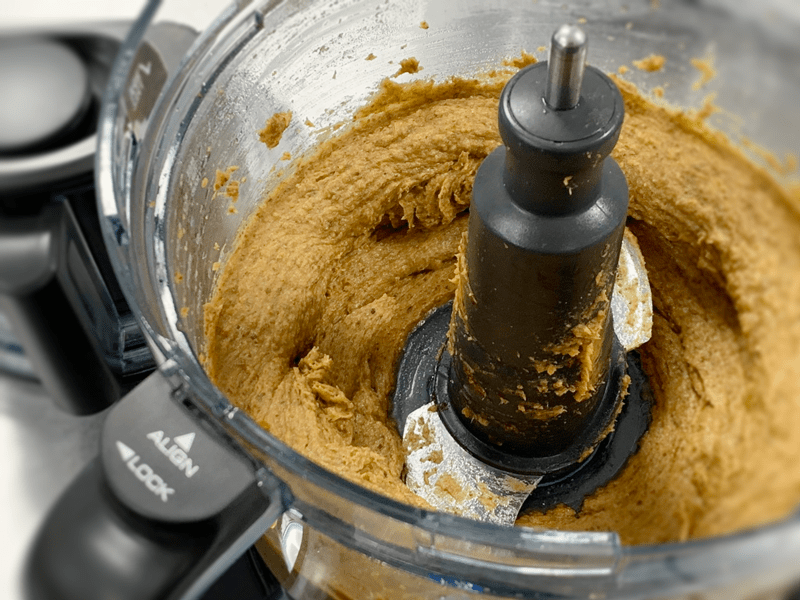
After 60 seconds it turned a light golden color and is ready to use!
Date Paste
- Do not use hard, tough dried dates.
- Why? It will be very taxing on your food processor and will prevent the date paste from getting that smooth texture.
- Instead, if needed, rehydrate the dried dates in enough warm water to cover them. Once soft, drain the soaked water and hand squeeze the excess water. Keep the soak water just in case you need a bit of liquid to get the consistency that you want.
- Always double check for pits.
- Why? Date pits have a way of sneaking in, and when they do, it will quickly ruin your whole batch of date paste.
- Instead, ALWAYS double if not triple check each date for a pit, even if you purchase pre-pitted dates!
- Don’t underprocess.
- Why? If you don’t process the dates long enough, it will result in a lumpy date paste.
- Instead, process until the date paste turns into a creamy golden color. Be patient; it’s incredible what the result is when you blend long enough.
- Click (here) to learn how to make date paste.
Shredding Raw Cacao Butter
- Don’t shred large amounts of raw cacao by hand.
- Why? It is time-consuming, messy, and you can lose a little skin along the way. Also, by shredding the cacao butter in the food processor, you will be left with pieces that are all the same size. Having evenly sized pieces will speed up the melting process when making raw chocolate.
- Instead, use the shredder disc that comes with the unit and feed chunks of raw cacao butter through the food chute.
- Click (here) to learn how to shred cacao butter.
Banana Ice Cream
- Don’t buy ice cream ever again!
- Why? Because most of them are filled with sugar and other unwanted ingredients. And goodness, have you seen the price of ice cream these days?!
- Instead, make a quick and easy soft serve banana ice cream. All you need are frozen bananas and your food processor fitted with the “S” blade. Magic takes place! Trust me. After you make your first batch, your head will be swimming with ideas on all the different add-ins you can try.
- Simple Recipe for Banana Ice Cream.
© AmieSue.com
Tags: Reference Library - Your Culinary Foundation


 Add to favorites

Right: very impressive and informational content. Thank you so much