How and Why to Temper Cacao (Chocolate)

 Add to favorites
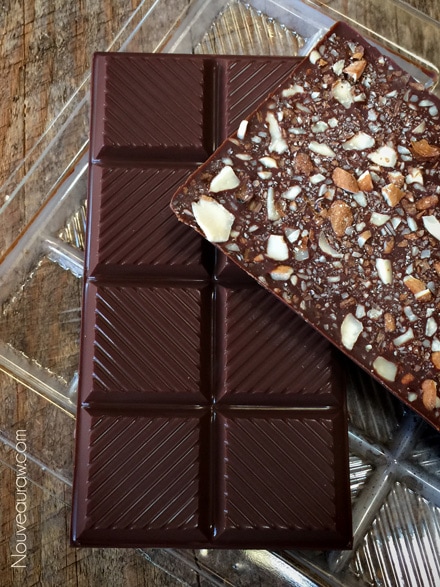
Tempering is the process of melting and cooling chocolate so that it will produce a smooth, glossy finish, and that familiar firm snap after it sets. It also creates more shelf-stable chocolate that won’t require being kept in the fridge. Chocolate that isn’t tempered is often gray, streaky, and will have a softer texture. Tempering is the key to making great chocolate.
 What is Raw Cacao Butter?
First, we need to understand raw cacao butter and how it works when it comes to making chocolate with it. The fat in the cacao bean is what gives chocolate its unique mouth-feel and stable properties. This fat is composed of three to four glycerides of fatty acids.
When we temper chocolate we are moving it up and down in temperature… this is because each of the different fatty acids in the cacao butter solidifies at a different temperature. Once melted, the fatty acid crystals separate. The objective of tempering melted chocolate is to entice the fatty acid crystals of cacao butter back into one stable form.
To start the tempering process, we will bring the cacao butter, along with the other ingredients added, to 107 degrees (F). This temperature unlocks the fatty acid crystals. Then we will continuously stir the mixture until it dips down to 89 degrees (F) or lower. It doesn’t matter if it goes below 89 degrees other than the fact that it will get thicker and thicker, which will make it difficult to pour into the chocolate molds.
When the tempering process is successful, the crystals will be tightly bound, which makes them resistant to developing chocolate bloom (whitish film, streaks, or spots of cacao butter that form on the surface of the chocolate.) These side effects won’t affect the taste, just the appearance, and texture.
When working with raw chocolate, I have to say that there IS a lot of science to it. What I am sharing today will help you to produce tasty and attractive raw chocolate… but if you want to take it to the level of professional chocolate, then I would recommend that you check into Amy Oosha’s chocolate classes. There is a lot of detailed information when it comes to types of chocolate, various ways of melting, tempering, and so forth. Far too much for me to get into here. :)
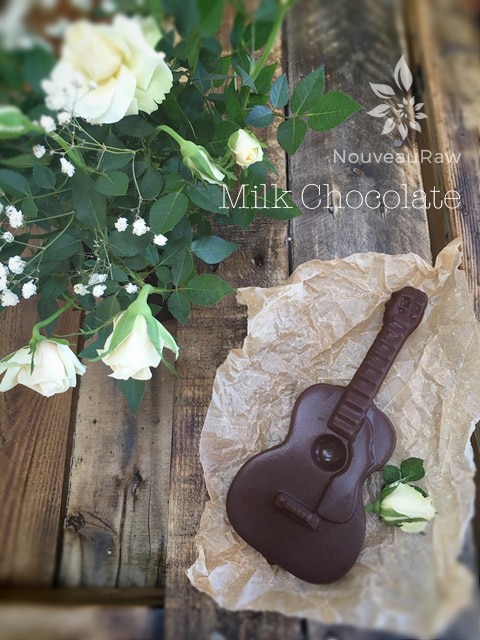
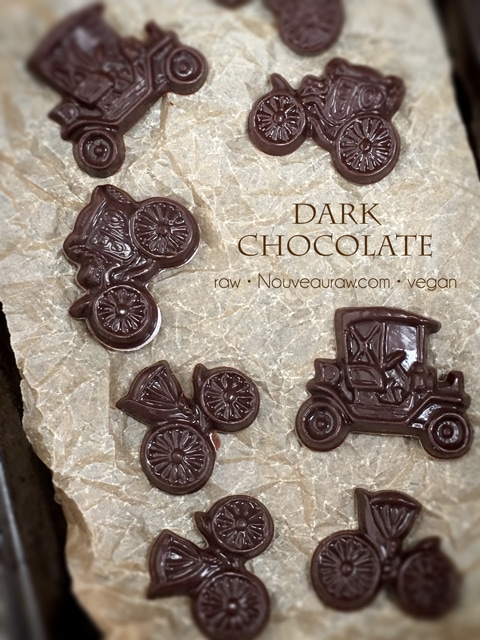
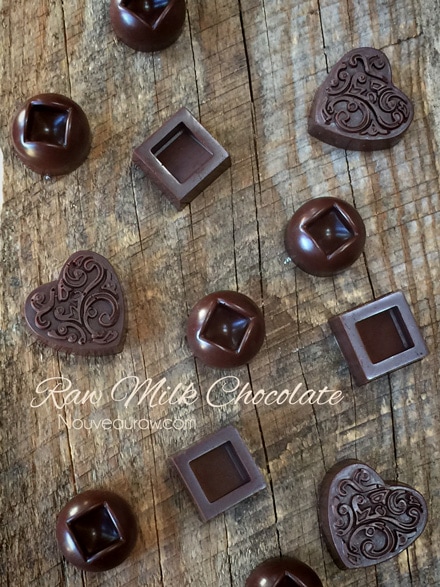
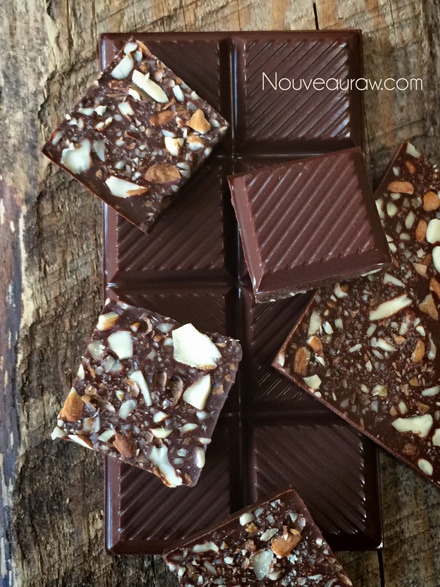
Here are just three chocolate recipes in my collection that can be tempered: Milk Chocolate, Hardening Chocolate, and A Simple Dark Chocolate.
 Vitamix & Tamper Method:
Melting the cacao butter and recipe ingredients:
- Chop or grate the cacao butter into small pieces.
- The smaller the pieces, the quicker your chocolate will melt.
- Add the cacao butter and any other ingredients to the blender carafe. Place the lid on tightly and insert the tamper.
- Have your infrared thermometer next to the blender so you can check how warm the mixture is getting throughout the process.
- Start the blender on low and quickly take it to high.
- Use the tamper to push the mixture into the blades.
- If a lot of chunks are collecting on the sides of the blender carafe or the tamper, stop the machine and scrape everything back into the center.
- It should only take 60-90 seconds for the mixture to be ready.
- Once the chocolate has turned to liquid, check the temperature to bring it to 107 degrees (F).
- Do not go above as this could result in burning the chocolate and also risk-taking it out of the “raw” stage.
Double boiler method:
Melting the cacao butter and recipe ingredients:
- Place water in the bottom pot of the double boiler, so the top of the water is 1/2 inch below the upper pan. You don’t want the top pan to be sitting in water. The steam generated from the lower pan is what will melt the cacao butter.
- Place the double boiler over low heat.
- Stir the cacao butter and ingredients together constantly until they are melted.
- Again… The water in the bottom of the double boiler should not come to boiling while the cacao is melting.
- Water is the enemy when it comes to chocolate making.
- If water or steam gets into the bowl while the chocolate is melting, it will seize up into a stiff, grainy paste. Kiss your ingredients good-bye. sniff sniff
- Test the temperature, letting it climb to 107 degrees (F).
- Lift the pan of the double boiler and place a lid on the bottom pan that has the water in it. Adding the lid will stop extra moisture from getting into the air.
- Transfer the mixture into a large stainless steel bowl, the more surface area, the better. Continue as instructed below.
Tempering the chocolate:
- This step will give the chocolate a shine and snap. You can skip it if you wish, but the chocolate won’t have that nice texture to it that commercial chocolates have.
- Pour the liquid chocolate into a stainless steel bowl. Glass bowls retain more heat, slowing down the tempering process.
- Gently whisk the chocolate with a rubber spatula, keeping it moving for roughly 10+/- minutes. The time will depend on the room temperature.
- Keep checking the temperature. Our goal is to cool it down to 89 degrees (F).
- The chocolate will start to thicken as it cools.
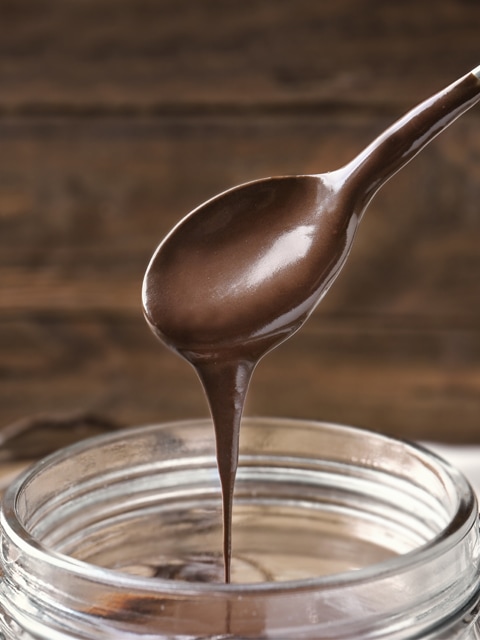
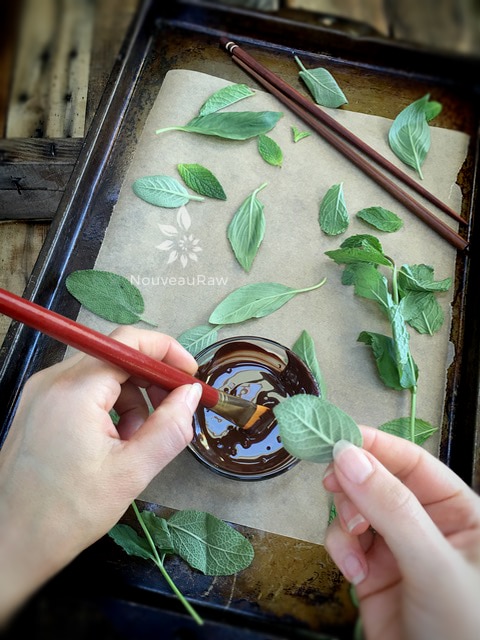
- To test the tempering process, spread a small spoonful of chocolate on a piece of wax paper. If it looks dull or streaky, re-temper the chocolate. If it dries quickly with a glossy finish, the chocolate is “in temper.”
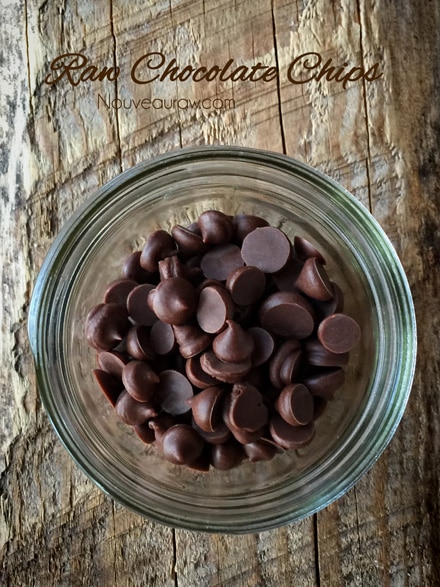
- Pour the chocolate into the molds.
- If you use flimsy silicone molds, make sure that you have them nestled in a baking tray. The tray will help with transporting if you wish to chill them in the fridge to speed up the hardening time. Otherwise, just let them harden on the counter.
- I suggest that you wear cotton gloves when removing the chocolates from the molds to avoid getting fingerprints on the surface of the chocolate.
Molds:
- Once the chocolates are removed from the mold, there will be a light film of cacao butter, which makes the next chocolate molded in the cavity gleam even more.
- Chocolate molds should never be washed with soap – if they become caked with chocolate, use hot water to scrub out the mold carefully. Soap scum can impact the flavor of your next chocolate creation if not thoroughly removed.
© AmieSue.com

Do you know of a way to temper carob? I would like to try many of your recipes, but I will need to use carob.
Thanks
Good morning Joibostic, I haven’t tried to temper carob. From what I have read up on it, carob is a bit different from chocolate. because the crystal formation is not the same for tempering chocolate. I wish I had more experience with it so I could better answer this question. I would have to experiment and see what happens with dealing with carob powder in that manner. amiesue
hola donde puedo encontrar las clases de amy oosha?
I would just Google her name Paulette. :)
I just have a question and I can’t seem to find the answer anywhere on the internet so here goes:
I usually make either white or regular chocolate by using the following ingredients:
raw cacao butter, coconut milk powder, lakanto monk fruit/allulose blend, salt.
I melt the cacao butter by using a stainless steel bowl over a pot of water on the stove at low temp.
while doing that i blend and sift the dry ingredients through a fine mesh sieve onto a dry plate.
then i remove the melted cacao butter from heat and stir in the dried ingredients using a whisk.
My question is When it comes to tempering, do you temper the cacao butter prior to adding the remaining ingredients or not?
Hello Jermey,
From my chocolatier schooling, you tempered the chocolate once the recipe is constructed. good luck! amie sue