Pecan Pumpkin Raisin Cake

 Add to favorites
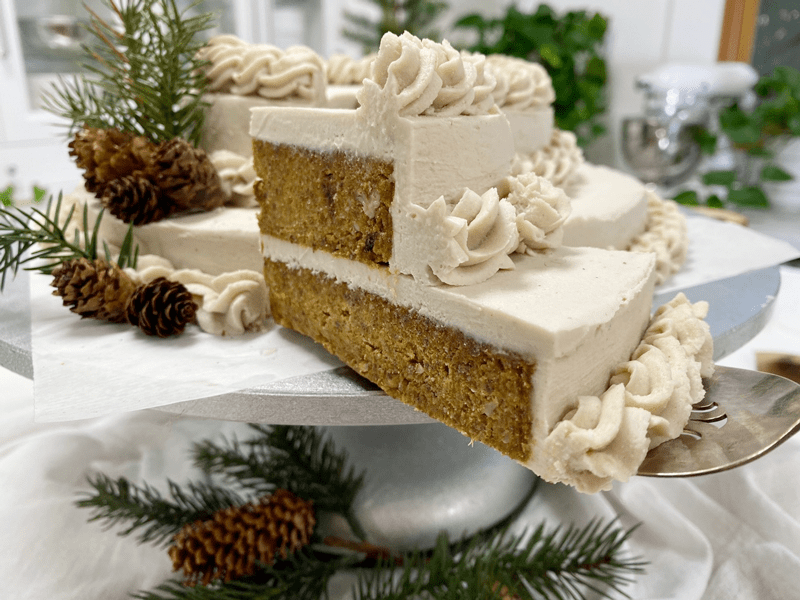
An easy, yet impressive dessert that’s perfect for the holiday season and beyond! Pumpkin makes for an incredibly moist and flavorful cake. The sweet pecans and warming spice are the finishing touches that make this dessert genuinely irresistible. Well, in truth, the frosting is the finishing touch, but the cake alone is divine. This cake took me roughly two months to make. Wait…. come back here… I didn’t mean to scare you. Let me explain.
On October 6th, I made the cake batter and pressed it into the Springform pans. No sooner than I finished, I got a call from my mom letting me know that my grandmother was in the hospital on life support. Before I could wrap my head around that, I found myself on the next plane out of Portland. I had started several recipes that day, this being one of them, my only option was to toss them in the freezer and deal with them at a later date.
Little did I know that my journey to Alaska would last a month and a half. If you are interested, I shared my life experience (here) and (here). Now, I am home and settling back into my routine of things. Today I realized that I had those recipes in the freezer. I couldn’t even bring to memory what I had been working on, so it was a pleasant surprise when I removed two cake pans. Unfortunately, I hadn’t labeled them, so I had no idea what kind of cake I had been making. DOH!
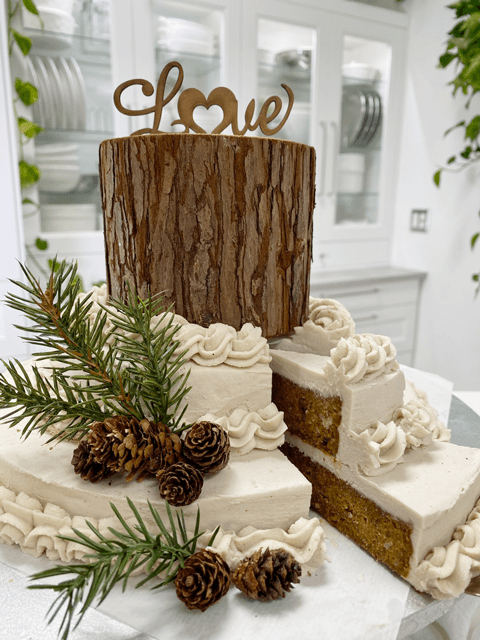
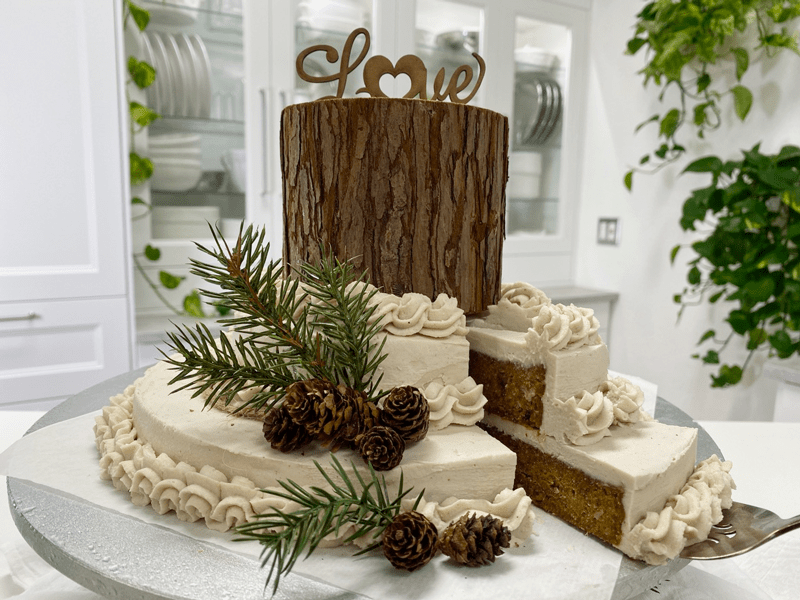
So, what was a girl to do? I frosted the cake, decorated it, removed a slice, took a bite, and had my ah-ha moment. Of course, it was my Pecan Pumpkin Raisin Cake! Hehe, I slid the piece of cake back in the cake, hoping nobody will notice that missing bite. I won’t tell if you won’t.
I love using my recipes as a teaching opportunity because I realize that many of you are new this style of food prep and for you ole’ timers, well it’s good to get a refresher now and then (spoken in drawn-out cowboy slur). So, allow me to quickly break down the roles that each ingredient will be performing for you.
- Raw Pumpkin Puree – this is the star ingredient. I used it for its Fall flavor and moisture.
- Date paste – a natural sweetener, lends a rich caramel flavor, and helps to bind ingredients together.
- Chia seeds – a powerhouse of nutrients (as are the rest of the ingredients) but also aids in binding the ingredients.
- Maple syrup – used to compliment the date paste (brightens the sweetness) and adds moisture.
- Psyllium husks – great for colon action, works as a binder and adds a “sponginess” to the cake structure.
- Spices – the spices used are reminiscent of Autumn and are considered warming spices for the belly.
- Almond pulp – a great way to reduce waste since this is a by-product of making almond milk. The pulp is also the KEY ingredients for creating a more sponge-like cake texture.
- Raisins – adds another dimension of sweetness and adds a great mouthfeel by adding pockets of chewiness.
- Pecans – they are a healthy fat, adds bulk to the recipe, plus its a wonderful flavor to compliment the pumpkin puree and spices.
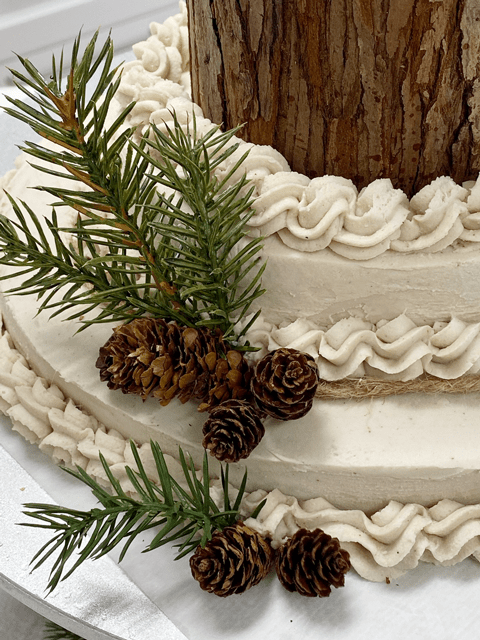
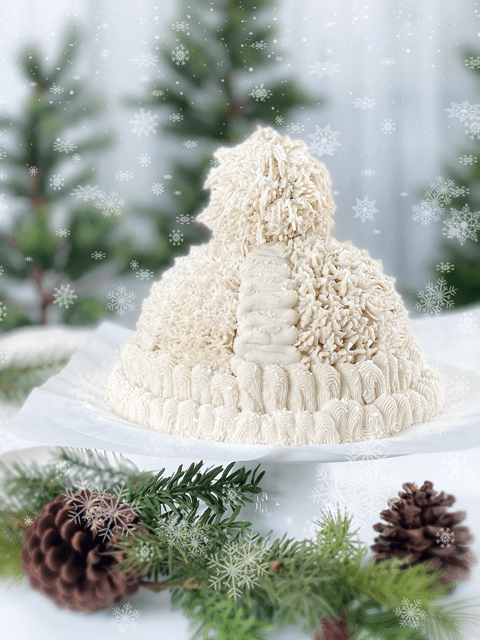
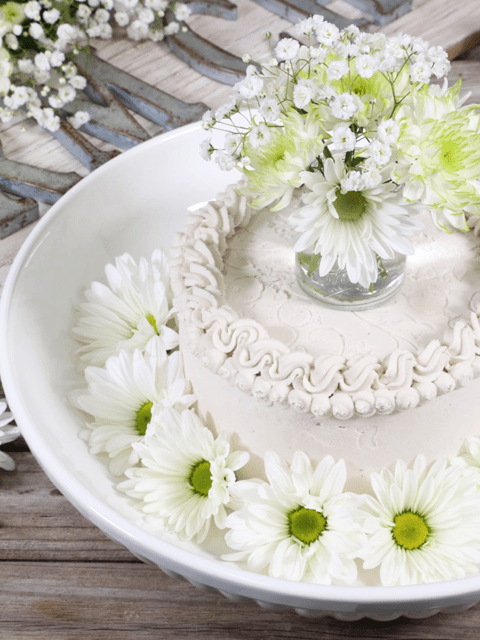
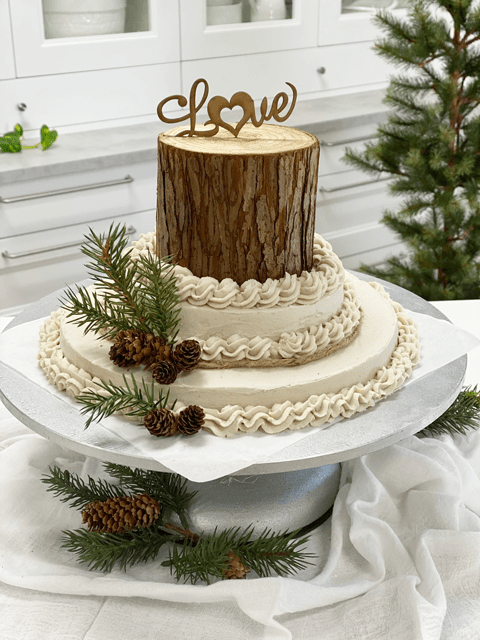
As far as when it comes to decorating your cake, you can dress it up or down; however, you see fit. Since I made this near the holidays, I decided to go with the wintery theme. Frosting, a log, artificial pines, and pine cones. I provided a link below on How to Frost a Cake should you need some guidance. Most of all, I hope you enjoy making and eating this recipe! Please leave a comment below. blessings, amie sue
 Ingredients:
yields 1 (9 1/2″ cake)
- 1 3/4 cup (500 g) raw pumpkin puree
- 1 cup (280 g) date paste
- 1/3 cup (65 g) chia seeds, ground
- 1/3 cup (90 g) maple syrup
- 2 Tbsp (10 g) psyllium husk, powdered
- 1 Tbsp (7 g) ground cinnamon
- 2 tsp (5 g) pumpkin spice
- 1/4 tsp (2 g) Himalayan pink salt
- 3 cups (500 g) packed, moist almond pulp
- 1/2 cup (85 g) raisins
- 1/2 cup (60 g) chopped pecans
If you don’t have pumpkin spice, add the following:
- 1 tsp ground cinnamon
- 1/4 tsp ground nutmeg
- 1/4 tsp ground ginger
- 1/8 tsp ground cloves
Frosting
Preparation:
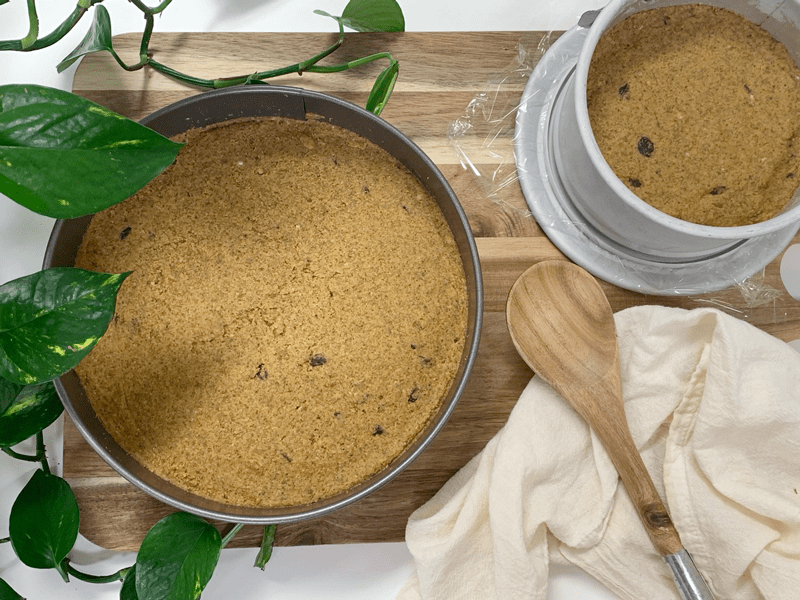
- Let’s start by preparing two Springform pans; a 9 1/2″ and a 6″ pan. Line the base with plastic wrap or parchment paper for ease of removal. Set aside.
- In a food processor, fitted with the “S” blade, combine the pumpkin puree, date paste, chia seeds, maple syrup, psyllium, cinnamon, pumpkin spice, and salt.
- Process until everything is well mixed.
- Place in a large bowl.
- Hand mix in the almond pulp, raisins, and pecans.
- Press the batter into each pan, try to make them the same thickness.
- Let them sit in the fridge for 30+ minutes, which will give the chia seeds and psyllium time to set up, which will give the cake structure.
- Once firm, remove the cakes from the Springform pans. Place them on the mesh sheet that comes with the dehydrator.
- Dry at 145 degrees (F) for 1 hour.
- Why do I start the dehydrator at 145 degrees (F)? Click (here) to learn the reason behind this.
- Reduce to 115 degrees (F) for 4 hours.
- We don’t want to dry out the cake… so don’t over dehydrate it.
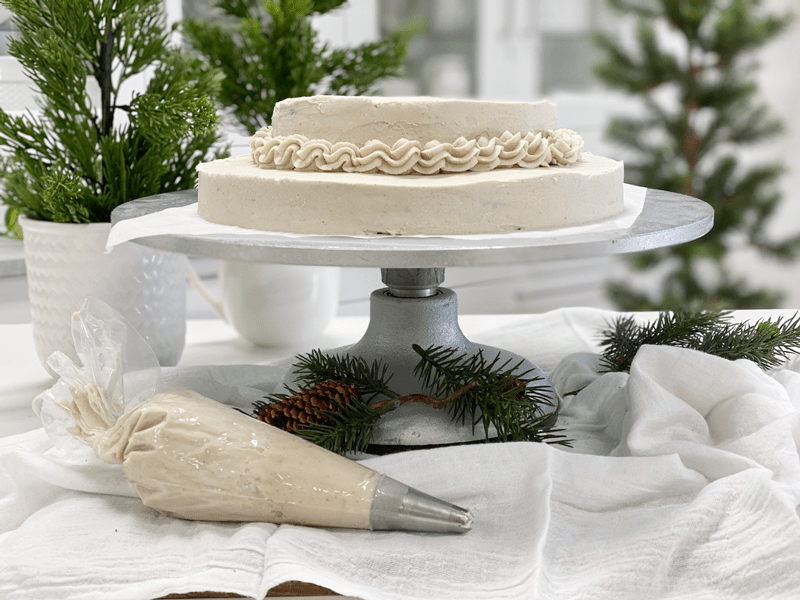
- Decorate to your liking. If you plan on frosting the cake, I find that freezing it first helps with the frosting process.
- If you need help frosting a cake, click (here) for some tips and tricks.
- Store in an airtight container 3-5 days or the freezer for 1-2 months.
- My cake had been frozen, but by the time I was finished with the frosting, it was close to being perfectly thawed for serving. When slicing the cake, use a sharp knife, running it under hot water. Be sure to clean the blade each time you remove it from the cake to get clean cuts between slices.
© AmieSue.com
Tags: Almond Pulp, Dairy Free, Dehydrated, Gluten Free, Vegan