Lettering and Garnishes made with Raw Chocolate

 Add to favorites
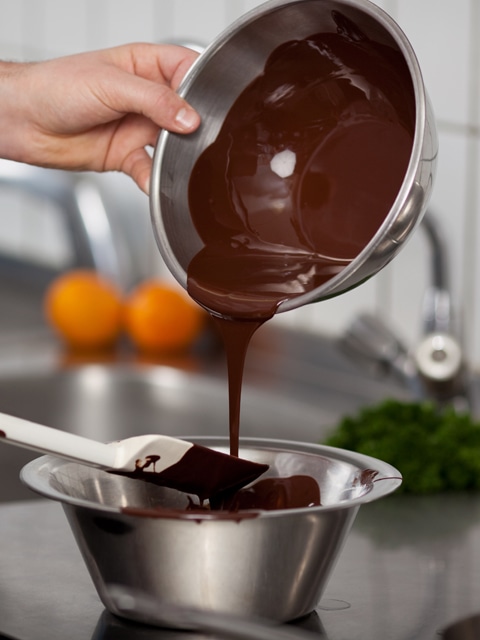 You can decorate almost any dessert with chocolate. You can also decorate plates by writing messages on them with chocolate too. All you will need is melted raw chocolate, parchment paper, a piping tool (bag and tip), and a steady hand. Don’t consume caffeine before tackling this task. :)
Tips and Tricks Through Experiences:
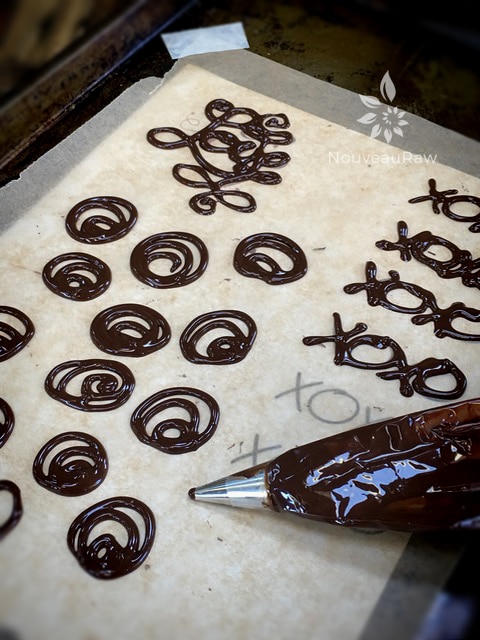
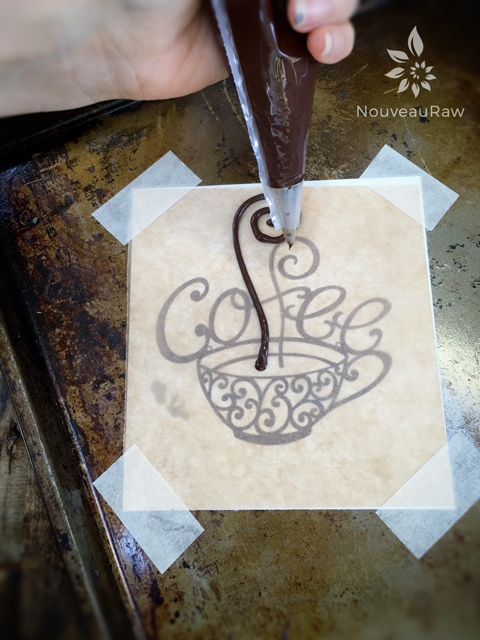
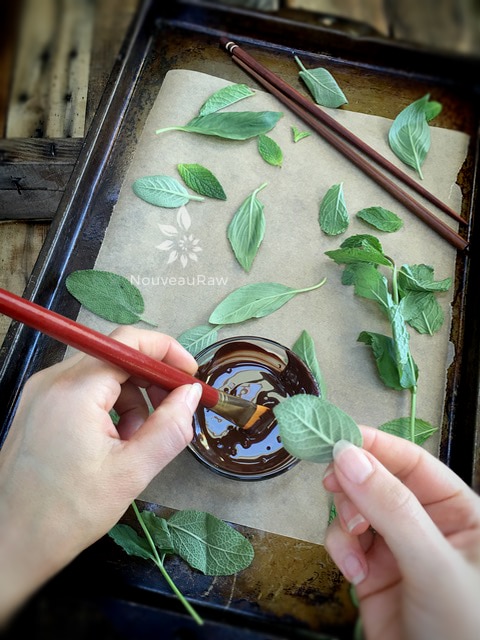
First of all, when it comes to writing with chocolate, don’t lay the tip directly on whatever you are writing on, hold it slightly above and apply gentle pressure, letting the chocolate drop in a line.
There is a “sweet spot” in the chocolate texture that is needed to be able to write beautiful messages. Try to only put enough melted chocolate into the piping bag that you can use at one time.
As you are aware, chocolate will harden after a while, and then it becomes too thick to write with. The critical thing to remember is that once you start the process, you need to be fully committed. No potty breaks, no phone calls, nada…. except to deal with the project that lays before you.
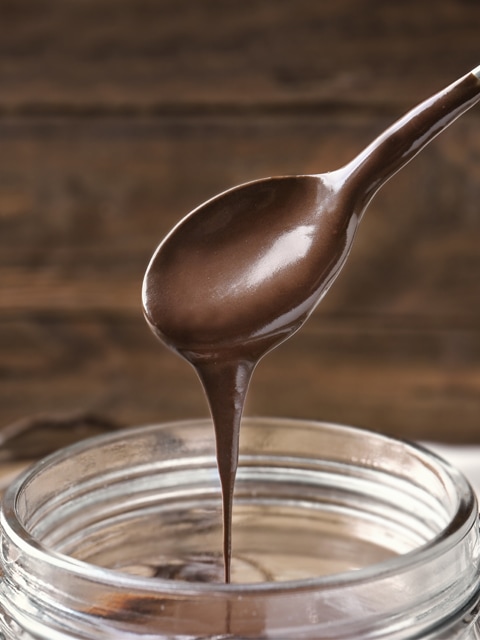
Besides keeping the temperature of the chocolate itself in mind, pay attention to how cold or warm your house is. The cooler it is, the faster the chocolate will start to thicken in the piping bag. Even the warmth of your hands will affect the consistency of the chocolate while you are holding the piping bag. The chocolate should be pourable but not drippy.
Don’t get overwhelmed with all this; it doesn’t take long to get the hang of it.
If you are unsure of your piping skills… and most of us are. PRACTICE. You can use a smooth mustard for practicing. Most of all, have fun! It’s chocolate after all; nothing too serious can wrong; it just tastes too delicious for that. :) Many blessings, amie sue
Preparation is KEY
Prepare the work surface:
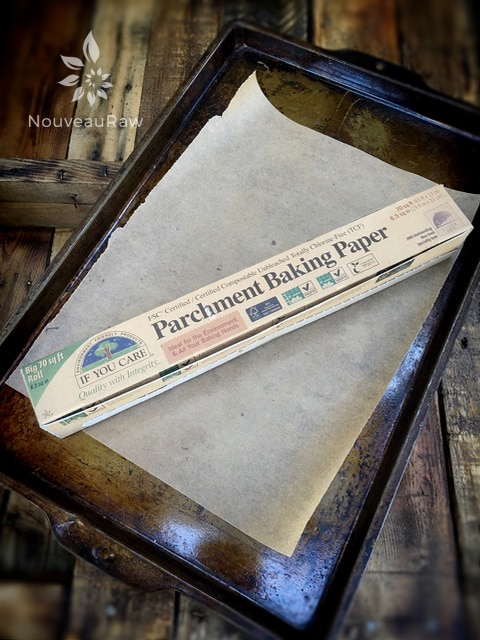
- Place a sheet of parchment paper on the counter.
- If you think you will need to move the parchment paper when you are finished, and the creation is still setting up, place the parchment paper on a baking sheet first. That way, it will be easy to transfer it to another location.
- If your house is really warm, you will want to place the end product in the fridge to stay hard, so again this is an excellent time to have the parchment paper on that baking sheet. You can even pre-chill a baking pan, place the parchment paper on that, and have a nice cold surface to help beat the heat.
- Prepare a larger sheet of paper than what you anticipate using. You don’t want to be scrambling at the last minute for more space to work.
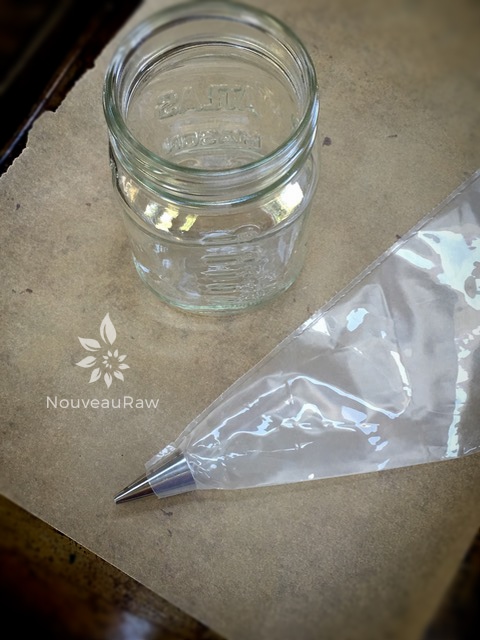
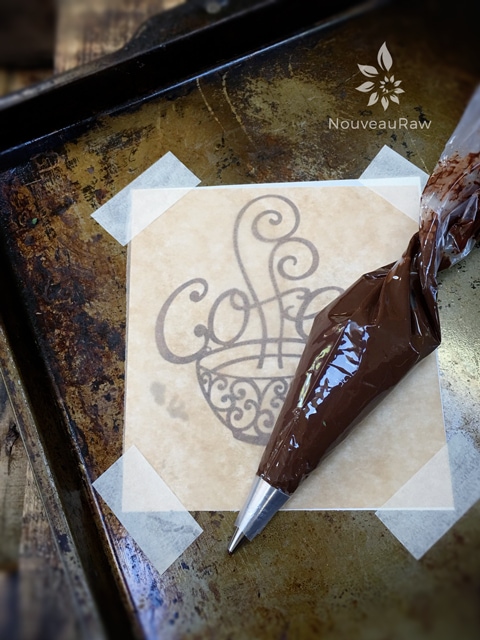
Prepare the piping tip and bag:
- For this job, I prefer to use disposable piping bags due to the messiness of chocolate clean-up.
- You will want a piping tip that has a small hole for writing.
- If the hole is too big, your lettering could look chunky and hard to read. If it is too little, you won’t be able to safely transfer the lettering (if that is your intention). Stop and think of the fragility of the task at hand.
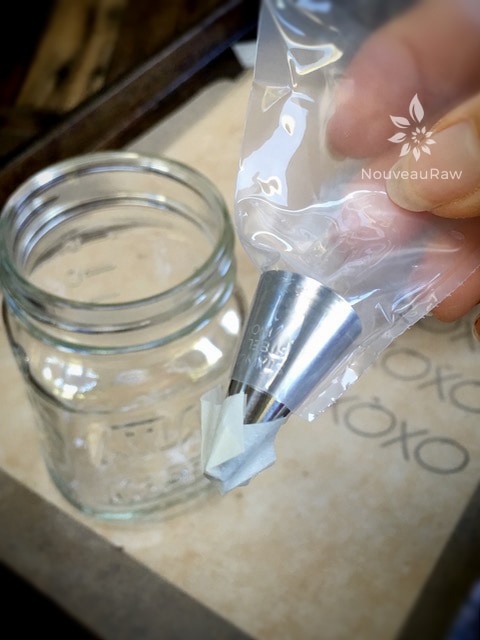
- I like to use a 0.8mm piping tip (depending on the make, these are often called a #1 tip).
- Smaller, rounded nozzles are best for writing and making decorative marks like dots and swirls.
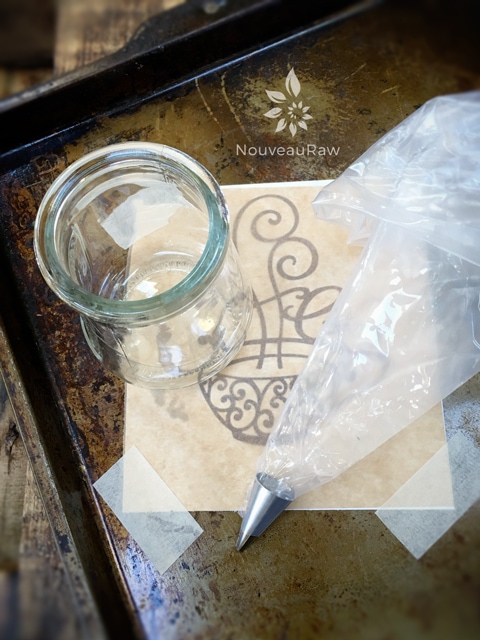
- With the piping tip in place, put a piece of masking tape over the tip just in case the melted chocolate is too liquidity, and it starts to ooze out while you are filling the bag.
- Slide the piping bag, tip first, into a tall glass, and fold the edges of the bag over the side of the glass; this will hold the mouth of the bag open while you add the melted chocolate. Trust me, way less messy.
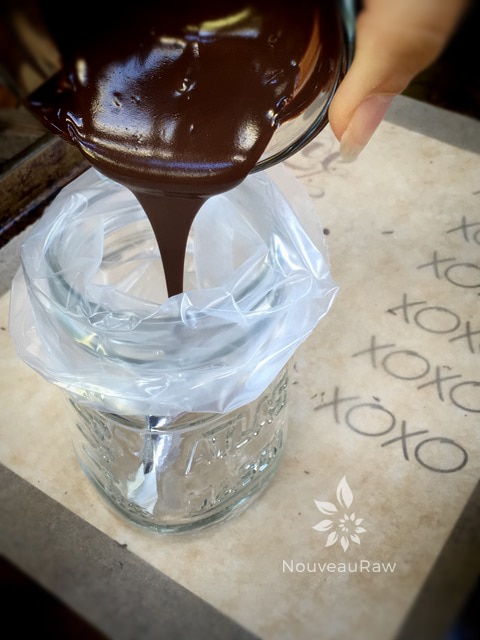
- Make sure the melted chocolate that you are using isn’t pure liquid when adding to the piping bag. I find it helpful to first stir it around in a glass bowl while it starts to thicken up a tad… now it is ready to put in the bag.
- Caution. You are now fully committing to the process. No distractions. :) After transferring the melted chocolate to the piping bag and work out any air bubbles.
- If you don’t own any piping bags or tips, you can use a Ziploc bag. Cut a tiny hole in one of the bottom corners; you can always make the hole bigger, but you can’t make it smaller.
Piping your designs:
Directly on a cake:
- If you are going to create wording directly on a cake, make sure that you pre-plan the layout of your lettering/design. Once it’s on the cake, it’s a bugger to get off if you make a mistake.
- For practice, I would cut a piece of parchment paper the size of the cake and practice how you are going to lay the wording out.
- If possible, freeze your dessert first, which will help the chocolate set up almost instantly.
- You can also print the wording out on paper in the size that will fit the cake surface that you are working on.
- Lay it on the cake top, and with a toothpick, trace the lettering with enough pressure to leave an impression on the frosting that you will be piping over.
- If you plan on doing this freehand, use the toothpick to write the message out on the frosting. If you mess up, smooth the frosting over and start again.
- It’s generally easier to attempt joined-up or cursive writing, as you can keep the pressure on the piping bag, giving you a steadier hand as you work in one continuous line. This technique also avoids any messy-looking and unintended ‘tails’ on the letters if you try to print them.
- To distract the eye from flaws or asymmetry or to enhance a cake’s face, fill the blank spaces around words with polka dots, hearts, or swirls.
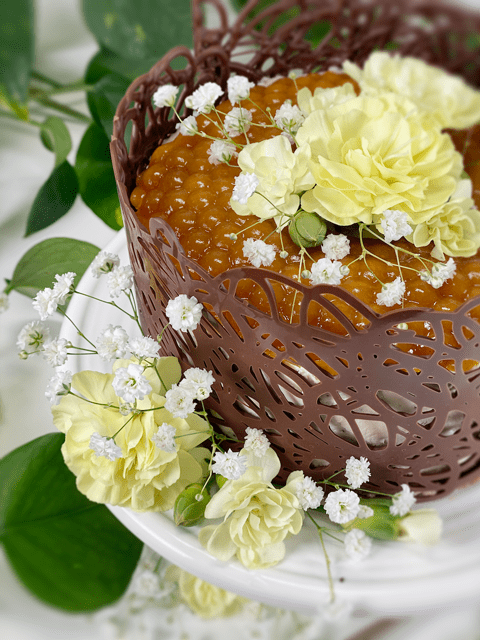
Piping on parchment paper to later transfer:
- If you are unsure of your handwriting or want to do something a bit fancy, look for a font online that you like and print it out. You can do this with wording or other decorative designs.
- Create the image that you want to create, print it out, cover the printed sheet of paper with parchment paper… making sure that you can clearly see the lettering beneath it.
- If you need a test run, again, I suggest using smooth mustard so you can get a good feel for the hand movement required.
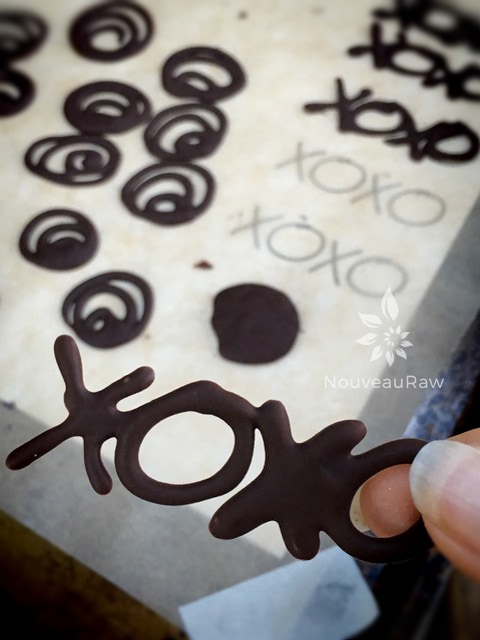
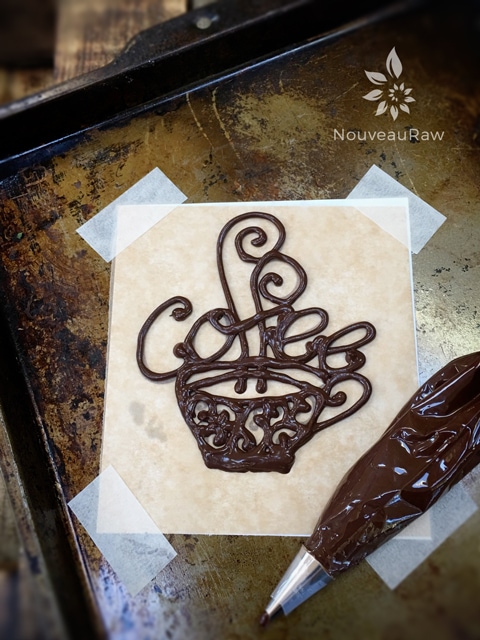
- If you are piping a design, make sure that each image is “closed”… if there are any stray lines that aren’t attached to the image, they won’t remain attached once the chocolate is removed from the parchment.
Decorating the dessert:
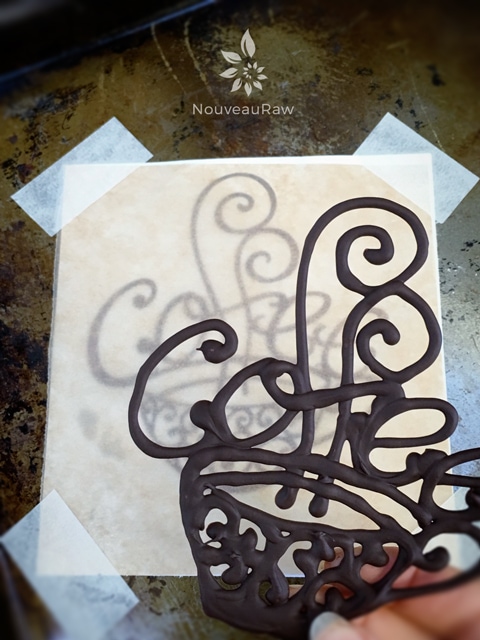
- Let the chocolate set up for several hours, or overnight. You can put the sheet in the freezer to help things become firm.
- Carefully peel it off the paper and transfer it to your cake. It’s easiest to transfer it while it’s still cold from the freezer.
- Avoid touching the chocolate too much, as the warmth of your hand will make the chocolate melt, warp, or fall apart.
- If you’re worried about the chocolate designs not staying in place, add a toothpick to keep it in place and refrigerate the item in question for about 10 minutes.
- You can also use other items that you might be decorating the cake with as a prop for the chocolate to either lean against or to be wedged in between, so it stands upright.
- Props could be raspberries, strawberries, diced raw cookie balls, or truffles. Anything that you use will work.
- If you are serving the dessert in warm weather, you may consider placing the garnishes flat on top of cake/dessert.
So there you go, a few tricks and tips that I have gathered through my own experience. I hope you found it helpful. Have a blessed day! amie sue
© AmieSue.com
Tags: Dairy Free, Gluten Free, No Dehydration Required, Nut Free, Vegan


Hey, Amie-Sue.
Sieht traumhaft, tolle Anleitung!!!
Ich habe dir eine Mail geschrieben.
Liebe Grüße auch an Bob
Jesse Gabriel
Google Translations:
Hey, Amie-Sue.
Looks fantastic, great instruction!
I wrote you an email.
Kind regards to Bob
Jesse Gabriel
__________________________
Good morning Jesse, thank you. I had fun writing it up. I got your email and will be responding. I hope you are doing well. How is grandma? Have a wonderful day, amie sue :) *Bob says “HI!” hehe