
Background Color

 Add to favorites
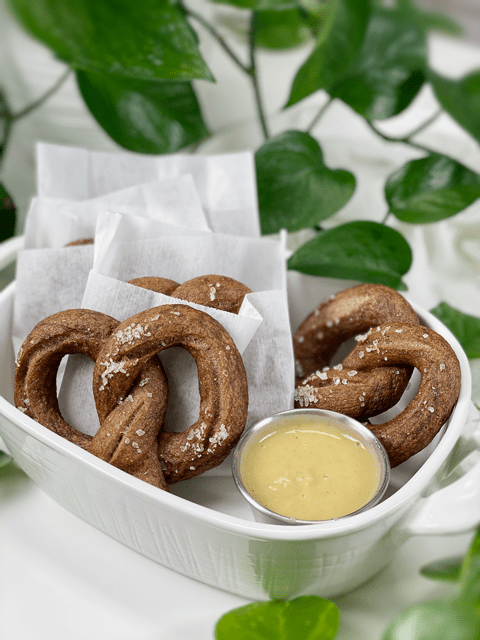
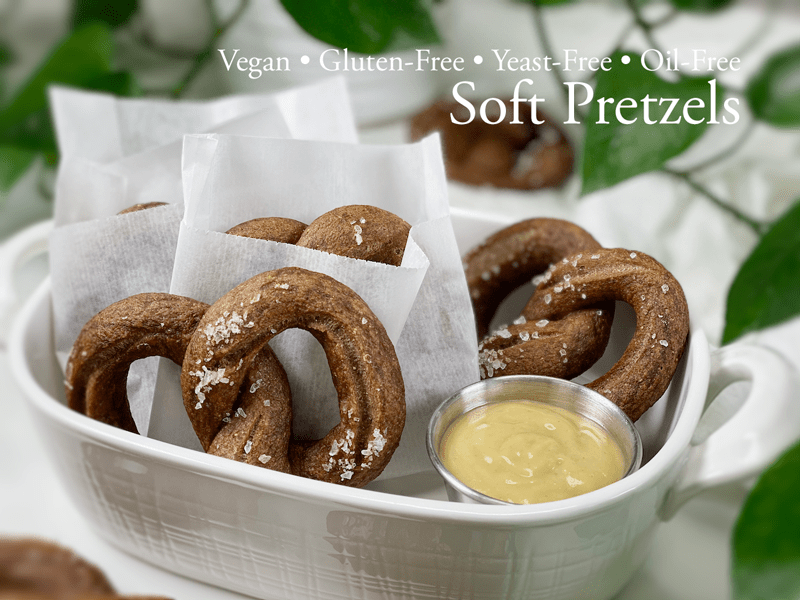
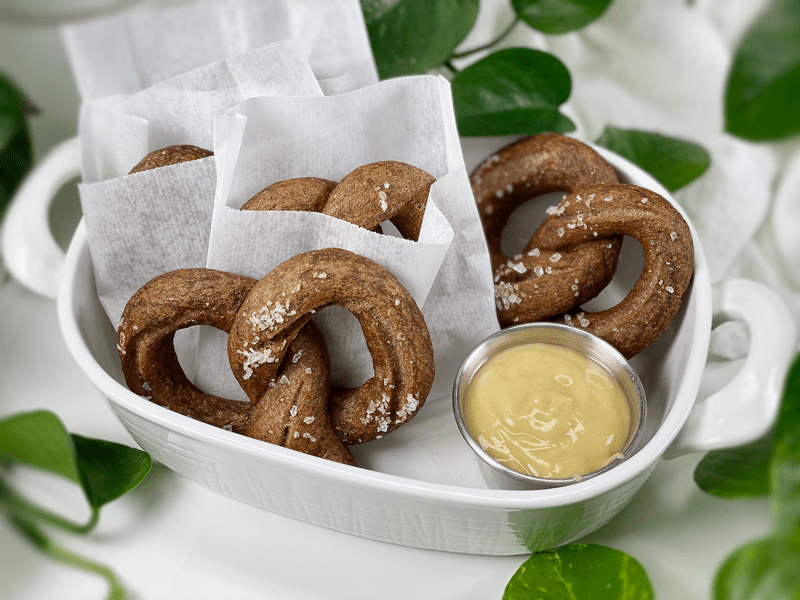
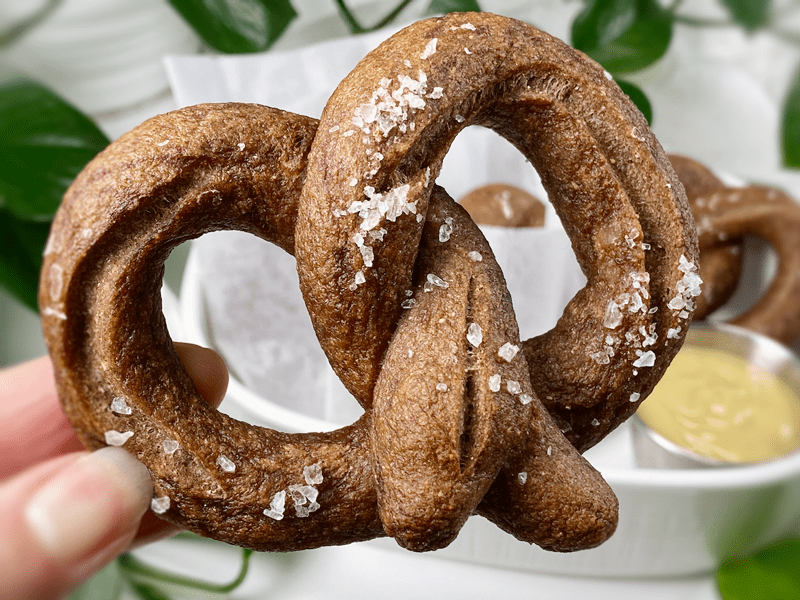
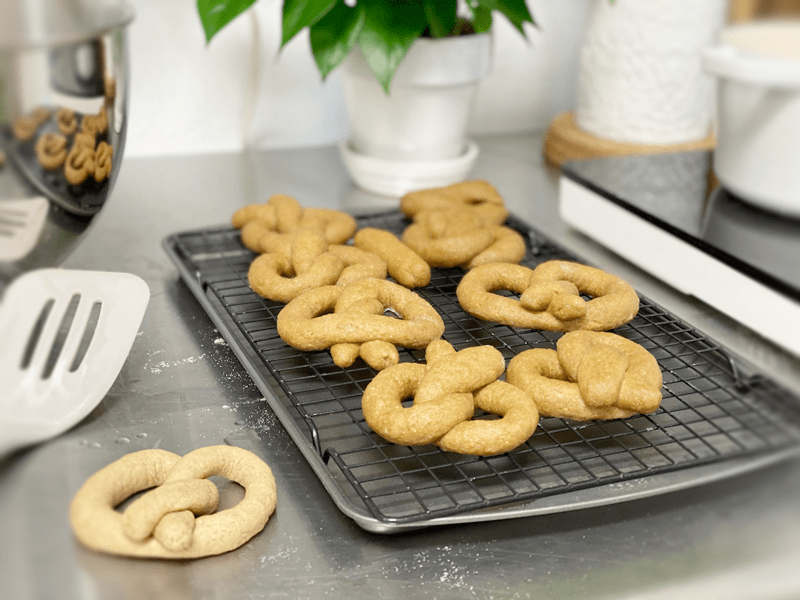
These homemade vegan, gluten-free, yeast-free soft pretzels are simply amazing. There’s something so satisfying about that distinctive chewy exterior paired with the warm, soft interior of a pretzel that makes them irresistible. Such a fun snack to be made by all – bake up huge pretzels, regular-size, pretzel bites, or pretzel sticks with this dough. Perfect for afternoon snacks, movie nights, game days, or “just because.”
Both Bob and I have fond memories of soft pretzels. Today, we snuggled up on the couch and for the umpteenth time, we shared our pretzel stories. He remembers eating them on the streets of Pennsylvania when he was a young boy. A truck would drive by, much like an ice cream truck, selling fresh, hot soft pretzels. He would tear at the soft dough, dipping each bite in yellow mustard. I love it when he shares stories of his childhood with me.
My story took us back to when I was fourteen years old, working at the Pretzel Factory in our local mall. I worked roughly thirty hours a week, mostly in the evenings (when it was quiet) where I would do my homeschooling education in between serving customers and making pretzels and cookies. We served the pretzels with your choice of yellow mustard, cream cheese, or nacho cheese. To this day, I can still smell them baking. Mmm. I love it when I create recipes that can transport us back in time. Do you have a soft pretzel memory?
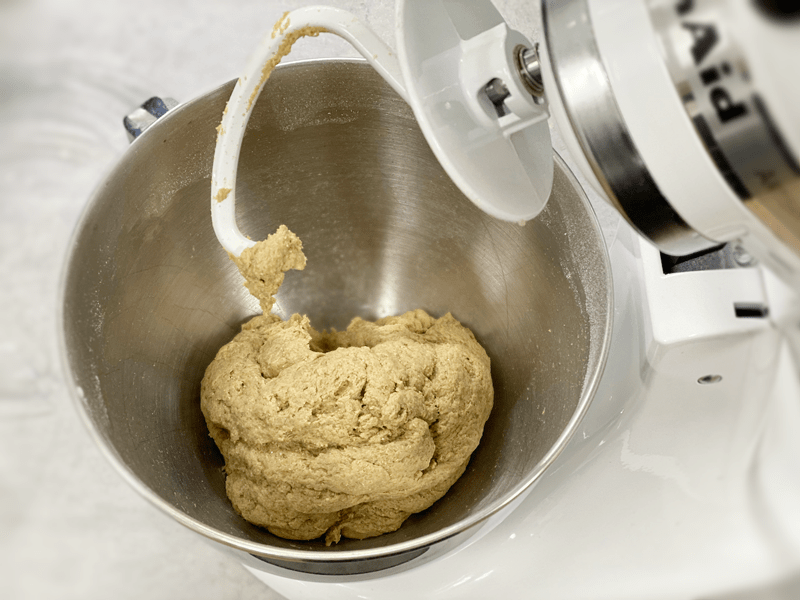
Anytime we take a step away from how traditional foods are made, we have to fight to retain the smells, textures, and tastes that we might have once been accustomed to. Gluten-free ingredients play differently, so creativity and ingenuity have to come into focus. With that being said, if you have been making old-school pretzels (with yeast, gluten flours, etc.) throughout your life, you will need to abandon some of your techniques and adapt to some new ones if you want to embark upon gluten-free vegan pretzels. Ready to learn something new? I hope that’s you nodding yes and not nodding off to sleep.
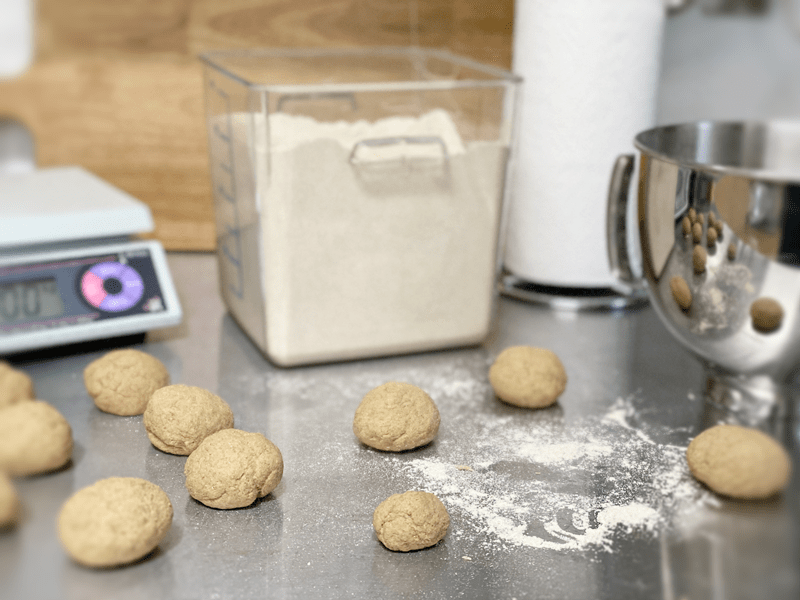
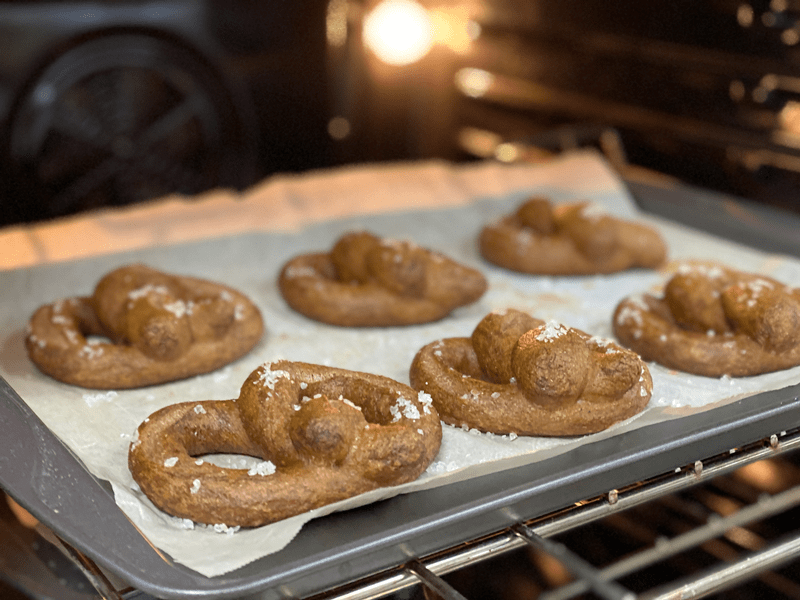
Before you start making the pretzels, make sure you sit down and read through this entire post. Have all stations prepared: ingredients and mixing station, boiling station, and baking station.
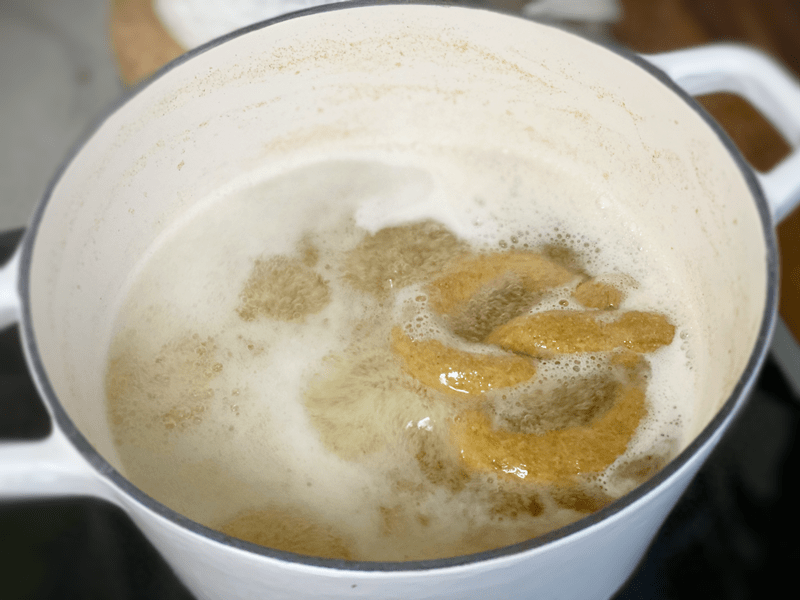
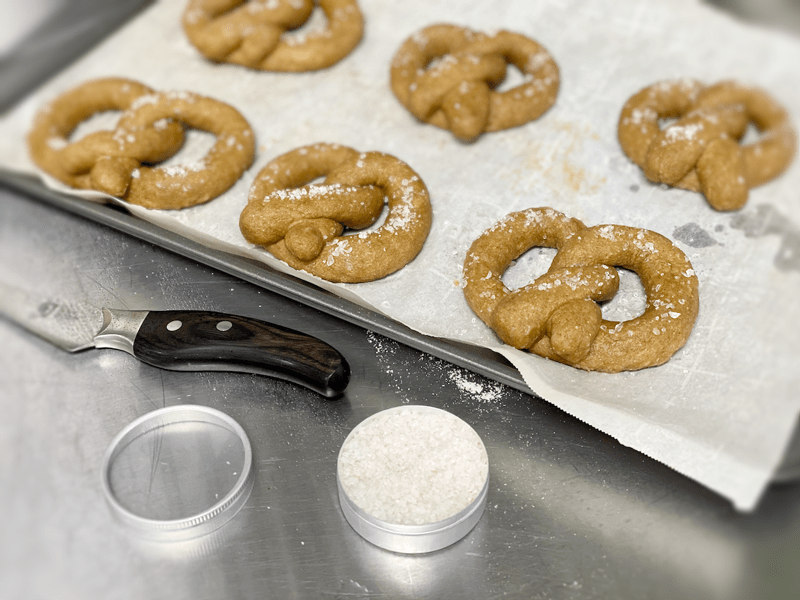
Boiling pretzels effectively sets the crust before it goes in the oven. The water doesn’t actually penetrate very far into the bread, because the starch on the exterior quickly gels and forms a barrier. The pretzels here are boiled in a pot of water with baking soda. If you skip this process, the pretzels will look white and — petrified (sorry, but it’s true). So, please do NOT skip this step.
The only pretzel feature that I couldn’t replicate was the shiny crust which is achieved by using a solution of sodium hydroxide, commonly known as lye. It is dangerous (gloves and goggles are recommended) to handle food-grade lye. Baking soda is it!
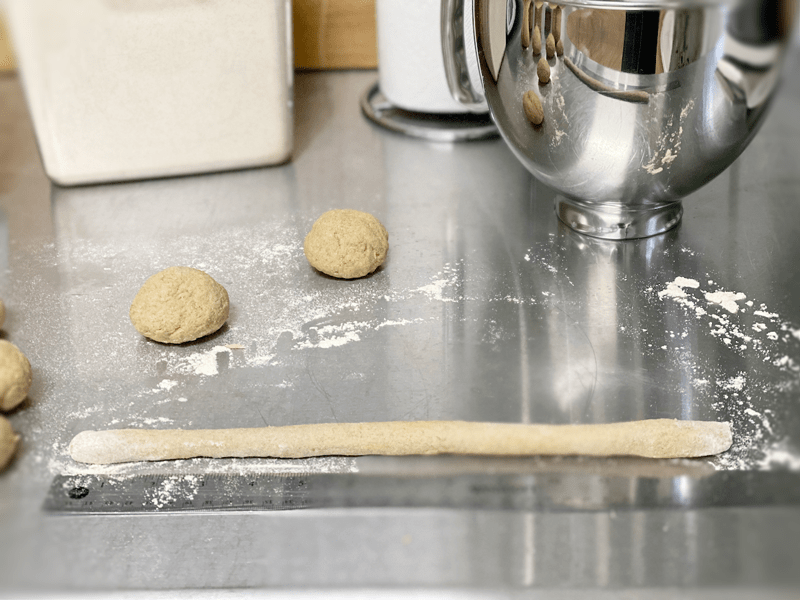
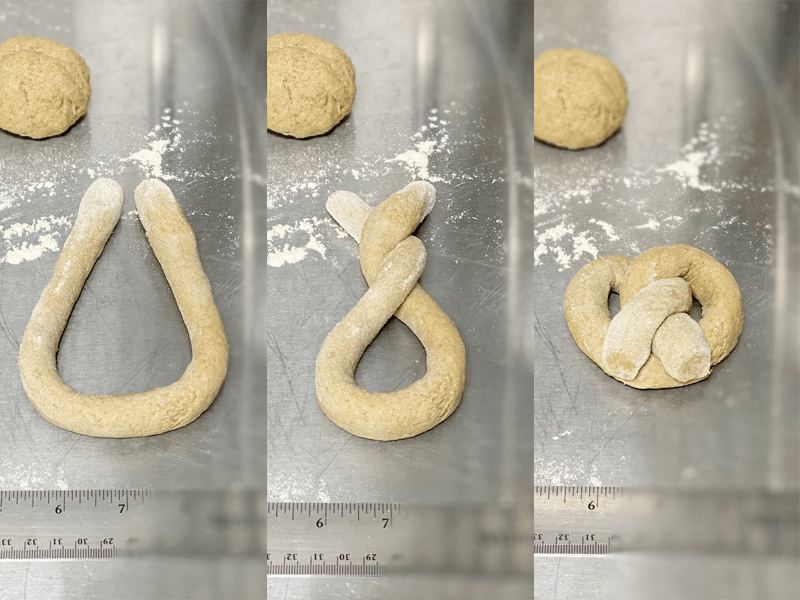
There’s no wrong way to shape a pretzel, but let’s stick with tradition today. I have some photos of the process, but if you want to see a video of how it’s done, check out YouTube. I found that while one pretzel was boiling, I could roll out and shape the next one, keeping a nice rhythm.
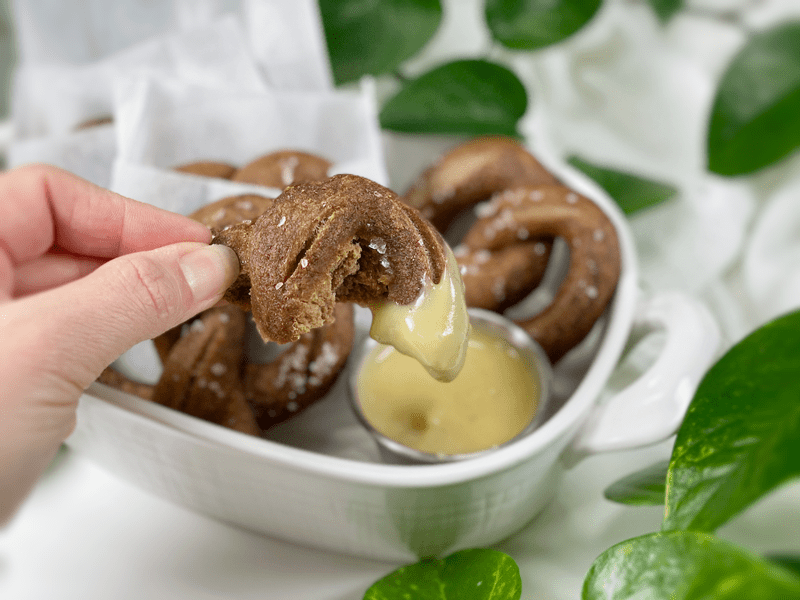
Not all salts are equal when it comes to topping pretzels. Pretzel salt is a coarse, large-grained salt of uniform size with no additives. The grains are rectangular-shaped and flat, which ensures that they adhere to pretzels and other baked goods like bagels, bread, or hard rolls. It is described as non-melting and trust me (through my own error) the wrong salt will indeed melt and disappear.
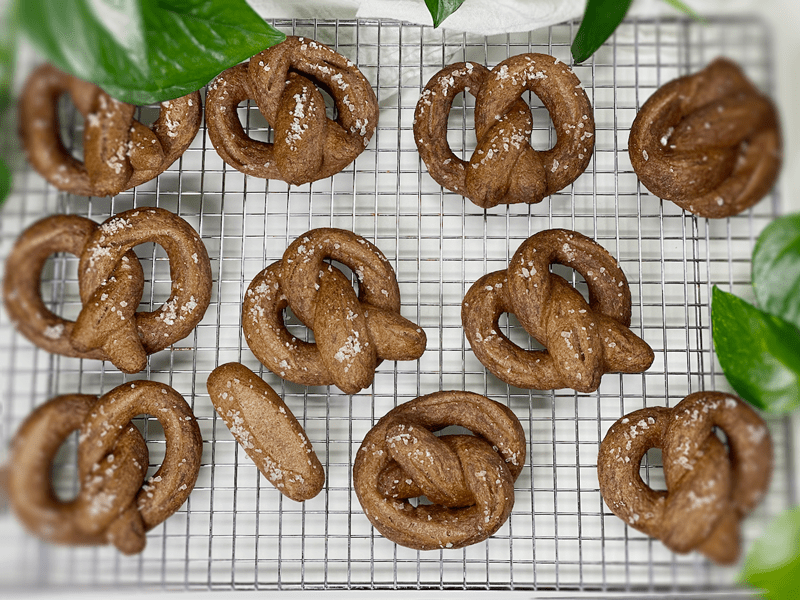
I tested this recipe with several sweeteners and by far the unsulfured blackstrap molasses was our favorite. Maple syrup works, but there is something about the molasses that made both Bob and me nod in agreement that this addition nailed the overall flavor of the pretzel. First off, blackstrap molasses is known for its iron content—one tablespoon contains about 20% of the daily value—but it is also a rich source of natural calcium, magnesium, and potassium. It is also a good source of manganese, vitamin B6, and selenium.
In addition to the health perks, the molasses also contributes (along with the act of boiling) to the wonderful coloring of the pretzels… giving them that deep golden-brown color. Flavor-wise, I chose it because it is reminiscent of malt, which is typically used in traditional soft pretzels. Malt is made from barley, and barley isn’t gluten-free. The blackstrap molasses has a complex flavor that reminds me of malt, caramel, and coffee.
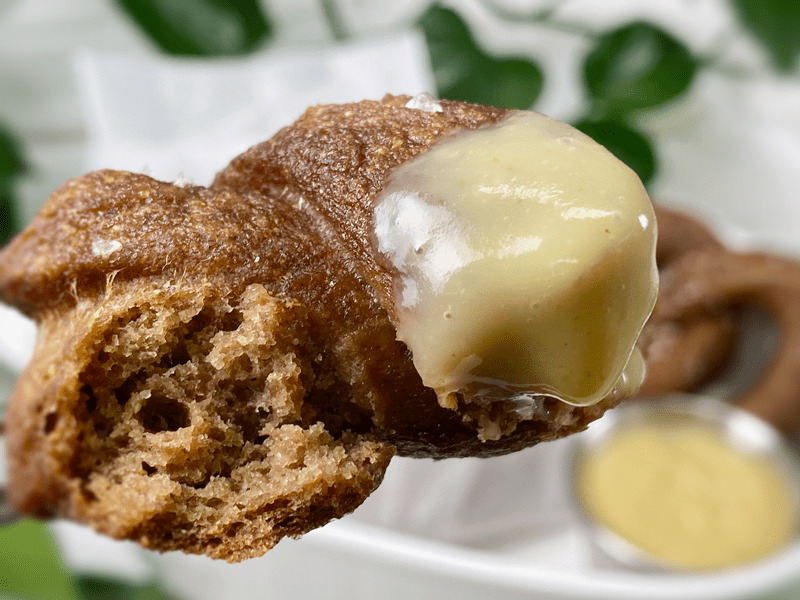
My favorite way of enjoying these pretzels is dipped in my vegan cheese sauce (sweet potato-based) or just plain ole yellow mustard. If you want to try a raw cheese sauce that is cashew-based, click (here). If cream cheese is your jam, I have several recipes to tickle your taste buds. The following recipes are all raw and vegan; Cream Cheese, Cultured Cream Cheese, and if you are adventurous, Rosemary and Cranberry Cream Cheese. Another option is mustard. Yellow mustard is typical so if you want to think outside of the box, how about testing out my Sweet and Spicy Mustard.
Please give this recipe and try and let me know what you think down below in the comments. blessings, amie sue
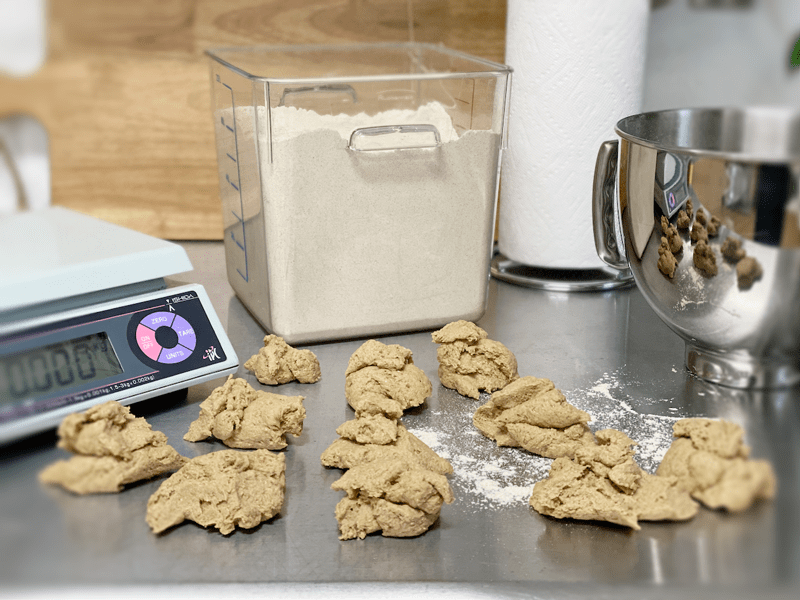
IngredientsYields 11 (size depending)
Boiling Solution
What can I use to substitute rice flour? thank you!
Hello Kummy,
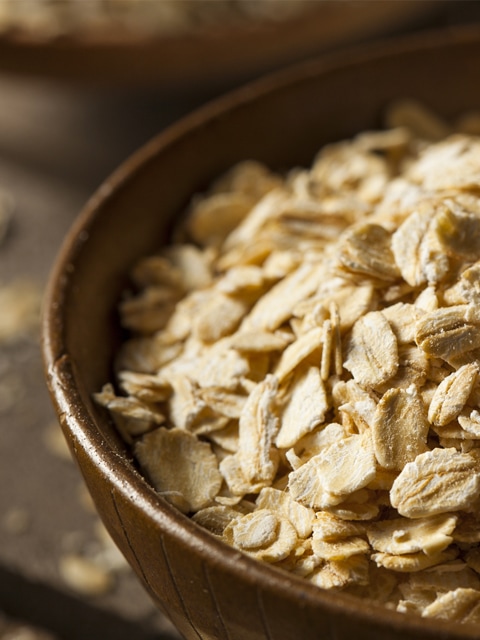
Oat flour would be a good alternative. I don’t use storebought, I just blitz rolled oats in the blender, grinding it down but not to a fine powder. Enjoy! amie sue
What is a substitute for oat/rice flour? Thank you!
I haven’t tested it but you can try almond flour. If you give it a whirl, keep us posted. blessings, amie sue