Background Color

 Add to favorites
I tend to get many questions regarding the confusion around the difference between nut flours and with what some refer to as nut meals. A typical recipe can read as: 1 cup of hazelnut meal or 1 cup of hazelnut flour. They typically mean the same thing. If you are ever in doubt, always reach out to the recipe designer and ask them to clarify.
They do make commercial hazelnut flour to which is much finer in texture then what you can create, but it has been heavily processed at high temps. But keep an eye on the market because more and more companies are popping up with raw versions of ingredients due to demand.
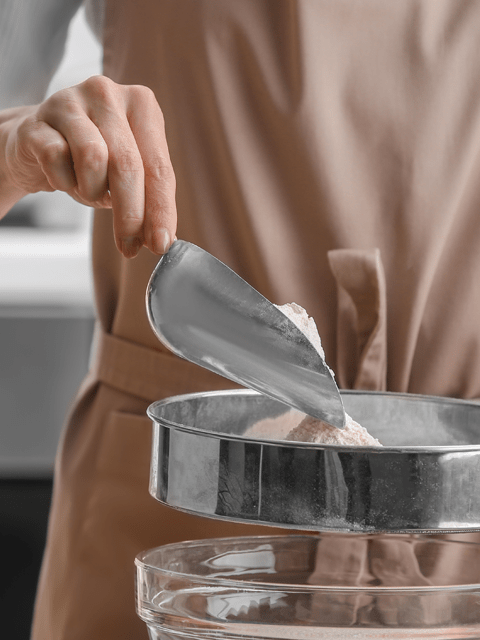
You can easily create your own hazelnut flour (meal). Remove the lid of your food processor, add hazelnuts, close lid, and process! I may have just fibbed… to do it correctly for the best results, there are a few other steps and tips that I want to share, but basically, that is all that there is to it.
There is, however, a step that I highly recommend, and that is soaking and dehydrating the walnuts first. Please click (here) to read how and why. Also, keep in mind that Hazelnut flour has a more distinct flavor. It is great for any item that you want to taste like hazelnuts.
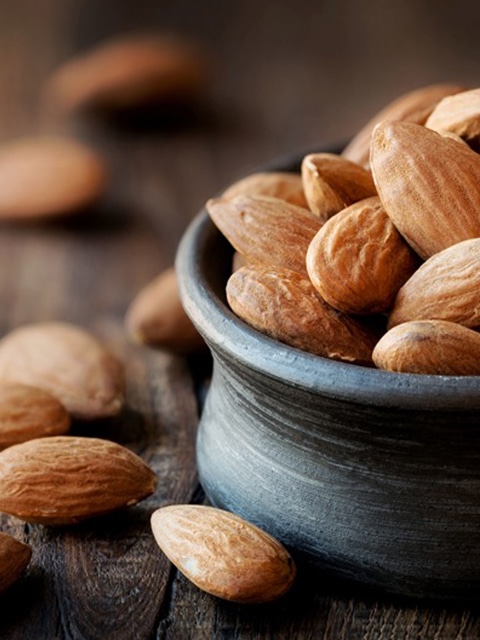
Crumbles are really what it ought to be referred to because the truth is… hazelnuts don’t break down to the consistency of flour (as you might be familiar with). The reason is that they are composed predominantly of fat. But they also contain many other wonderful nutrients such as; folate, fiber, copper, and manganese. They also have the highest proanthocyanidin content of any tree nut. These compounds are known for contributing astringent flavor to foods and may help reduce the risk of blood clotting and urinary tract infections.
If you are looking for a way to create a finer grind of hazelnut flour, it can be achieved through the process of creating hazelnut pulp. Hazelnut pulp is created by making hazelnut milk. That is another whole process that we will dive into later.

Keep a close eye on this process because if you over-process the hazelnuts, they will release much of their oils, and if that happens, you are heading to nut butter land. Should you get distracted while you are processing your nuts and they do indeed get oily, don’t fret. Go ahead and continue processing the walnuts, add a pinch of salt and sweetener (if desired) and make healthy hazelnut butter.
When it comes to creating our own flour, I recommend using a food processor that is fitted with an “S” blade. In a pinch, you can use a blender, but you have a greater chance it turning into nut butter because there isn’t much room for the walnuts to freely spin in. It is best to make these as needed, rather than pre-making them and having them sit around. Nutrients will be lost over time. If you find that you processed too much, that’s ok… put it in a freezer-safe jar and store in the fridge, so the oils don’t go rancid.
To make the flour from pulp:
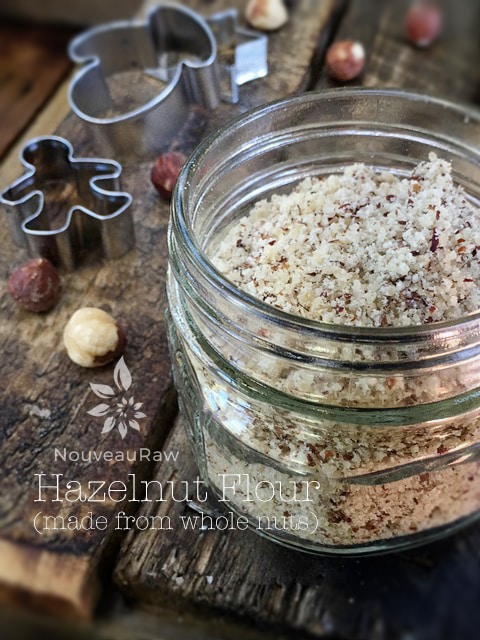
To make the flour from whole hazelnuts: